
Free 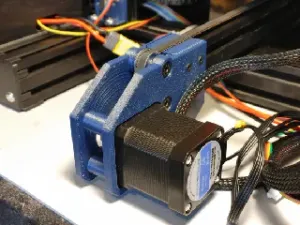
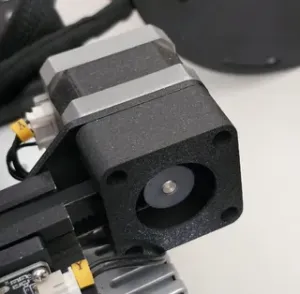
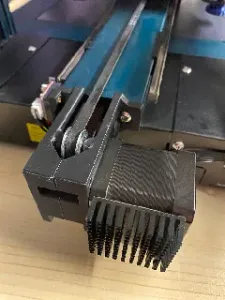
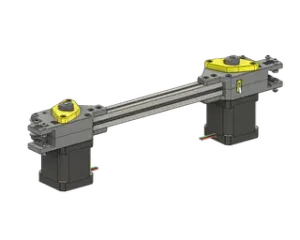
Y-Axis Motor Relocation Bracket for large NEMA-17 motors on the Ender 3 v1
Printables

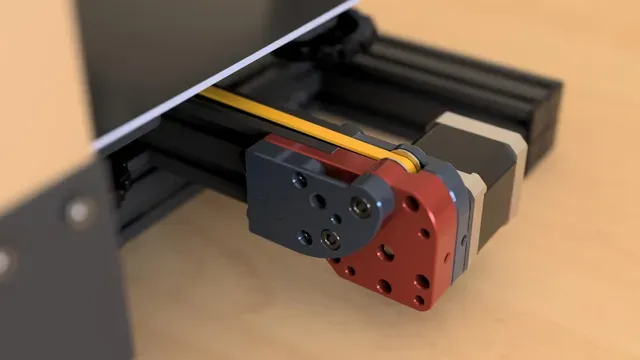


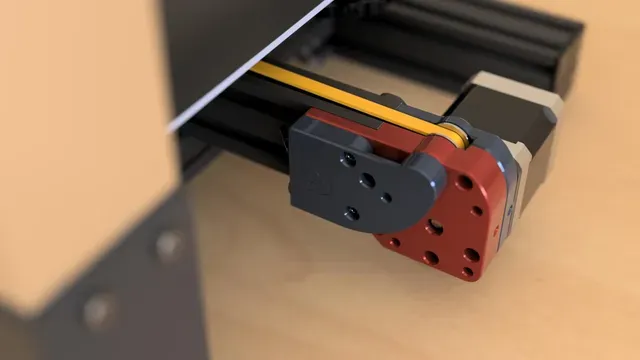


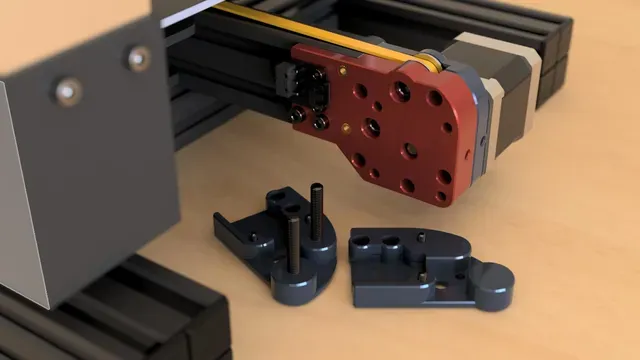
I do not own an ender3 “v1” so I did not test this installed ---
print it with many walls (6 or more) and high infill (40% or more) avoid PLA for this at least the piece touching the motor. the cover is fine in PLA
You'll need either two M5x16 (recommended for easier install) or M5x30 (was a request) acting as two of the axles, the "cover" will be different based on that choice.
you will reuse M4 screws from the stock mount, and the metal motor mount, just flipped so that the motor sits lower.
most of the screws are M3x8 and heat inserts (m3 x 4mm length x 4.6mm or 5mm Outer diameter )
BOM:
- Nema 17 motor: stepperonline 48mm ( amazon ) — that's what I use on my ender3v2 Y axis, but you cane fit smaller and longer motor most likely. - Stepper motor axle : GT2 20T 5mm timing pulley ( amazon ) - top axle : GT2 20T 5mm bore, bearing with teeth ( amazon ) - left axle : Two F695 Flanged Ball Bearing 5x13x4mm, 5mm bore ( amazon ) - threaded heat inserts: m3 4mm long 4.6 or 5mm Outer diameter ( amazon ) - m3x8 screws, socket heat (but button may work too, not sure)
Installation:
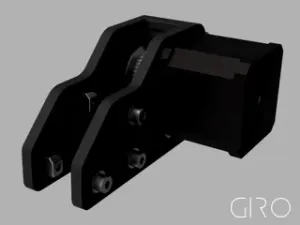
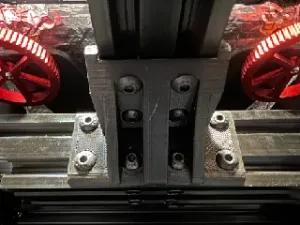
- install heat inserts all around - pre-attach the GT2 on the motor, set screw closer to the motor, slide it in completely, then away from motor by 0.1mm or so, just enough to not have any friction - mount block A to the motor+metal plate (inverted, check renders) use M3x8 screws - M5x30 version - install endstop, and endstop wire - secure cover - pre-load the M5 through the cover and through block B enough to install the bearings, but not stick out any more than that, place the bearing on them. - M5x16 version - load the M5 through the block B enough to install the bearings, but not stick out any more than that, place the bearing on them. unlike M3x30 you can install the endstop, and cover later as the very last step - load the belt have a good chunk loose to make it easy (check render for belt path) - then place and secure block A to block B with m3x8, secure well - finally finish securing the M5, don't over tighten them, might even need to be 1/2 turn loose, and check that bearing can rotate, if not loosen a bit more. - secure motor metal plate to the Y extrusion, with two M4 screws (reuse the original M4 screws that were there) - on the endstop side there are two more M4 screws under then endstop (reuse the original M4 screws that were there) Y endstop mount integrated
M5x16 version
M5x30 version
------------
Huge thanks to my Patrons and Printable's Club supporter without whom this would not exist.
To support my work , the material, time testing, and refining it consider joining my Patreon , or want tweaks to this (like fitting other type of pulley)
STEP file included on my Patreon You will also have access to the Apollo lander shroud and my very chill discord community.



Names are used only to indicate the source of a result. Polyzon is not affiliated with the listed sites.