
Free 
10" Server rack 1U panel - Tray
Printables

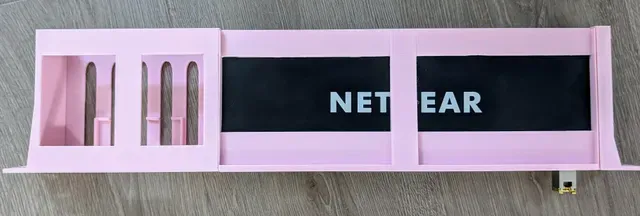
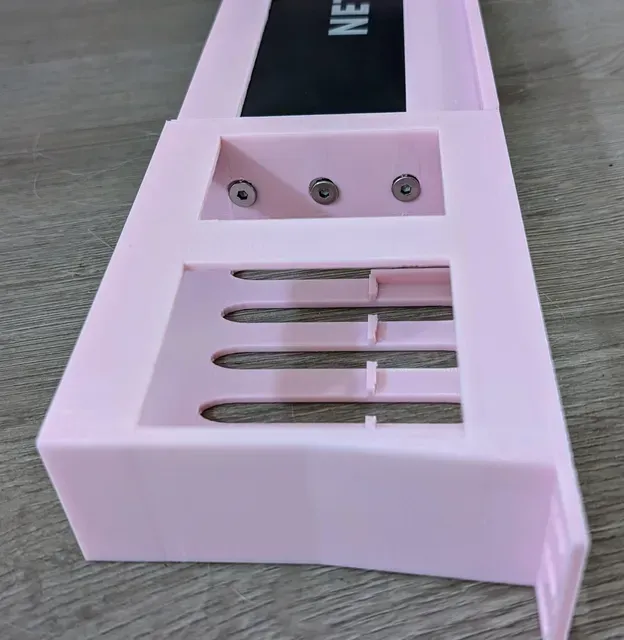
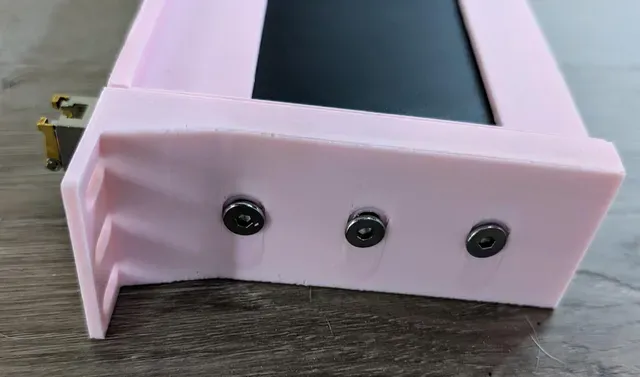
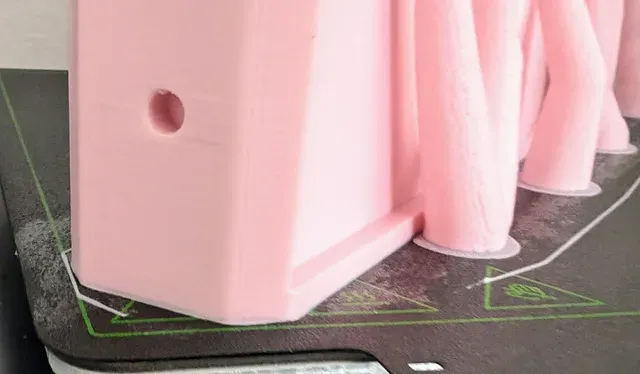
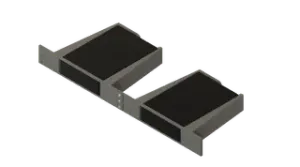
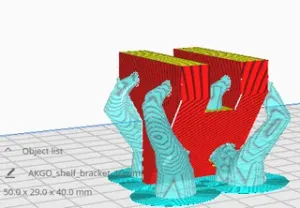
I found that most 3D printing 19 inch server rack holder designs for Netgear GS316EPP and GS316EP 16 Port Switches were either too large for my heated bed (23.5 x 23.5cm) or had too much unused space . So I decided to make one of my own, and maximize the heated bed diagonally.
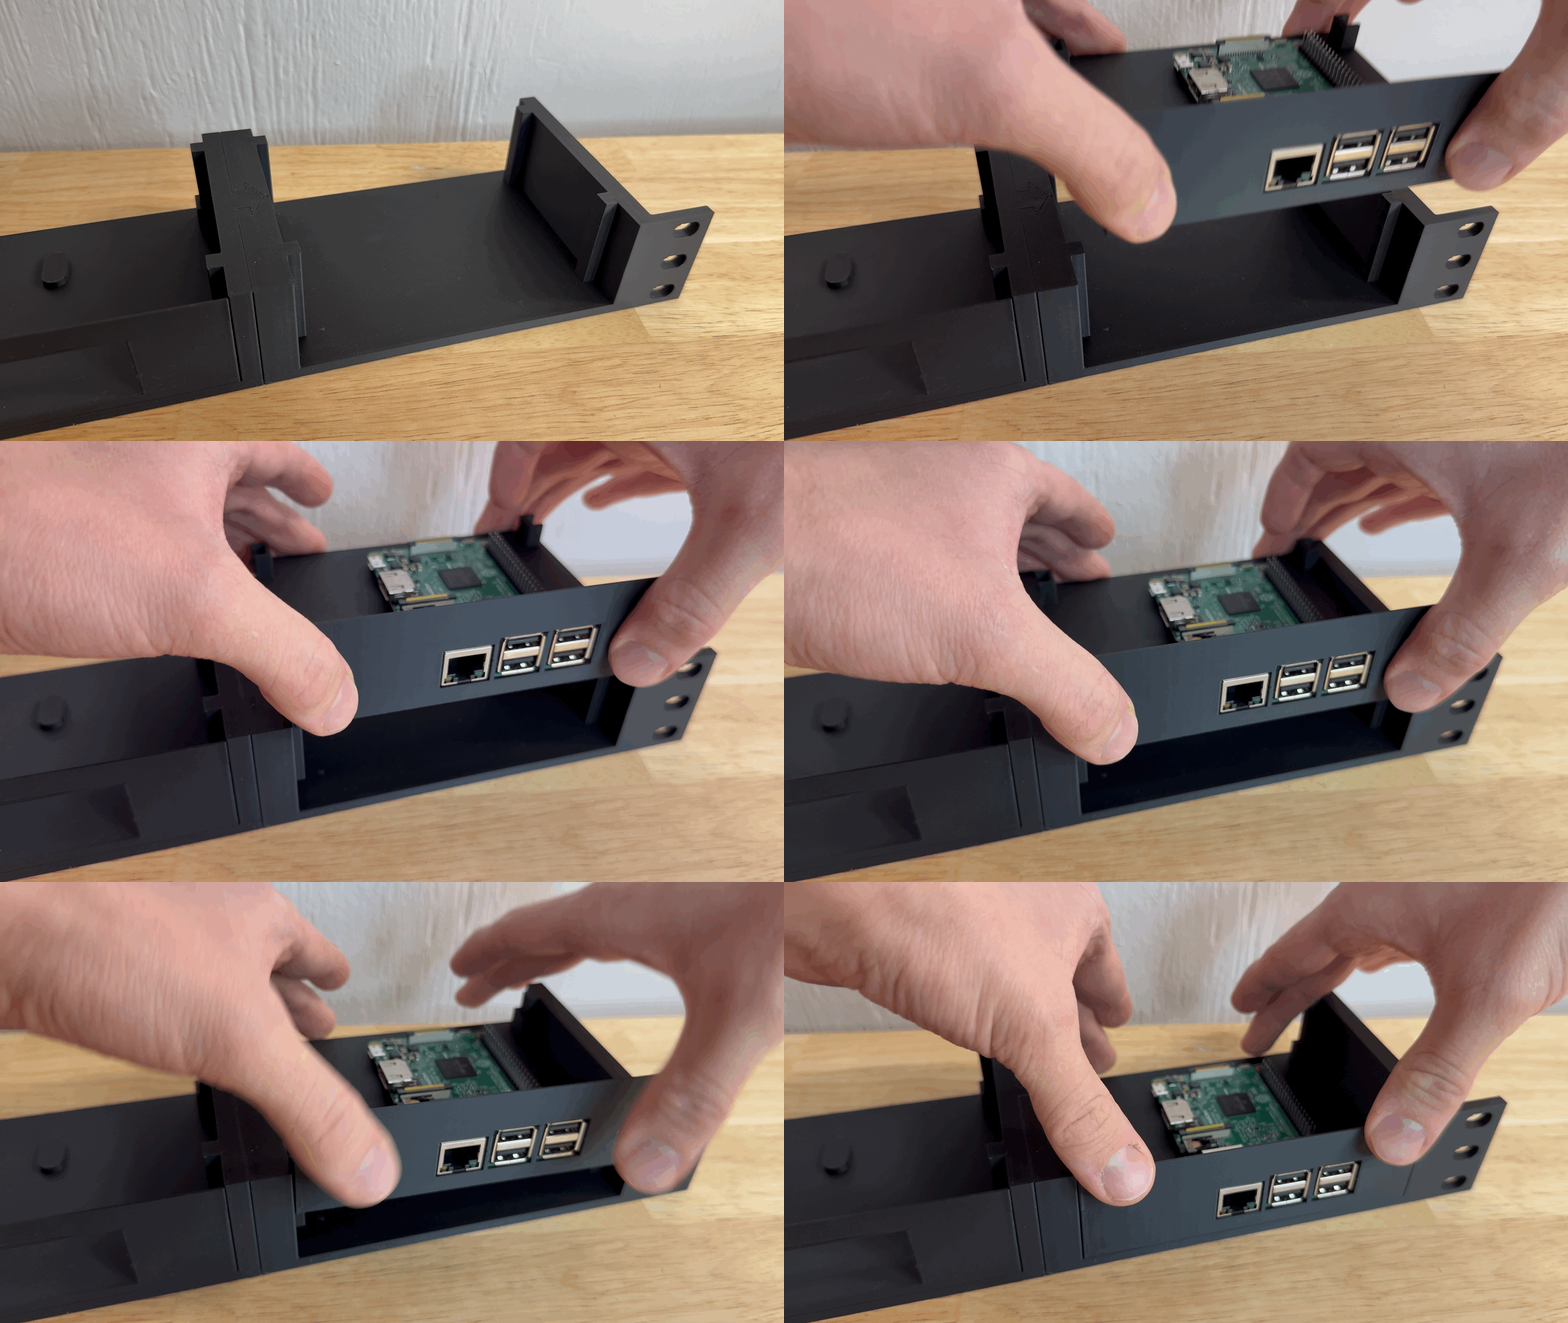
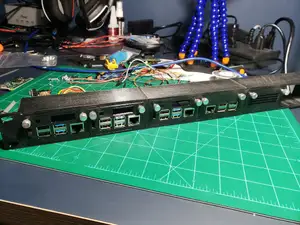
After several attempts I managed to fit it (Prusa Slicer was complaining about the tool edge but you can ignore that when generating the gcode) and print it (see last photo). It fits perfectly in my 19 inch server rack. I also wanted to utilize the remaining space better, so I created a holder for a single Raspberry Pi, and a general open holder (you can put anything in there). Just print one of the left brackets.
Hardware :
- 6x M5 8mm flat screws - I used these: https://www.aliexpress.com/item/1005005837689699.html - 6x M5 (OD 7mm) 6mm Heat Inserts - I used these: https://www.aliexpress.com/item/1005003582355741.html
Notes :
- Please be aware it is a really tight fit. I used a 0.4mm nuzzle and printed it with 0.2mm layer height. It may take a moment and a tiny bit of force to push it (straight) into the holder. I recommend you do this before installing it in the server rack. The top is mostly open to support the slight bending when pushing the switch into the holder and allow air to pass. If you find the fit too tight, try printing it with a 0.1% increase (so at 100,1% scale), although I have not tried it, that might give you the relevant margins for a looser fit. - In my initial designs I had one millimeter space between the holder and the switch, which caused the switch to move around a lot. So I added two little edges in front, which helps prevent the switch to coming out of the holder when you pull out some cables. As I wasn't happy with the movement, I tightened the fit and now they are probably unnecessary because it is a good tight fit and it also can't really hurt so I left them in the design. - If you are not planning to ever take the mount apart again - as I am not - then I recommend that after fitting the screws, you unscrew, add some strong glue, rescrew and let it dry before installing. - Depending on how well you align the heat inserts, you may need to enlarge the screw holes in the brackets a bit with a deburring tool. - I did use some adhesive on the heated bed for the supports, given that the print moves a lot and takes a long time to complete. - I used the modular trays from https://www.printables.com/model/69176-1u-raspberry-pi-rack-with-moduler-trays for the Raspberry Pi bracket. To select your tray, check out that excellent project.



Names are used only to indicate the source of a result. Polyzon is not affiliated with the listed sites.
Comments