
Free 
Ikea Lack Table Leg Extension
Printables







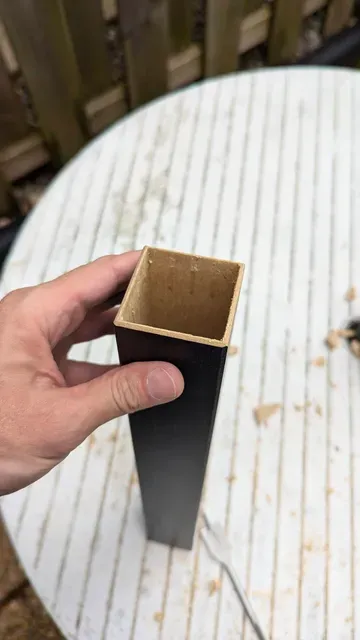


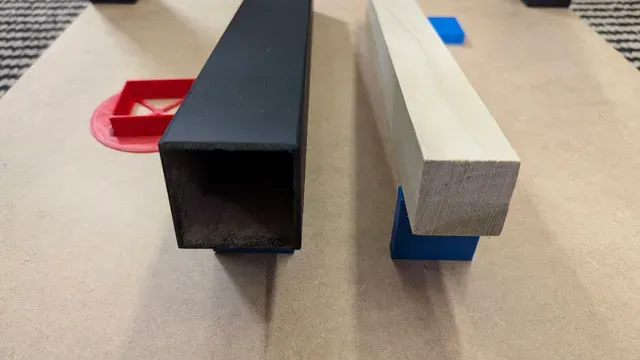


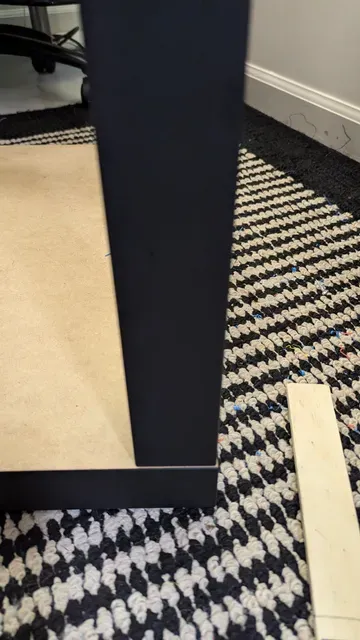
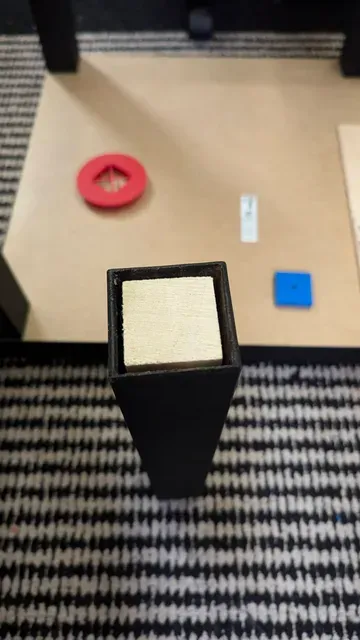
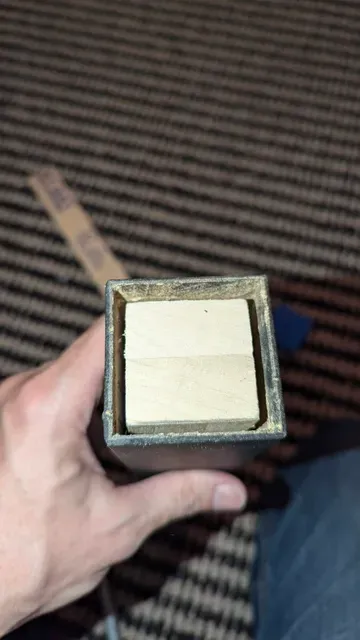
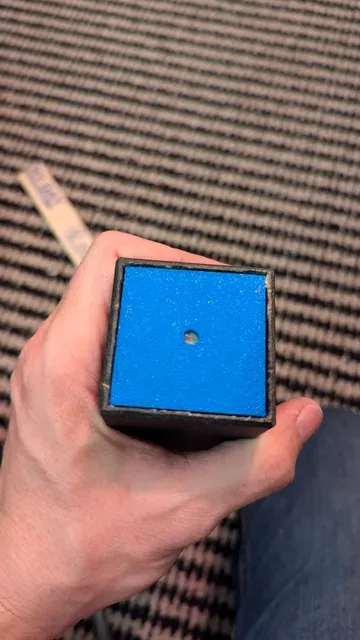


IKEA Lack Tables are very inexpensive and if you've ever used one, you know exactly why they are so inexpensive. They are pretty much hollow and wobbly as heck. Especially the legs. Just a little bit of particle board, cardboard, and air and you've got an Ikea Lack Table.
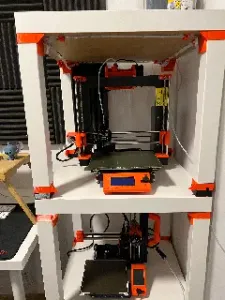
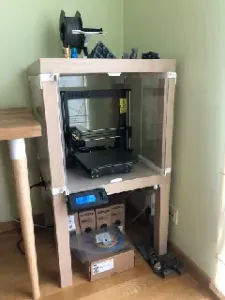
I wanted to build a Lack Enclosure for my printer, but the Lack Table in it's original configuration was so wobbly while trying to print I thought it was going to fall apart.
Not to mention I was going to try stacking multiple together for an enclosure. That just wasn't going to work.
The problem I ran into is the hollow leg opening is ~1.75" (~44.45mm) and I could not find any lumber in the US that size.
So, enter the Ikea Table Leg Spacer models. These models allowed for me to use 2"x2" lumber (1.5"x1.5" actual size) from Lowe's to stabilize the legs by centering the lumber within the hollow Lack Table legs with the spacers.
By adding the lumber, the legs are much sturdier and allow for you to actually screw supports into the legs and have your screw bite into actual wood, instead of particle board and hopes and dreams (AKA - nothing, thin air).
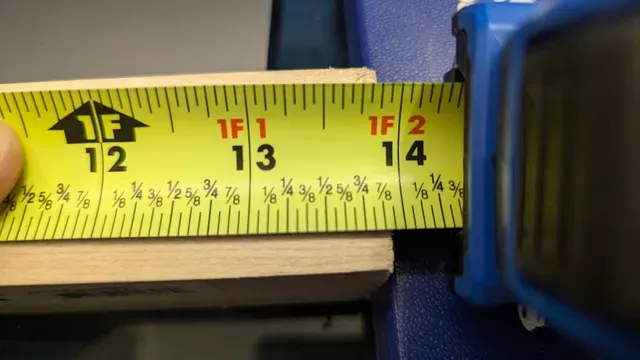
You can get 2 legs per 3' piece of lumber. I found that the optimal length for each leg is just under 14". Between 1/16" and 1/8" under 14" seems to be just about right. So, ideally, you'd like to cut each piece at 13" 15/16" (354mm) or 13" 7/8" (352.43 mm):
IMPORTANT NOTE FOR PREPPING THE LEG FOR THE LUMBER:
DO NOT DO PERFORM THESE STEPS ON THE LEG END THAT ALREADY HAS A HOLE AND A SERIAL NUMBER!! THIS IS FOR ATTACHING THE LEG TO THE TABLE! YOU WANT TO DO THE END WITH NO HOLE AND NO SERIAL NUMBER!
YOU WANT THIS END:
REMOVING PRESSED WOOD:
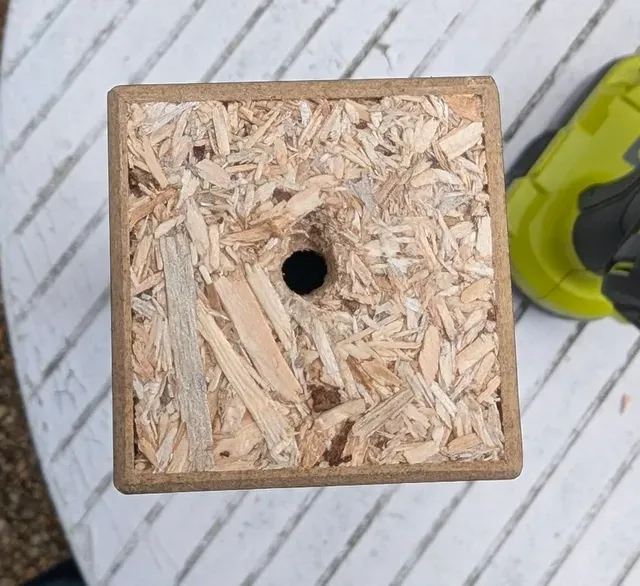
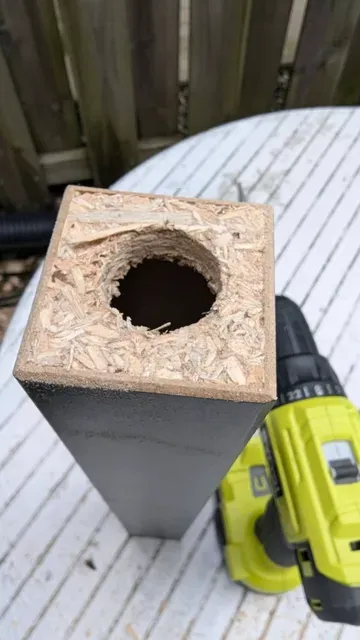
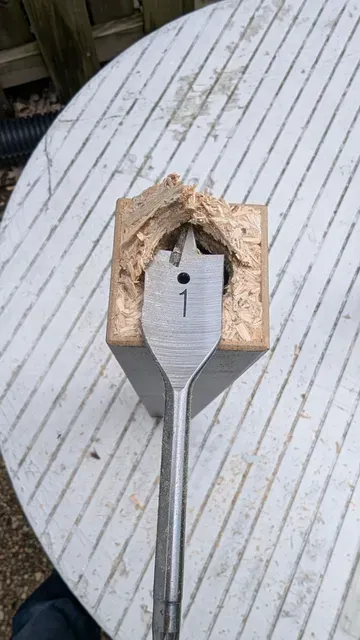
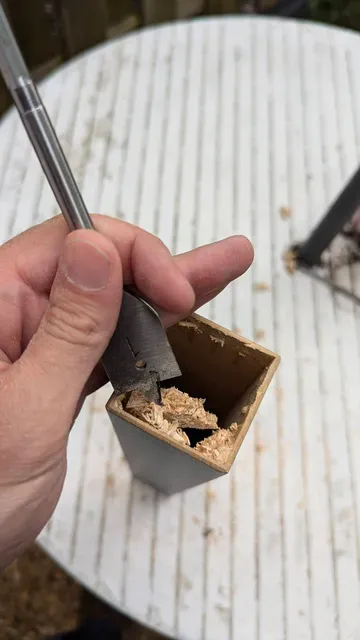
The process I found that worked for best for removing the pressed wood from the table legs was as follows:
- Drill a hole as close to the center using a ¼" spade bit with a drill straight down until you get through the pressed wood into thin air (hopes and dreams). - Drill a ¼" hole near each corner. (I figured this out after a leg or two, but forgot to take pictures. It makes removing the pressed wood much easier). - Using the ¼" center pilot hole, use a 1" spade bit and drill straight down. - Carefully , use the 1" spade bit to pry up the pressed wood. Take your time. - Use the 1" spade bit sharp edges to clean up any leftover wood and glue so the opening is ready for the spacers.
Step 1:
Step 2:
Step 3:
Step 4:
Step 5:
Inserting the lumber into the legs:
Now your table leg is ready for the lumber. For one table (4 legs) you will need to print the following pieces:
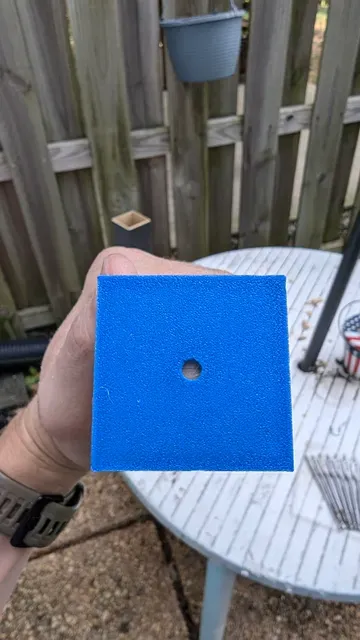
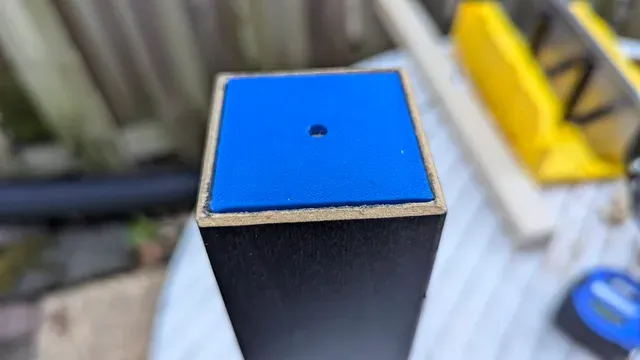
- 8 x Ikea Lack Table Leg End (one for the top and one for the bottom) - 4 x Ikea Lack Table Leg Spacer (this is to keep the lumber center in the middle of the leg) The preparation for inserting the lumber should look like this (The red table foot is not mine, I will include a link to it, but should be able to use an Lack Table foot you would like).
WARNING ON INSERTING LUMBER:
- Absolutely, do NOT slide the lumber in without the top leg end (the end where it attaches to the table) attached to the lumber and going in first. If you make the mistake I made and slide the lumber in with just the center spacer, and the center spacer is a tight fit on the lumber, you are going to have an awful time getting it back out to put the top leg end on because your lumber will be too short without it. You have been warned!
The proper order looks like this:
- Top leg end - Center leg spacer - Bottom leg end
NOTES ON LUMBER SIZING:
I bought 4 x 3' pieces of lumber so I could reinforce 8 table legs (2 Lack Tables). The tolerances on the wood most likely will vary between each piece of 3' lumber.
- Some of them, the leg spacer that goes in the middle will able to be slide into place by hand. If that happens, most likely what will happen is you'll try and insert the lumber (YOU REMEMBERED YOUR TOP LEG END, RIGHT?!) and the hollow table leg will catch it and the lumber will slide to the bottom leaving the leg spacer somewhere near the top. - Others, the leg spacer will be crazy tight and you'll have to tap it into place where you want it on the lumber.
STEPS FOR SCENARIO #1:
- Put one leg end on the end of the lumber and slide it down until it hits the top table leg and the top leg end is now seated. (VERY IMPORTANT) - Pull the lumber back out. - Push the center leg spacer into the lack table leg opening. - Using a paint stick gently alternate tapping each of the 4 sides until you've positioned it somewhere near the center of the leg. It just needs to be somewhere near the middle. - Insert the lumber back into the table leg until it passes through the center leg spacer and seats back in the top leg end. - Put the bottom leg end on. - Install whatever Lack foot you want. - Install the leg following the IKEA instructions into the table top.
STEPS FOR SCENARIO #2 (IDENTICAL TO SCENARIO #1, EXCEPT STEP 4-5):
- Put one leg end on the end of the lumber and slide it down until it hits to top table leg and the top leg spacer is now seated. (VERY IMPORTANT) - Pull the lumber back out. - Push the center leg spacer onto the lumber as far as you can. - Using a paint stick (or another piece of lumber) gently alternate tapping each of the 4 sides of the leg spacer until you've positioned it somewhere near the center of the lumber . - Insert the lumber (which now has the centered leg spacer) back into the table leg until it seats back in the top leg end. - Put the bottom leg end on. - Install whatever Lack foot you want. - Install the leg following the IKEA instructions into the table top.
On the table leg ends, I left a put a small pilot hole just in case anyone ever wanted to use it to drill a hole in the center of the lumber for attaching something, like caster wheels or something.
Print settings:
- Printer: Creality Ender 3 V3 KE - Filament: ELEGOO Rapid PETG - Nozzle: 0.4 - Layer Height: 0.2 - Infill: 25% (Adaptive Cubic)
You could try PLA and it would probably work fine, however, I used PETG just because it isn't as brittle. I was concerned that if I was too aggressive with tapping parts into place, they may crack or if I decided to attach something to the feet using the pilot holes, I would like a little more flexibility than PLA would give me.
Your PLA milage may vary. Please let me know if it works for you!
Parts:
- IKEA Lack Side Table - RELIABILT 2-in x 2-in x 3-ft S4S Poplar Common Hardwood Board - Ikea Lack Foot For Balance/Stability [2-4mm offsets - w/ or w/o disc]





Names are used only to indicate the source of a result. Polyzon is not affiliated with the listed sites.
Comments