
Бесплатно 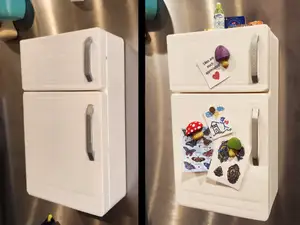
The Magnetic Door Fridge Magnet Fridge Magnet
MakerWorld
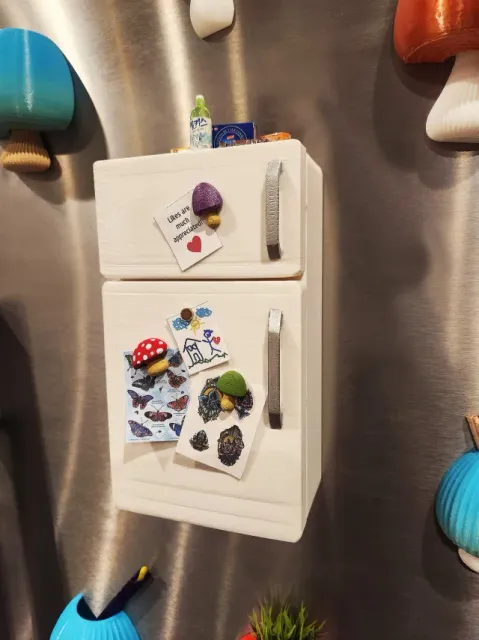
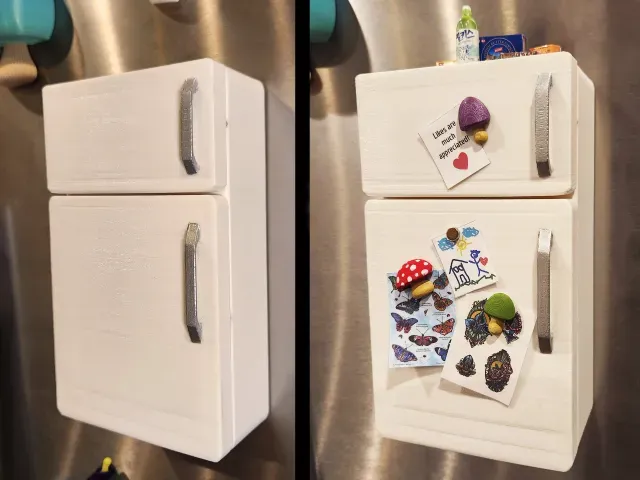
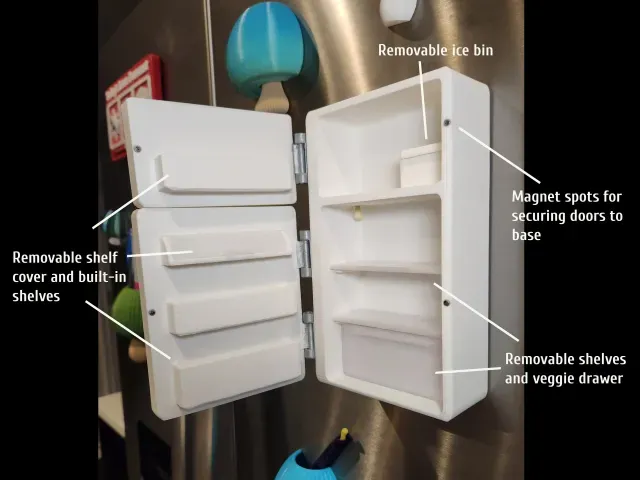
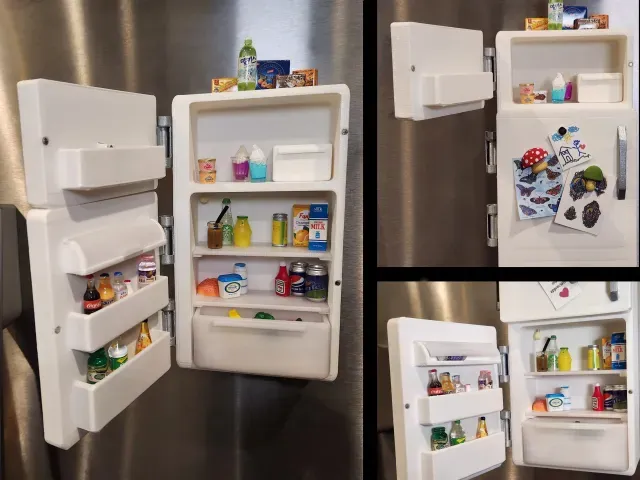
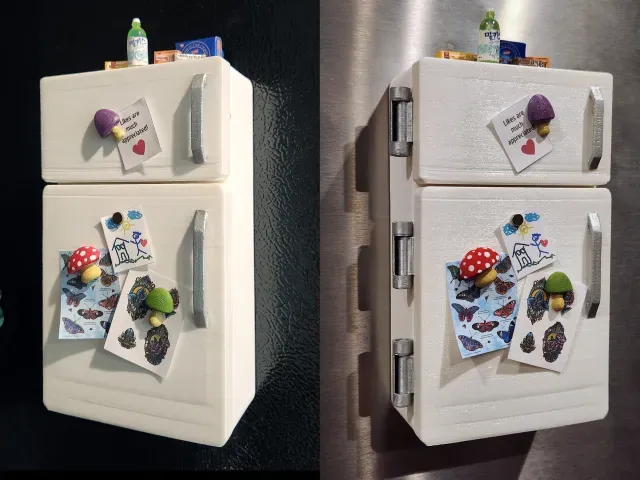
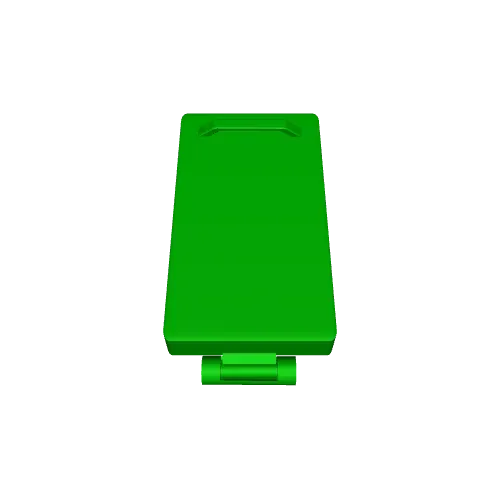
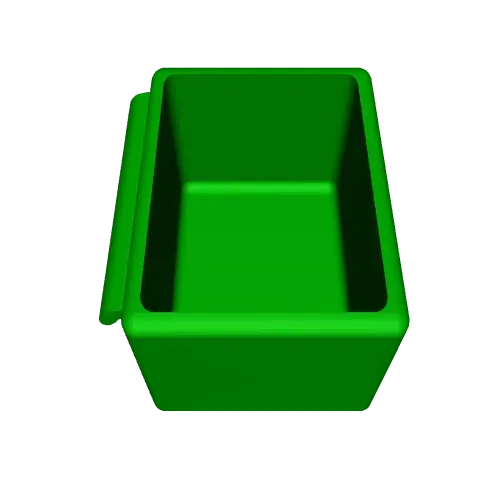
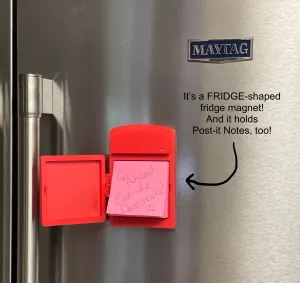
My fridge magnet model has two opening doors with built-in shelves and securing magnet spots (fits a 3x2mm magnet), removable semi-translucent “glass” shelves and vegetable drawer, an ice bin, and a tiny light “bulb”- no, it is not a working one, I didn’t want to make this model too complicated.
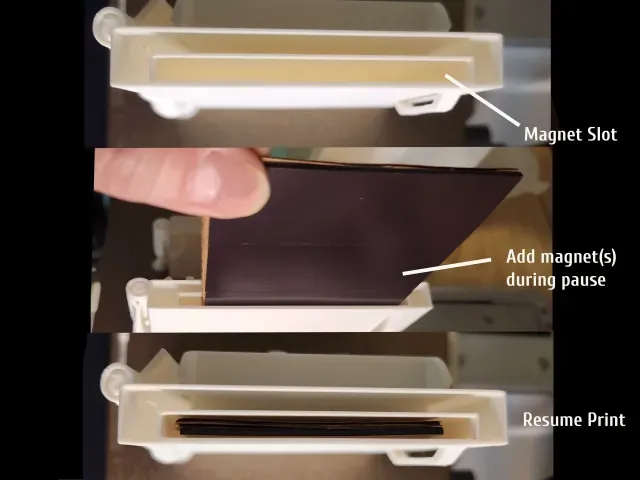
The best part (in my opinion- though obviously I am a bit biased) is the fact that I designed the doors with internal slots for magnets (inserted during print pre-programmed print pauses) which means you can put tiny magnets on the fridge magnet that is on your magnetic fridge!
With Halloween coming up, I initially wanted to put a severed head inside the fridge, but then I saw someone else already did that- so I decided to just stick with more traditional stuffs. The pictured food items inside the fridge are just doll-house toys, and tons of inexpensive variations can be found on Amazon.
***PLEASE NOTE!! *** Just a warning- this fridge magnet is 7 inches tall (just fits on my A1 Mini) and even with low infill it has a little bit of weight to it, especially if you choose to add internal door magnets- so you will just want to find some strong magnets to mount on the back to make sure this fridge stays safely secured to your fridge! I used two of the round 60x1.5mm sticker magnets from Bambu Labs’ MakerSupply- I sanded the bottom of the base a teeny bit because I printed it on a textured plate which can make it a little less receptive to good adhesion.
IMPORTANT PRINT INFO:
Warning!! Do not use the “fix model” function or it will remove the interior magnet slots in the doors! The “simplify model” seems to be ok if you feel the need, but not the fix model. Also, ensure you enable “Support Critical Regions Only” so that it doesn’t print supports inside the magnet slots themselves.
I recommend printing the doors at 0% infill and the base at 3% infill to keep it as light as possible, and using tree supports. For easier support removal (and less wasted filament) I set tree support brim width at 3mm, tree support branch diameter at 1mm, and Top and Bottom Interface layers at 1.
The doors should be printed upright so that the shelves (opening of the shelves should face upwards) and hinges come out well with minimal support material.
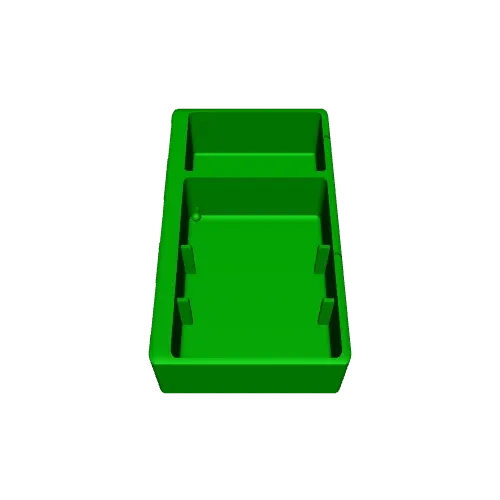
The fridge base can be printed on its back and will need just some support under the tiny light bulb.
For the semi-transparent shelves, veggie drawer and egg shelf cover, I used transparent PETG (in hubby’s P1S as it needed an enclosure for PETG) but if you only have an A1 mini or unenclosed printer, you can also just print them in regular PLA and they’ll still look great!
MAGNET INFO:
If you want to make the doors magnetic, first make sure to enable “Support Critical Regions Only” under your support tab or it will print supports inside the internal magnet slots! Also be sure not to use the “Fix Model’ function or it will remove the magnet slots. To be able to drop in the magnets during printing so that they are sealed inside, you will need to have two print pauses in your slicer, one for each door. I used what I had on hand, which were 30 x 70 x 1.5mm rectangular magnet stickers (from Bambu’s Maker Supply) and I fixed them onto pieces of cardboard (literally from an average Amazon box) which helped keep the magnets snug against the front wall of the doors when installed. I used one magnet for the freezer door and 3 magnets stuck together on the cardboard sheet for the main door. Obviously you can also use other stronger magnets (see below for measurements), but either way make sure to place the magnets in the Front opening gap in the doors (see pics) with the magnetic side facing outward (away from the side with the shelves).
The magnet drop pauses for the Bambu Studio slicer (printing at .26 layer height) were at layers 185 and then at 438, but obviously you may need to adjust based on your slicer and layer settings, etc. Then just drop the magnets into the slots at the pauses (make sure the magnets you use are a little shorter than the magnet slots) and resume printing. To help you pick the right sizes of magnets, here are the measurements of the internal door magnet slots:
Main Door: 3.75 tall by 3.25 wide by .20 inches deep magnet slot Freezer Door: 1.6 tall by 3.25 wide by .20 inches deep magnet slot
ASSEMBLY INFO:
For stability purposes, the hinges on the doors are designed to be a snug fit with the angled slots in the fridge base. You may need to sand the connectors a little bit to ensure they don’t break as you install them, make sure to be careful when pressing them into the base- try to apply firm steady pressure to the middle cylinder part of the hinge as you wiggle them a little from side to side- avoid putting too much pressure on the outside cylinder. Adding a little superglue is recommended but not required.



Названия используются только для указания источника результата. Polyzon не аффилирован с перечисленными площадками.