
Бесплатно 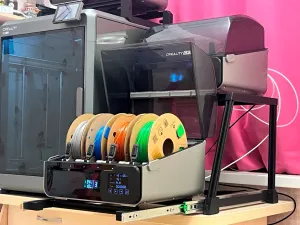
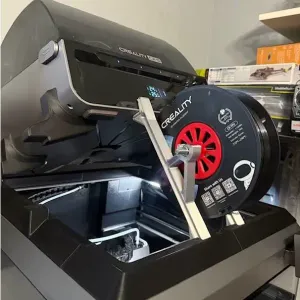
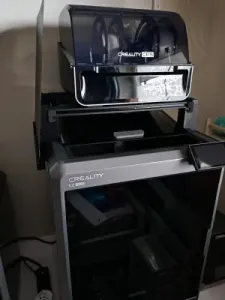
2 CFS stands with sliding rails (non-overturning one)
Creality Cloud
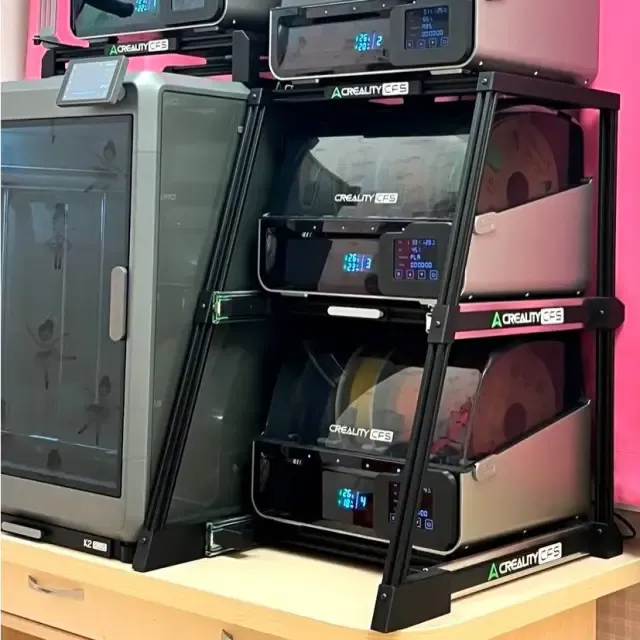
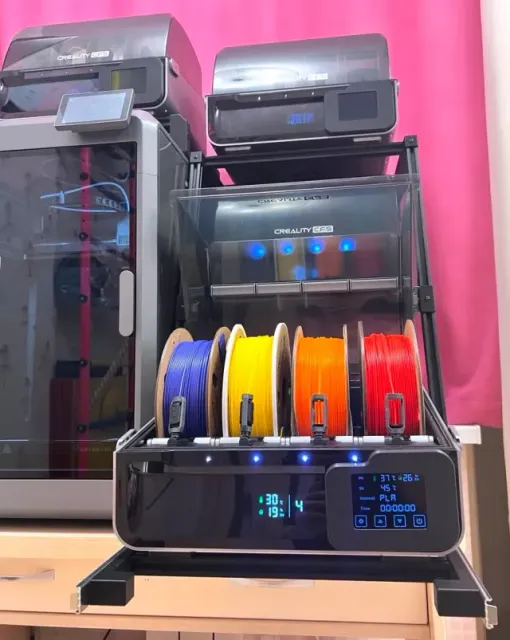
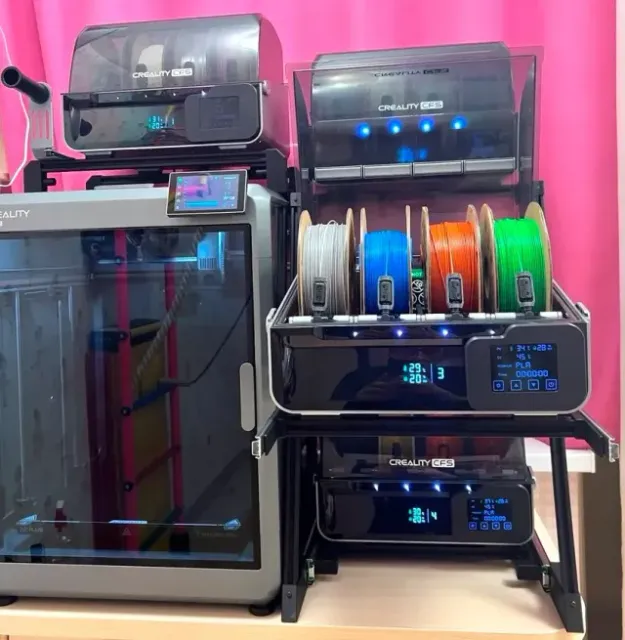
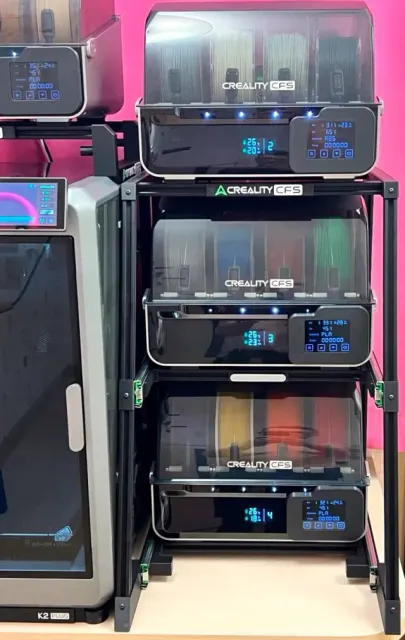
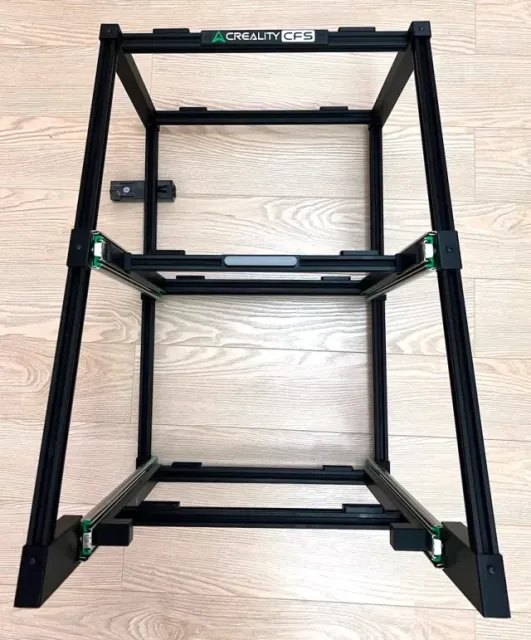
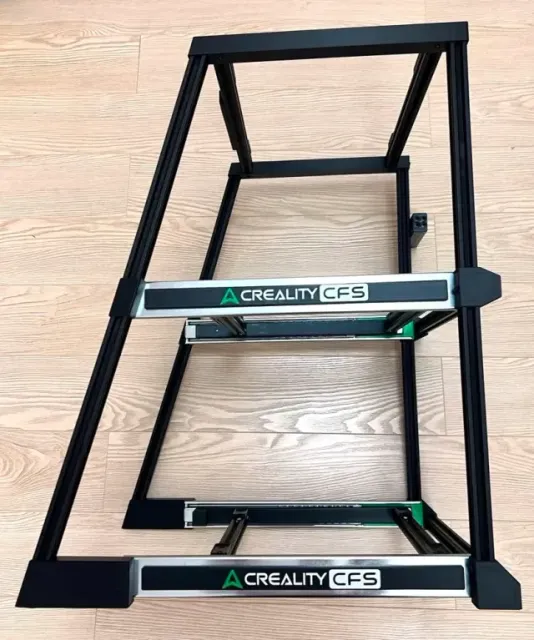
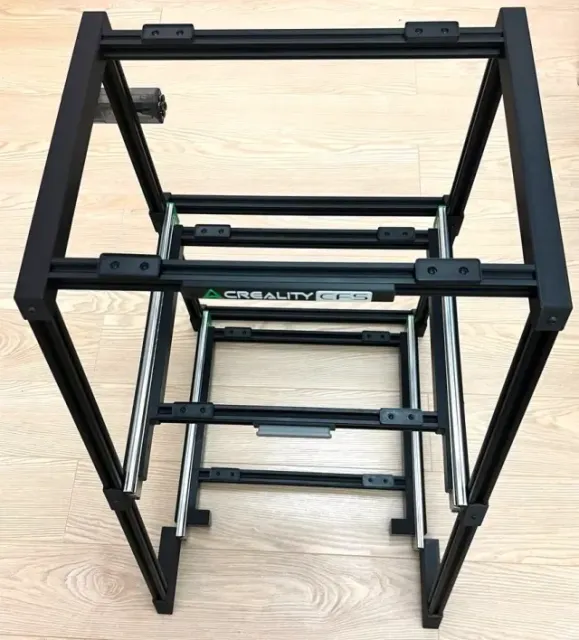
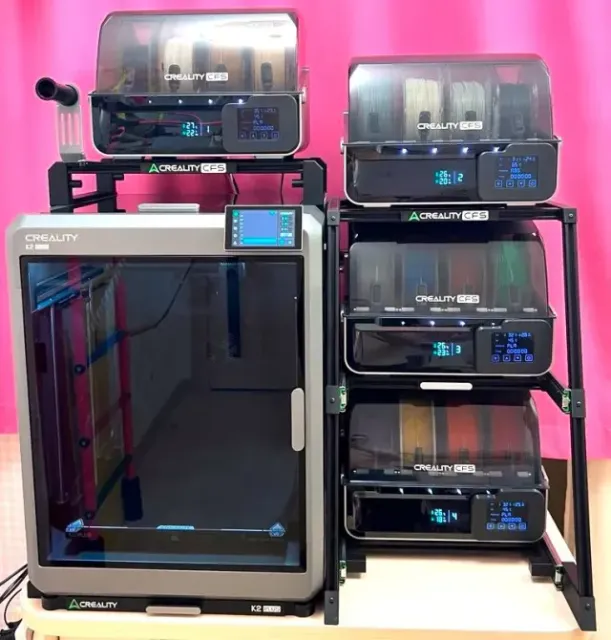
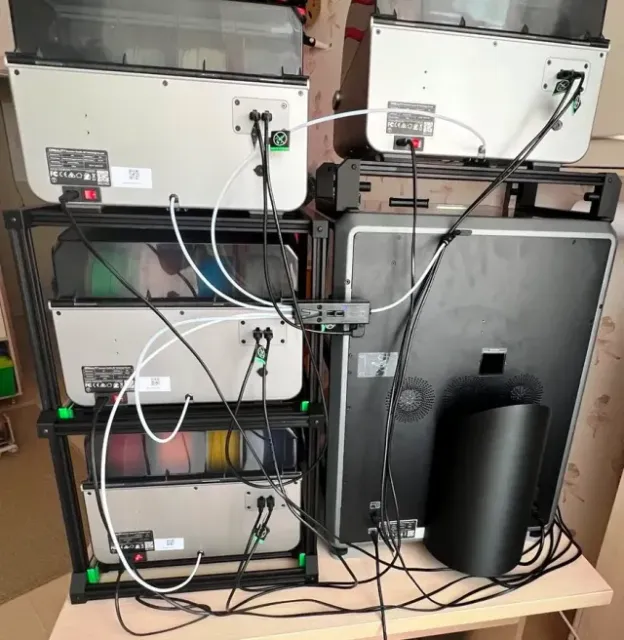
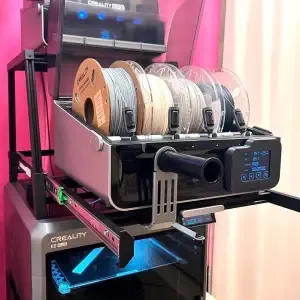
This stand allows you to change filament spools on the middle and bottom CFS units without extra movement; just slide them on the rails (even while powered on).
It will not tip over, even if there are no spools in the top CFS.
All printed parts are assembled on two plates. If you want an extra crossbar, add a 424mm profile (I'm not using an extra crossbar; the strength is enough for me).
Other parts needed for the build:
1) V-slot 2020 aluminium profile 650mm - 4pcs (vertical rear and front angled)
2) V-slot 2020 aluminium profile 360mm - 4pcs (horizontal on rails)
3) V-slot 2020 aluminium profile 424mm - 4pcs (horizontal top and rear)
4) M4 8mm screws - 44pcs (I'm using DIN 7380 black)
5) M4 5mm screws - 36pcs (for rails)
6) M4 t-nuts for V2020 - 54pcs
7) M4 5mm heat-set threaded inserts - 12pcs
8) 400x45mm sliding rails - 2 pairs (I'm using FGV (Formenti & Giovenzana) Comfy 145 SlowMotion 54.5145.C7.40X.00, but you can use almost any 400x45x12mm rails, as they all have standard dimensions)
9) 20x20x2mm rubber adhesive pads - 8pcs (I'm using Space Pi rubber pads after the CFS mod)
Assemble using a rubber-tipped hammer (I'm using an IKEA set). You will hear a dull sound when the profile reaches the end.
The distance between CFS foot holders must be 200mm, with a side shift of 41mm on the top and 19mm on the rails (all dimensions measured from the aluminium profile). The distance between rail levels is 264mm.
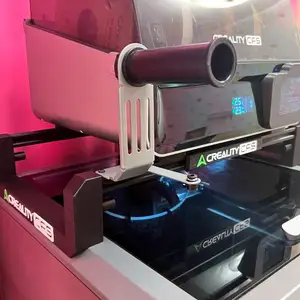
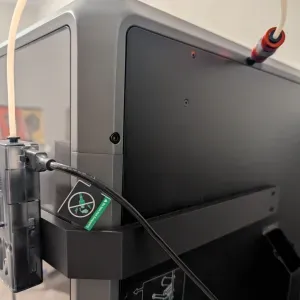
You can attach the CFS buffer to the stand (as shown in my pictures) using two M3 t-nuts.
Assembly order:
1) Melt in the inserts (using a soldering iron) into the 5.5mm holes on the front bottom parts (2pcs), the middle supports (2x2pcs), and the bottom supports (2x3pcs).
2) Screw in M4x8mm screws with t-nuts into all 4mm holes near the aluminium profile slots. Slightly tighten the t-nuts in a vertical position (to allow free profile insertion).
3) Disassemble the rails. Extend them to their full length and push the internal levers to remove the smallest part.
4) Assemble the extracted rail parts with the printed supports using M4x5mm screws, and then insert the 360mm aluminium profiles. After inserting the profiles, unscrew the screws to leave the t-nuts free, then screw them back in (check that the t-nuts are turned to the proper position).
5) Assemble each side part. Attach the 650mm profiles with rails and printed parts (the distance between rail levels is 264mm). Use M4 5mm screws with t-nuts for the rails (only the two at the bottom front are without t-nuts, screwed directly into the inserts). Loosen and tighten the M4x8mm screws to fix all profiles in place.
6) Attach the side rail covers using M4x5mm screws (screwed directly into the plastic).
7) Connect the preassembled left and right sides with the 360mm profiles.
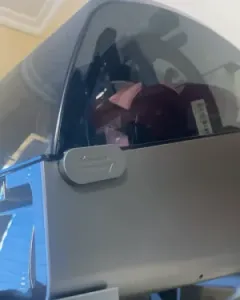
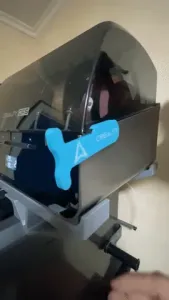
8) Attach the plate with the logo and the handle to the middle CFS support (using M4x8mm screws with t-nuts). Cover the screws with the caps.
9) Using M4x8mm screws with t-nuts, attach all the CFS foot holders (12pcs). Side shift on the top is 41mm, on the rails is 19mm, and between them is 200mm (all dimensions measured from the aluminium profile).
10) Insert the rail parts with supports inside.
Updated for all types of V2020 profiles, and added the Creality CFS logo along with a separate plate with the logo. I've also added a handle for the middle CFS.
Названия используются только для указания источника результата. Polyzon не аффилирован с перечисленными площадками.
Комментарии 0
Загружаем комментарии…