
Бесплатно 
Ender-3 V3 Plus Mod Collection
Creality Cloud
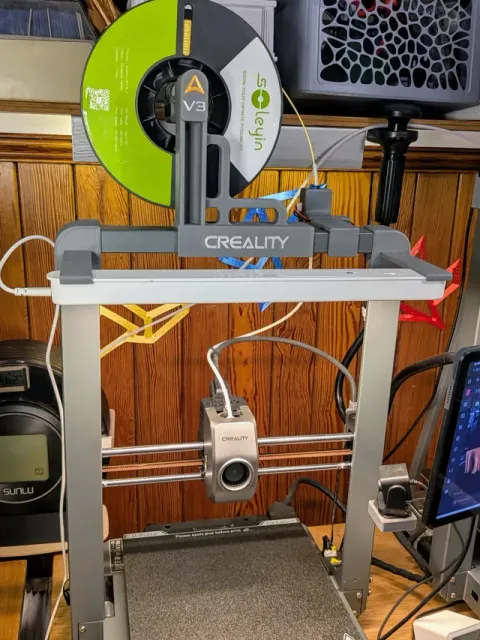
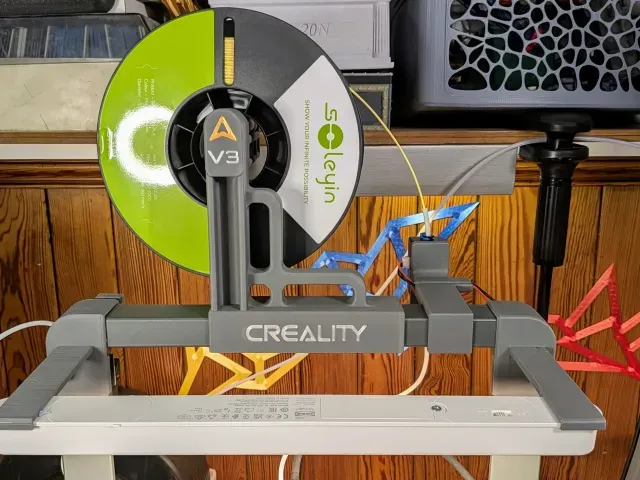
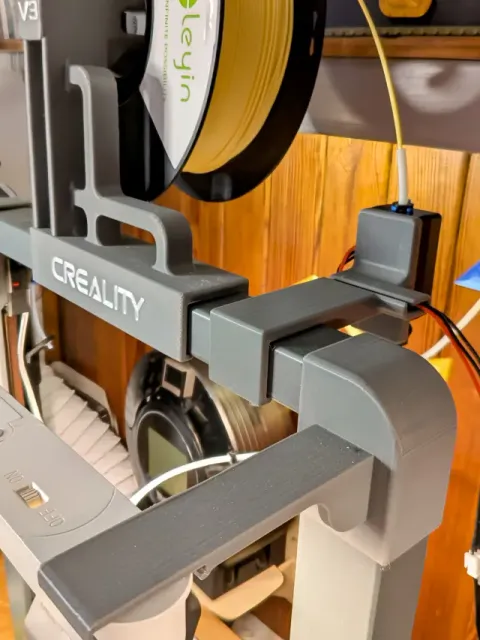
Note: This only fits the E3V3 printer. For the larger E3V3 Plus printer see my collection here: Ender-3 V3 Plus Mod Collection https://www.crealitycloud.com/model-detail/67120e4ffb353178f7e8ede5
A collection of aesthetically pleasing upgrades and add-ons which are, to me, pretty essential. Included are:
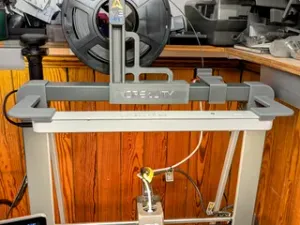
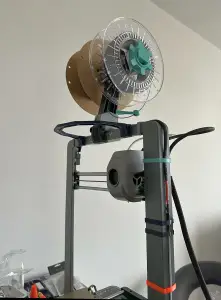
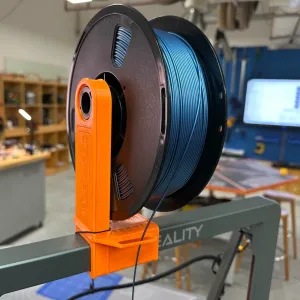
- Top Mounted Spool Holder
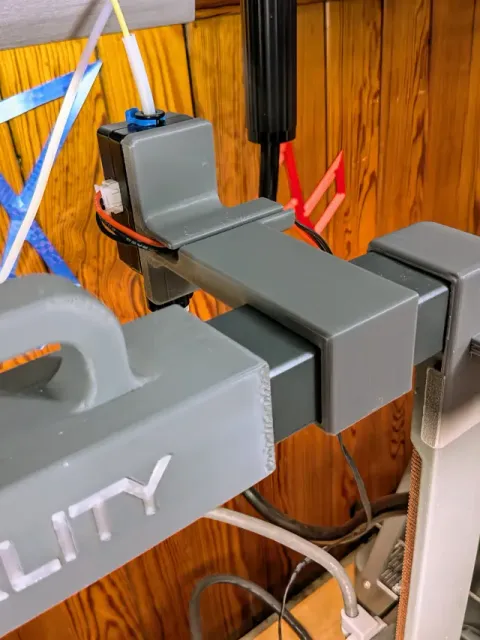
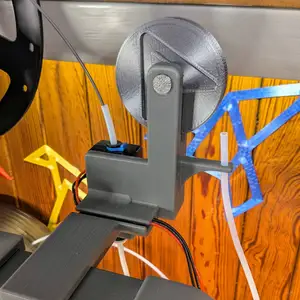
- Top Mounted Filament Sensor Bracket - eliminates the loose filament looping
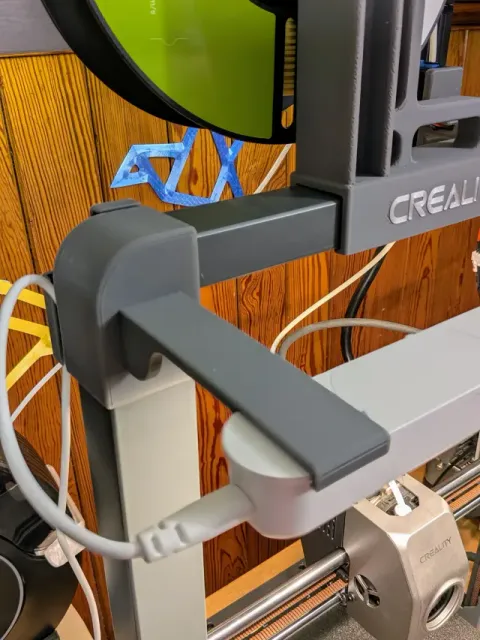
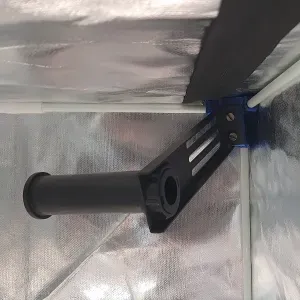
- Frame Mounted Light Bar Brackets for the excellent IKEA Rolfstorp
- Z-Axis Mount for the Creality Nebula Camera
All bar the Camera mount and Cable Clip snap snugly on to the frame, and only two sets of additional items are required.
Additional Items
For the Sensor Bracket you'll need an extension to its wiring cable. One example I found is called “XH 2S LiPo battery balance extension lead” and you'll need a 200mm / 20cm length. You'll also need two additional M3x12mm bolts .
For the Camera Mount you'll need two additional M3x10mm bolts .
The top mount uses items from other models, I've included the STL files for convenience:
The Roller mechanism and upper frame dimensions are derived from this model:
K1/K1 Max Table Top Spool Holder: https://www.**********.com/model/543319-k1k1-max-table-top-spool-holder
The Roller bearings are from this excellent collection:
Print in place bearings: https://www.**********.com/model/541192-print-in-place-bearings
If you prefer you can use metal M608 bearings if you have them. Some working of the printed ones to smooth the insides plus some dry PTFE spray does wonders.
Printing
Print the main elements in PLA+ (or PETG - except for the Nebula Mount as PETG is too springy) using 4/4/4 walls/top/bottom and 15% 3D infill for strength. Supports are necessary for some of the models, so keep their orientation as in the 3MF file.
Select Tree(auto) with On Build Plate Only for the Spool Holder, Rolfstorp Mount and Roller - the others don't require support.
I've also included some snap-in Logos and text. They're not necessary of course, but I like the effect. If they're not fitting for you try adjusting the X-Y compensation a little (as small as 0.05mm can make a difference) to make them a little thinner.
Assembly
After you've worked and lubricated the Bearings, add them to the ends of the Roller. Then clip this in place on the Spool Holder.
Then look at the back where the filament sensor is. Carefully unplug the wiring to the sensor, remove the PTFE tube (push on the brim of the part that holds it in to release it) and unclip the large wiring assembly. Then undo the bolts that hold on the Sensor and the Clip - keeping them for the new Bracket.
Now bolt the Sensor and its Clip onto the new Bracket. Use your new M3x12mm bolts to bolt the new Cable Clip in place where the original was. Attach the extension lead to the Sensor and clip the large wiring in place on the Cable Clip. Pull the Sensor wiring out of the fabric wrapper holding the wiring assembly, wrap the extension cable wiring around the Sensor and into the cable guideway and then attach them together. Snap the bracket onto the frame by hooking it in at the back then bringing it forward until the front snaps in under the frame. Finally remove all but one of the clips on the PTFE Tube and re-attach it to the Sensor, this time at the bottom. Keep the clip on nearest to the print head.
To attach the Spool Holder hook the rear in just under the back of the upper frame and rotate forward - the Spool holder will take some force, but should snap in place hard. This is another reason to use PLA+ or PETG - regular or silk PLAs will just snap (this I know).
The Light Brackets snap on by placing them on top of the corners with the arm splayed outwards a little - rotate inwards and down and they will snap in place.
Finally, screw the Camera Bracket into where the Sensor was with the two new M3x10mm bolts.
And we're done! I recommend putting a spool in place and re-running Input Shaping.
Post your make here, and if you like this model please consider: https://ko-fi.com/edinbeardragon





Названия используются только для указания источника результата. Polyzon не аффилирован с перечисленными площадками.