
Бесплатно 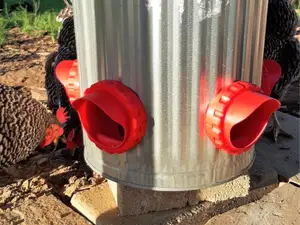
Chicken/ duck feeder
MakerWorld
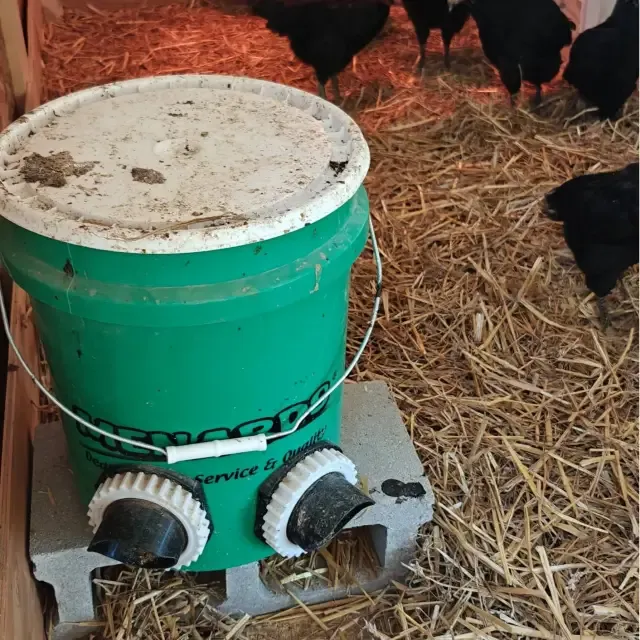
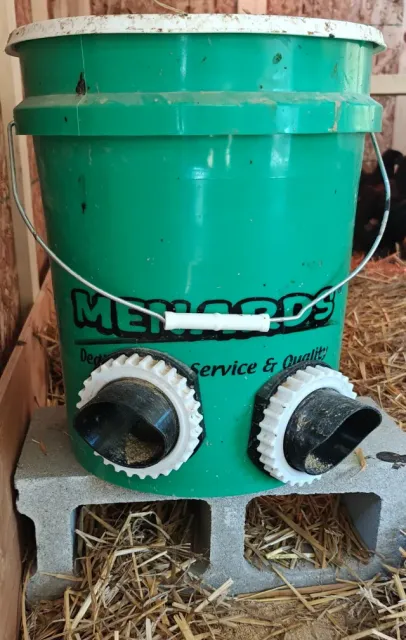
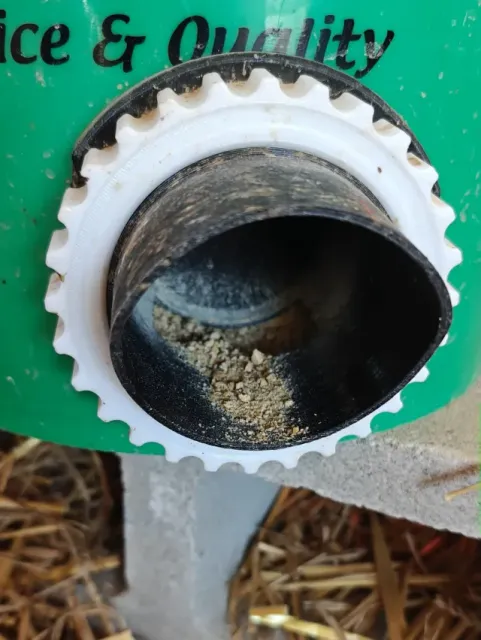
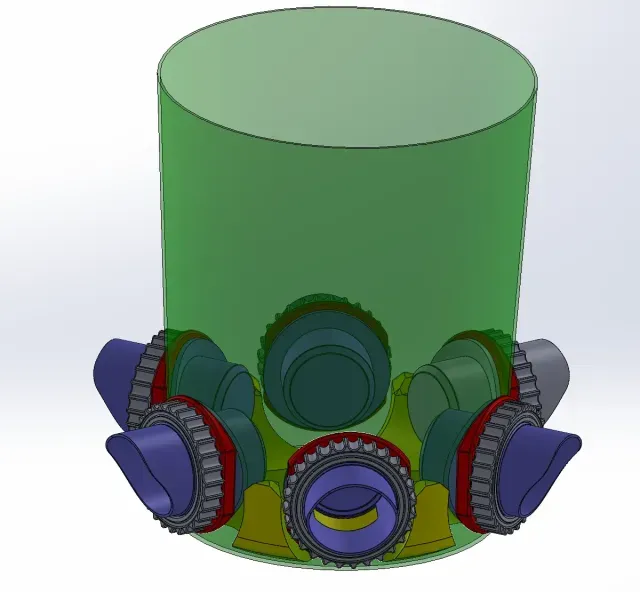




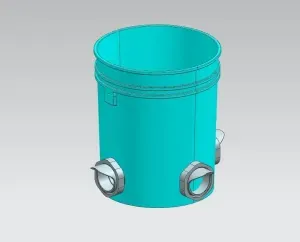
This is a spill-free design for feeding chickens with 5-gallon buckets.
I made this when I saw that kits like this were $35+ on Amazon or eBay, and they didn't contour to a bucket's curvature. I didn't like this as you have to deform the buckets to have them seal properly. I also had some half-full spools of PETG laying around without a use for them. Last but not least, they didn't come with any diffuser for the bottom of the bucket.
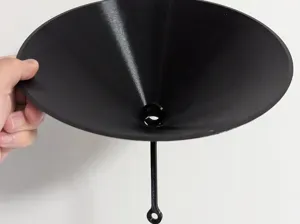
Why a diffuser? This keeps all the chicken food always going to the feeder outlets. This is very important as without it, the food in the center of the bucket would never get consumed. Over time, chicken food absorbs moisture from the air and will begin to rot. The diffuser eliminates this concern altogether!
This is a whole package to get your chickens fed, and with the capacity of a 5-gallon bucket, there will be fewer trips out to the coop to feed them!
Any questions, please ask!
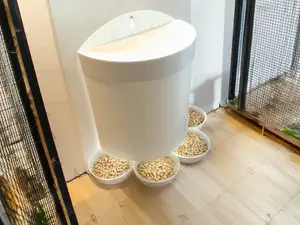
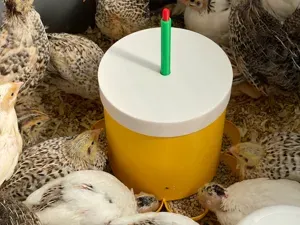
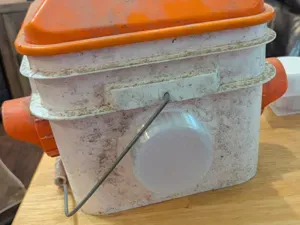
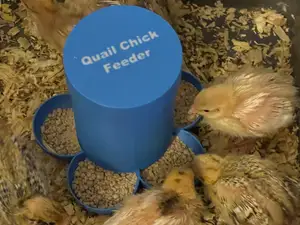
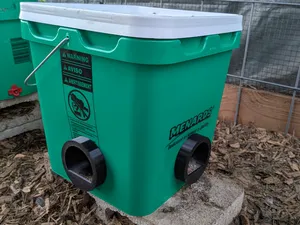
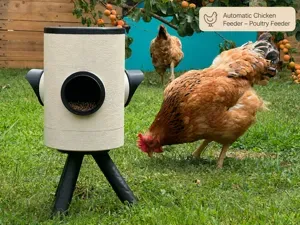
See photos, tested and works great! Chickens required no training to find the food.
Assembly Steps:
1. Drill one (1) 3" diameter hole 3-3.5" from the bottom on the outside of the bucket.
2. Drop in the Bucket Diffuser
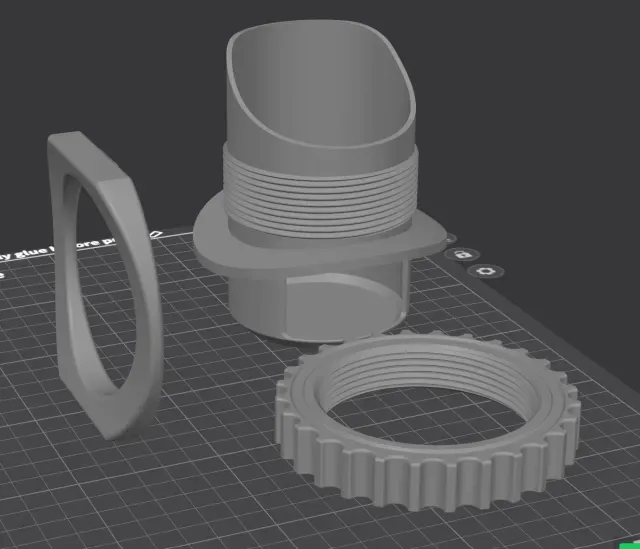
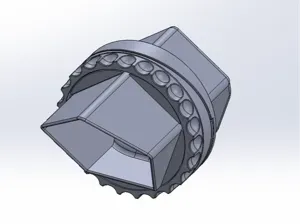
3. Insert Feeder Outlet from the inside of the bucket until the curved flat is against the bucket.
4. Place the Curved Washer over the threads on the Feeder Outlet on the outside of the bucket
5. Tighten Nut around the Feeder Outlet.
6. Repeat Procedure until all 6 are drilled and installed.
NOTE: Once 2 Feeder Outlets are installed, the diffuser can no longer be installed or removed. Install after the first hole, and use as a guide for alignment of the remaining holes.
Threads: If your printer's cooling is not very good, the threads may be a bit difficult to start. I suggest using some lubricant on the threads to help get them started and let the heat between the two parts form the threads as you tighten/work it on. My parts printed great and I had no issues. I added additional clearance to the threads to help combat this, but your mileage may vary.


Названия используются только для указания источника результата. Polyzon не аффилирован с перечисленными площадками.