
$ 1.00 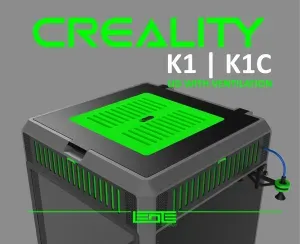
CREALITY K1|K1C|K1SE - LID WITH VENTS
Creality Cloud

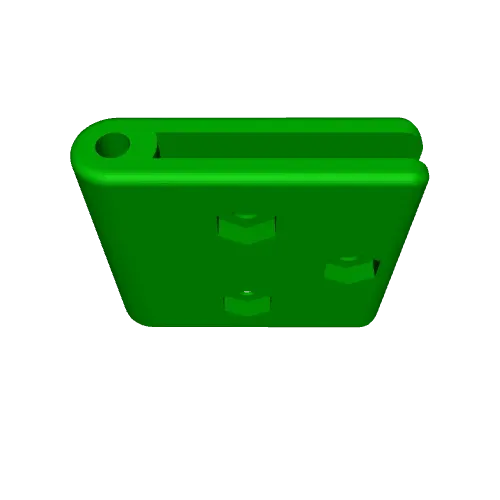
Design Concept
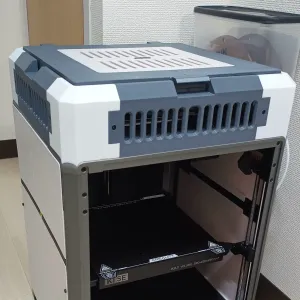
The K1SE Riser with vent is designed to improve air circulation within your 3D printer setup. It provides an elevated platform with an integrated venting system, facilitating better thermal regulation.
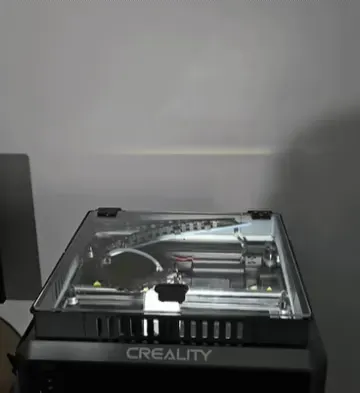
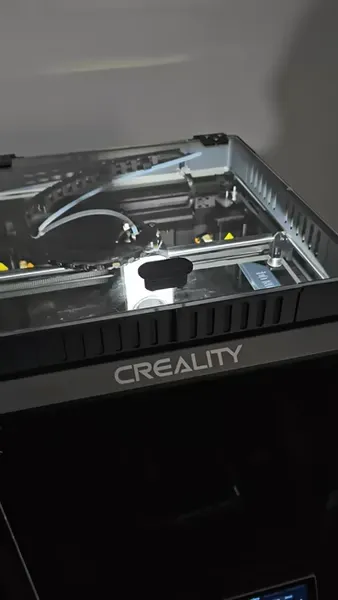
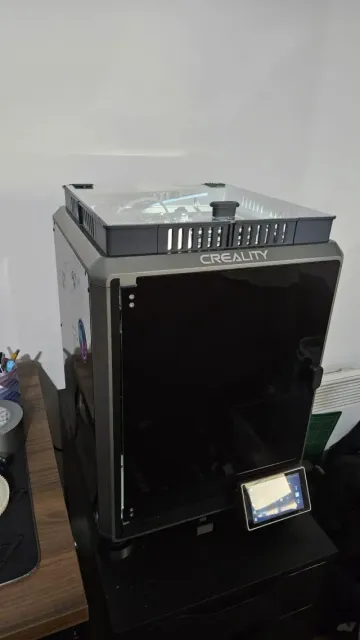
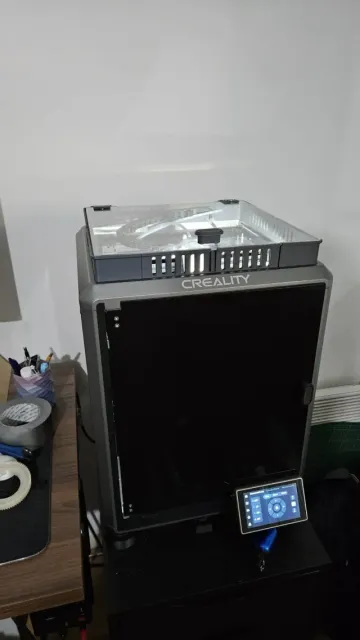
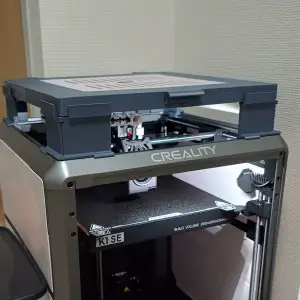
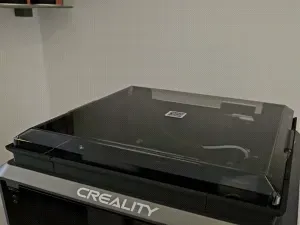
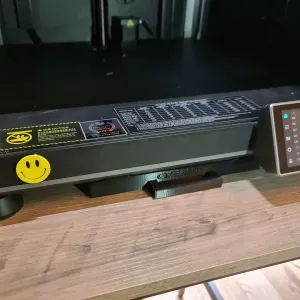
I decided to enclose my K1SE to be able to print ASA and more "engineering" materials. Side panels are easy to find but the top lid is not easily available (or expensive). That's why I designed this riser for K1SE to use with a plexiglass plate.
This riser comes with vents that can be opened or closed without removing anything. It also has enough clearance to use a drag chain without touching the top cover.
Use
This riser is ideal for reducing heat buildup in enclosed 3D printers, optimizing cooling efficiency, and prolonging the printer's lifespan.
Printing Suggestions
I suggest printing this in ABS/ASA to withstand the high temperature during printing. I printed it in ASA-CF from Isanmate.
I recommend using support when printing to ensure good visual quality and dimensional accuracy.
Assembly Instructions
To assemble the whole riser you will need :
- 2x Angle
- 1x Angle_arD
- 1x Angle_arG
- 2x charniere
- 3x Rail
- 3x Slide
- 1x Rail_ar
- Top cover : the file is provided to cut a 3mm plexiglass plate. Hinge holes positions may change for your specific print.
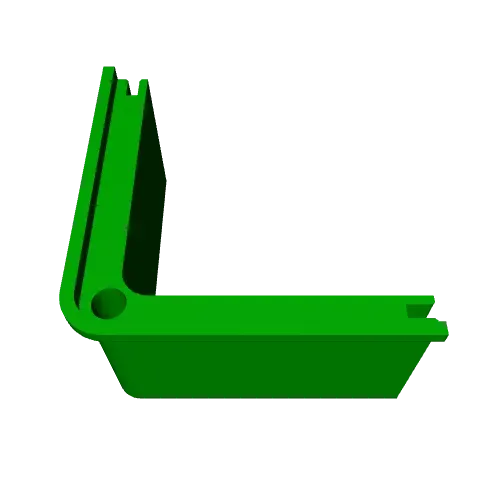
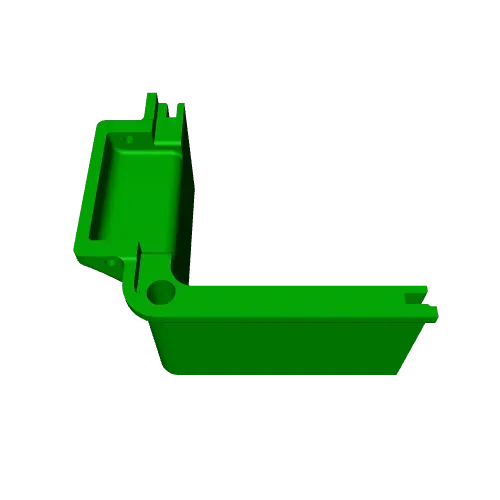
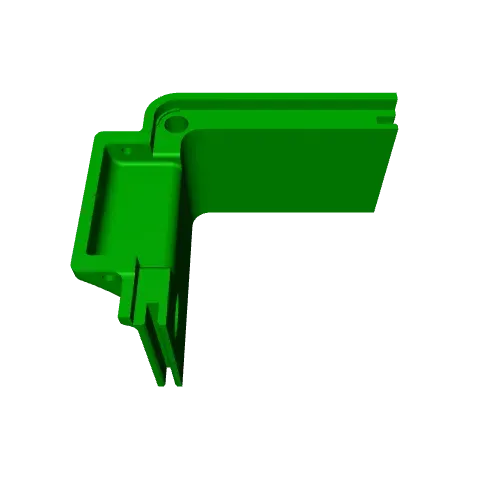
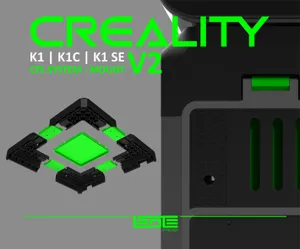
The assembly is easy, you just need to align the grooves and snap the elements together. The two Angle.stl are placed in the two front corners, Angle_arD.stl is placed in the back right corner and Angle_arG.stl in the back Left corner of the printer. The Rail_ar.stl is placed in between the two rear angles and the 3 Rail.Stl are placed on the 3 other side (Front, Left and Right). The slider need to be placed inside the rail and should move freely.
With the last picture you can easily figure how to place each part.
I also provide the top cover file if you want to cut a plexiglass plate. This is the file I used for my printer and it works perfectly but it may not be the case for you depending on your printer accuracy/material choice for the riser.
![CREALITY K1|K1C|K1SE - LID RISER V3 [FRAME EXTENSION KIT]](https://cache.polyzon.org/api/img?url=https%3A%2F%2Fpic2-cdn.creality.com%2Fcomp%2Fmodel%2Fe2414dcd2de406e9c05000ddf8bf9b3a.webp&w=300)
Названия используются только для указания источника результата. Polyzon не аффилирован с перечисленными площадками.