
Бесплатно 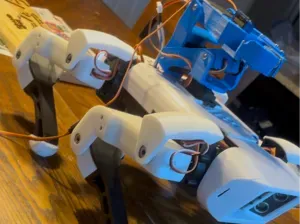
Spotmicro Esp32 V5
MakerWorld
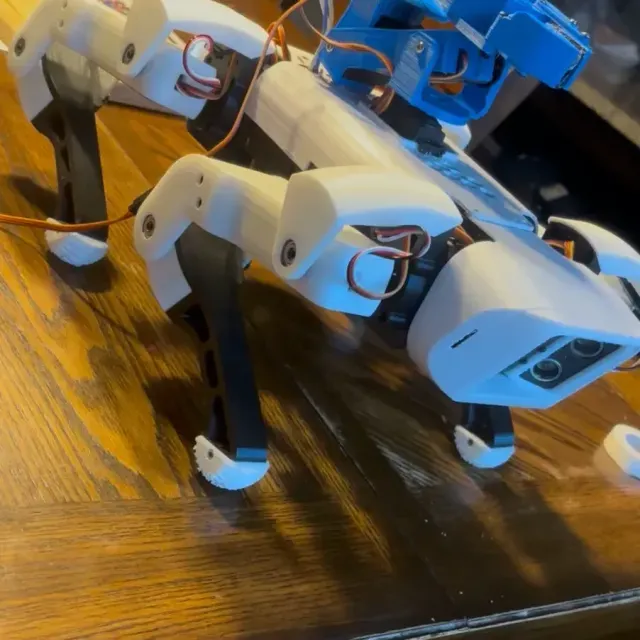
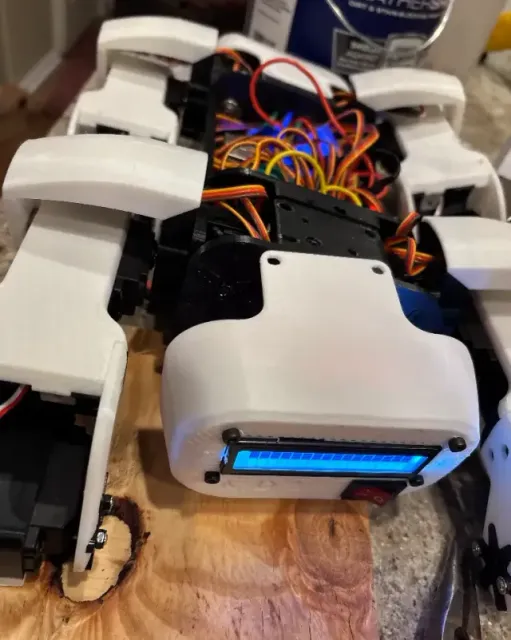
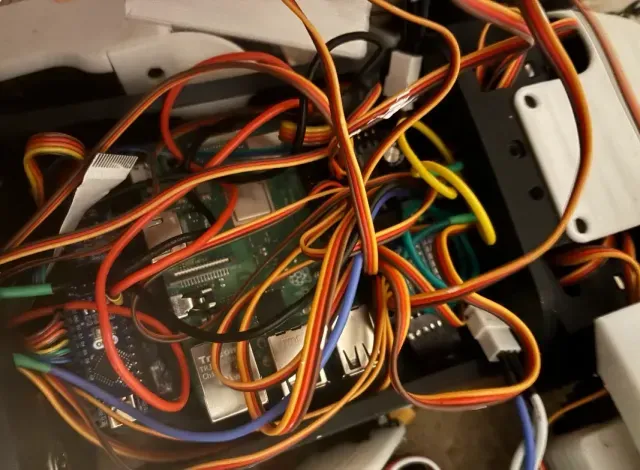
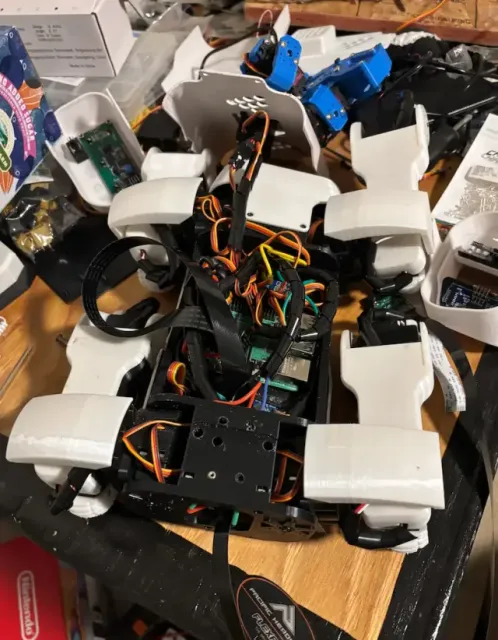
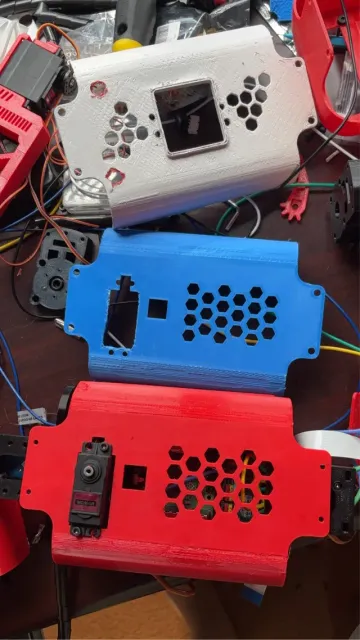
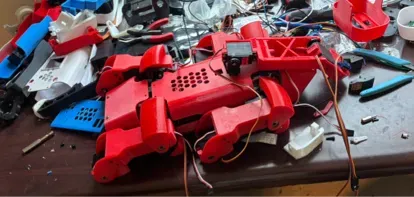
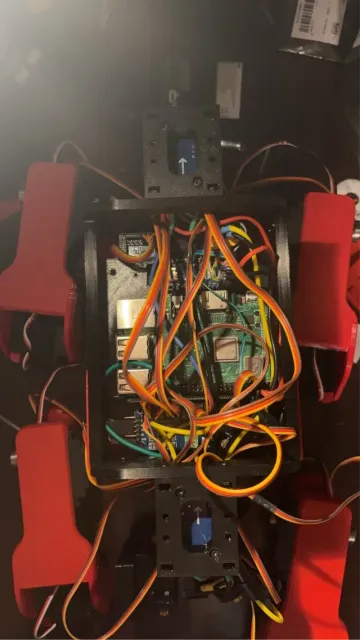
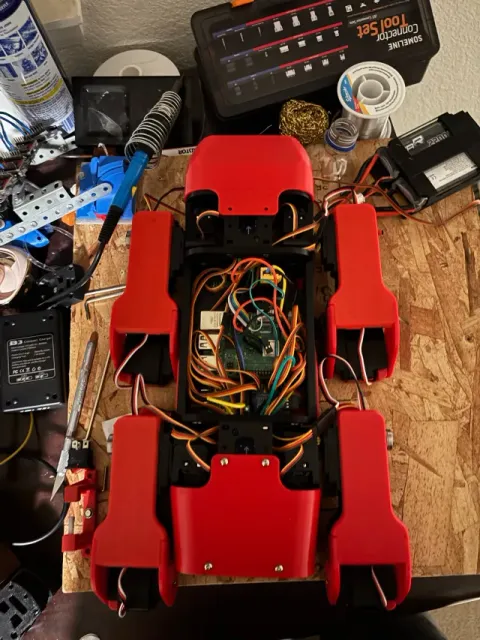
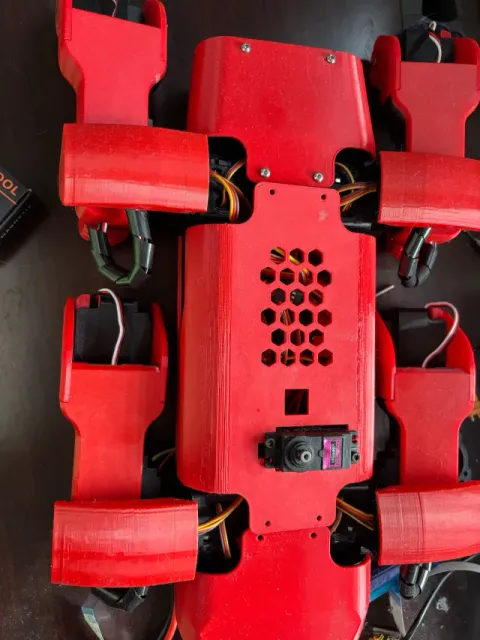
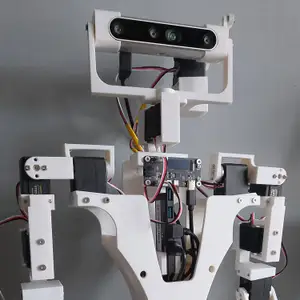
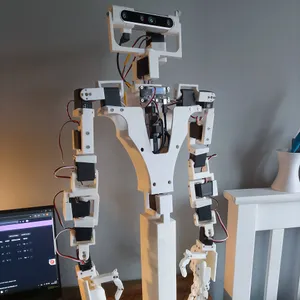
I deigned a removable battery pack and an arm for the top of the spot micro robotic dog on thingyverse. This is because as I completed the robot based on cyber ones videos I found it too simple and wanted to add an arm and a removable battery pack for safer charging. For assembly and wiring start with this video: https://www.youtube.com/watch?v=ZjOKAhMkWnQ&list=PLgXTfFM40HqF6YqVjWtEtDC-ekbIkpkyE and then continue on through the playlist, it is the instructions by cyber one on how to build spot micro. For the legs use this step by step guide on GitHub: https://github.com/michaelkubina/SpotMicroESP32
PLEASE MAKE SURE TO CALIBRATE YOUR SERVOS BEFORE YOU SECURE THE SERVOS IN. IF NOT YOU MAY HAVE TO TAKE APART THE LEGS AND ARM TO CALIBRATE THEM.
also calibrate the servos in MRL on the pi.
Print the foot tip.stl 4x
Print each leg piece 2x per side
print the I shoulder 2x one for each side
print the O shoulder 2x also one for each side
for the claw print the straight link 3 times and the bent link 2x
print everything else 1x
flip the blank right plate to the left side and put the plate with the hole in it on the right side for accessing the raspberry pi micro sd easier
(This is still a work in progress so I might add better or improved files for different parts)
(The pictures above are my V4 version and I am currently printing out the V5 so I will upload the pictures when I have don’t that in the comment section or above.)
THANK YOU TO KDY FOR STARTING THE SPOTMICRO PROJECT, CYBER ONE FOR THE WIRING CODING AND BUILD INSTRUCTIONS, TEZBOT FOR THE LEDS AND CAMERA UPGRADE, DavTech_3D FOR THE ARM UPGRADE, robjk FOR THE LEG BRACES, AND Kooba FOR THE LEG DESIGNS
PARTS I USED:
MOTERS:
11x mg996r servo motors for the upper limbs and the robotic arm base and motors. 1x sg90 servo for the claw
4x DS3225MG Servos (higher torque use for lower limbs or if you have enough money use for the entire robot except for the claw)
BOARDS and CIRCUIT pieces:
1x raspberry pi 3b+ (mother board) (newer is better but in assembly video Cyber One uses the 3 and the 4 (he upgrades it))
1x mpu 6050 (gyroscope)
1x andruino nano (distance sensor controller)
1x PCA9685 (servo motor controller)
2 X 2S 2200mAh Lipo 7.4v(Power for the robot.)
1 x Raspberry Pi Camera 8MP
2 x XL4005 5A adjustable voltage Buck Mode SMPS
1 x Dual MBR20100CT 100V - 20A Power Barrier Rectifier TO-220 (2 x Diodes) (optional, I didn’t use this but you can if you want)
2 x ultrasonic sensors, HC04
(optional 4x leds and if you do use leds then add a 330 ohm resistor to each led)
1x 2s lipo battery charger (you chose what to buy)
1 x 2x16 line LCD display I2C
1 x DPST switch
Wires, connectors, and screws:
LOTS of AWG RIBBON CABLE
5x xt60 connectors
jst connector kit
crimping tool
Heat shrink kit
Spade lugs kit (for connecting to power switch)
LOTS of M3x20 bolts
8x M4x20 bolts for screwing on the cover


Названия используются только для указания источника результата. Polyzon не аффилирован с перечисленными площадками.