
Бесплатно 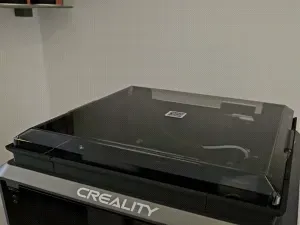
Creality K1C Lid Riser & Betweener
Creality Cloud


Design Concept
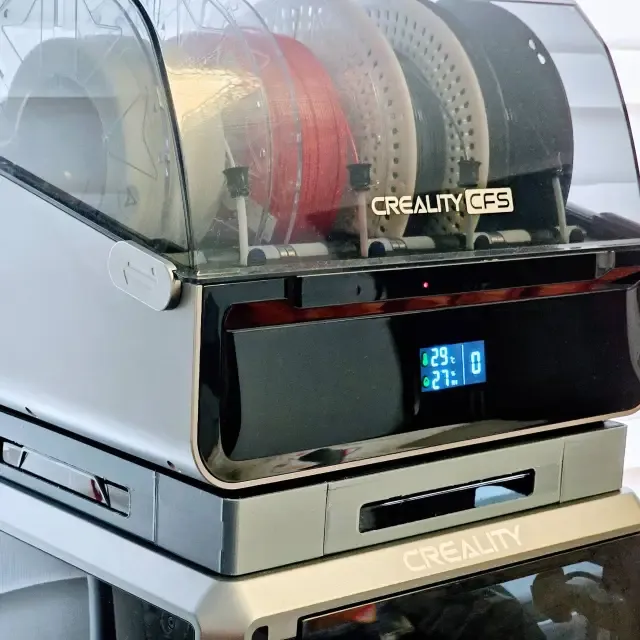
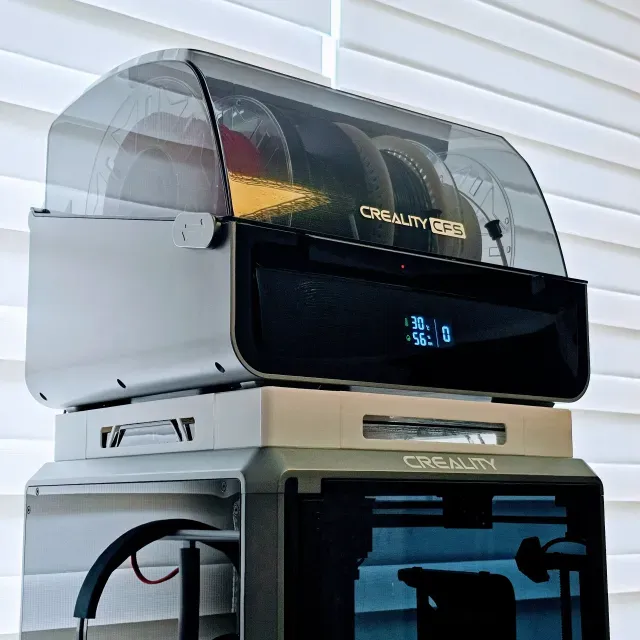
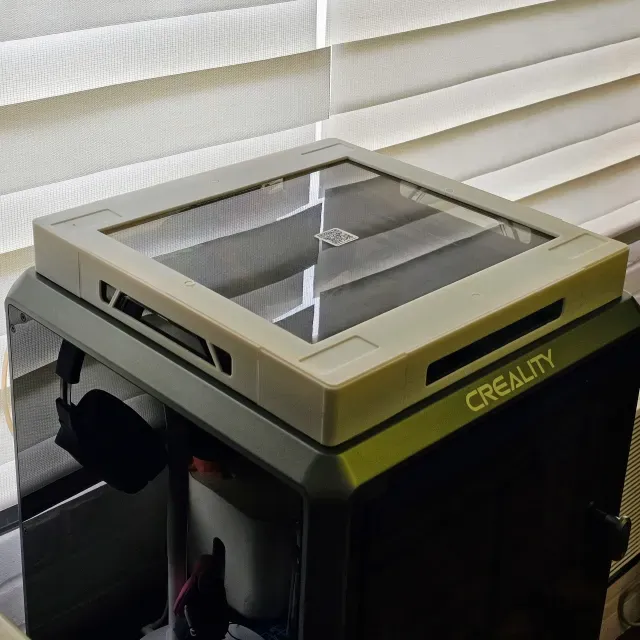
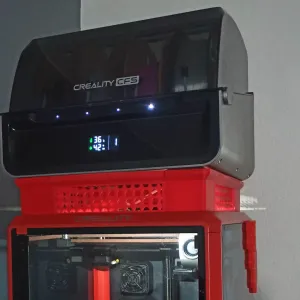
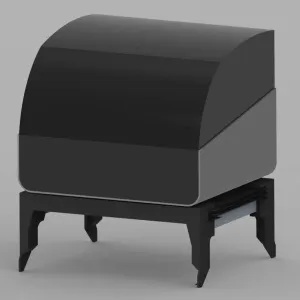
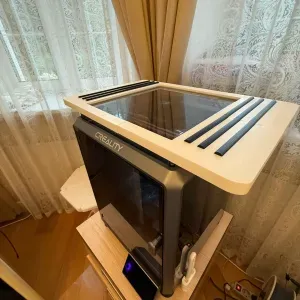
I wanted to have a clean, flat base on top of the K1C so the CFS can be top-loaded securely like with the Creality K2 + CFS combo, or other brands, where the printer itself has a flat base to rest a multifilament system on top of it. While there are several options, I wanted to create a base that was as low profile as possible so it doesn't add too much height and make the CFS harder to reach and load. I also wanted to still allow some visibility through the base so wanted to incorporate some cutouts. Finally, I wanted to reuse the original transparent lid so it does not go to waste.
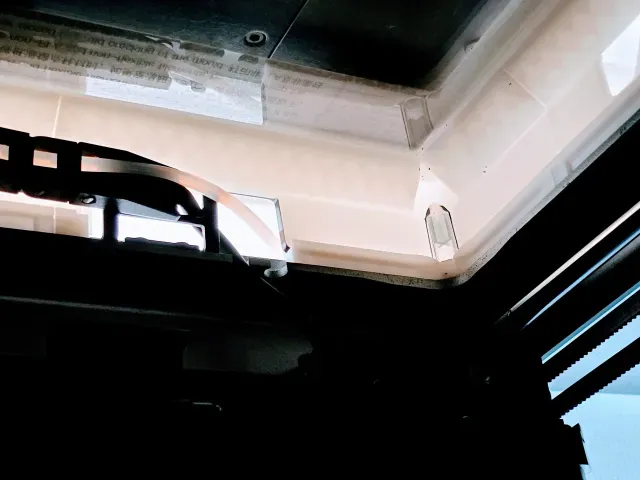
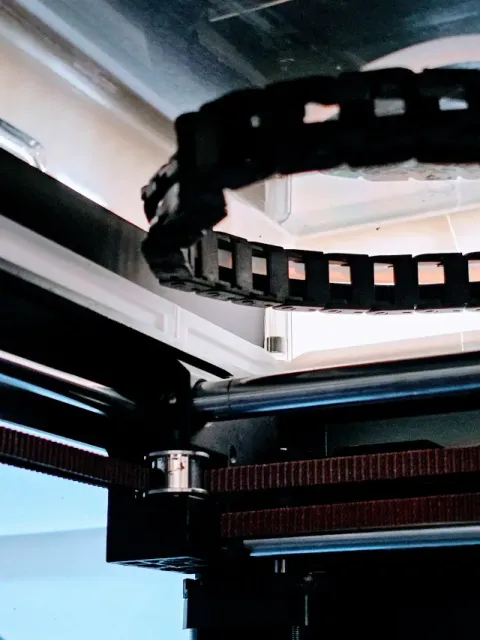
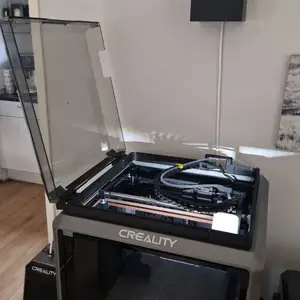
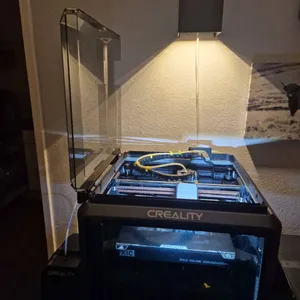
The design is based on the K1C Slim Lid for CFS, but it has been reworked to enshroud the original lid and only increase the internal height by 6mm to give just enough clearance for the extruder assembly to spare the lid from scrapes. This means less clearance for the PTFE bowden tube versus other risers, but I have found there is enough headroom to avoid feed issues. There is no more allowance for vents in this design, but I have incorporated windows. This remix also loses the flip-open hinge mechanism of the design this remixes, but utilizes the strength of the original transparent lid to support the weight of a fully loaded CFS.
For easier assembly, I added snap-fit tabs to connect the pieces together. For these tabs and some large gaps incorporated in the design, I found supports were needed for some of the tabs, but to avoid auto generated supports, I have added the supports into the design. This does mean assembly requires some cleanup, but not as much if you had Creality Print generate tree supports.
Print Settings
You will need to print in these quantities:
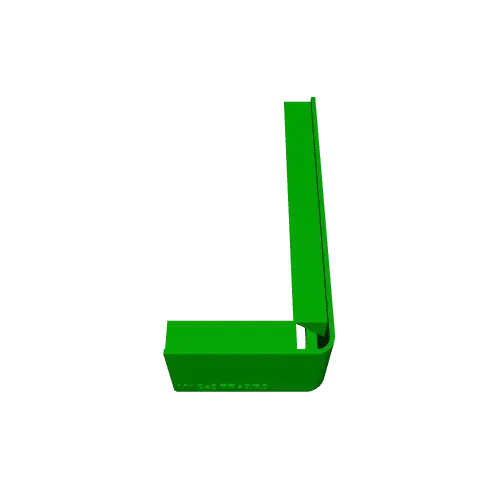
3x K1C-Flattop-Generic-Corner
1x K1C-Flattop-Back-Corner
3x K1C-Flattop-Long-Insert
1x K1C-Flattop-Short-Insert
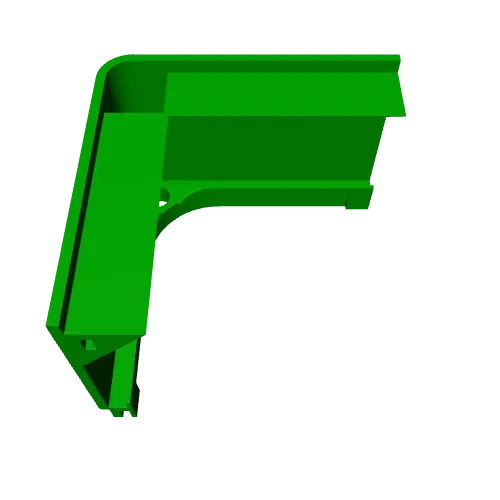
2x K1C-Flattop-Lid-Left-Corner-CFS *** ( OR K1C-Flattop-Lid-Left-Corner-Tabbed-CFS)
2x K1C-Flattop-Lid-Right-Corner-CFS *** ( OR K1C-Flattop-Lid-Left-Corner-Tabbed-CFS)
Print all the pieces upright. You can ignore the warnings about needing supports as the supports have been built in. You have the option to print the lid pieces in a different color than the other pieces.
Assembly
1. Using the nippers supplied with your K1C, clip off the supports from the following pieces:
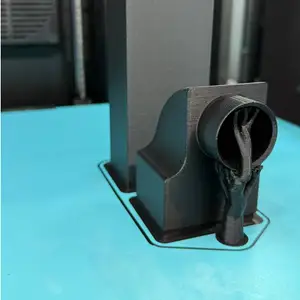
- K1C-Flattop-Back-Corner (clip off all the vertical supports from the back opening for the PTFE tube).
- K1C-Flattop-Long-Insert (clip off all the vertical supports for the window).
- K1C-Flattop-Lid-Left-Corner-CFS*** (clip off the bottom round support from the male snap connectors and the 3 vertical supports from the female snap connectors).
- K1C-Flattop-Lid-Right-Corner-CFS*** (clip off the bottom round support from the male snap connectors and the 3 vertical supports from the female snap connectors).
2. Attach the Back-Corner piece to the original transparent lid. Snap on the Short-Insert to the Back-Corner to complete the back cladding.
3. Attach a Generic-Corner to each of the 3 remaining corners. Snap on a Long-Insert to each Generic-Corner. For the left and right sides, make sure the top of the Long-Insert's window goes over the grab handles of the original transparent lid. It should snap-fit snugly over the top of the grab handles.
4. Take a Lid-Left-Corner and snap fit with a Lid-Right-Corner. Do this twice. Then snap fit the 2 assembled pieces together. You can then drop the assembled top lid over the enshrouded original transparent lid. Make sure the indexing slots for the CFS feet are facing up and check the orientation of the indexing slots (check photo for reference). Note that the top lid does not snap-fit and is meant to be easily removable.
5. Put the assembled Slim Flattop Riser back on top of the K1C. Then put the CFS on top of the Slim Flattop Riser, making sure that the CFS feet drop into the indexing slots for most secure fit.
6. Enjoy printing with the K1C+CFS combo!
*** The design of the original, ring-shaped, snap-fit tabs seems to make them challenging to print, so I redesigned the snap-fit tabs (see K1C-Flattop-Lid-Left-Corner-Tabbed-CFS and K1C-Flattop-Lid-Right-Corner-Tabbed-CFS). These are easier to print consistently and require no supports cleanup.
UPDATE 9/25/2025: Added alternate versions of the Lid-Left-Corner and Lid-Right-Corner redesigned to make the snap-fit tabs easier to print. Would appreciate any feedback in comments which one works better for you!
UPDATE 9/14/2025: Slight revision to v27 with the Back-Corner piece as the text along the back seemed to be causing some issues with PETG prints.
![CREALITY K1|K1C|K1SE - LID RISER V3 [FRAME EXTENSION KIT]](https://cache.polyzon.org/api/img?url=https%3A%2F%2Fpic2-cdn.creality.com%2Fcomp%2Fmodel%2Fe2414dcd2de406e9c05000ddf8bf9b3a.webp&w=300)

Названия используются только для указания источника результата. Polyzon не аффилирован с перечисленными площадками.