
$ 1.00 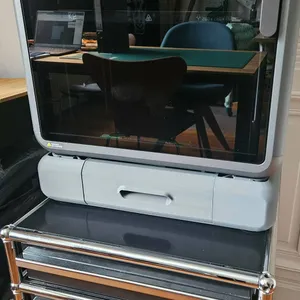
Creality K2 Base with tool drawer and waste chute drawer !!!
Creality Cloud
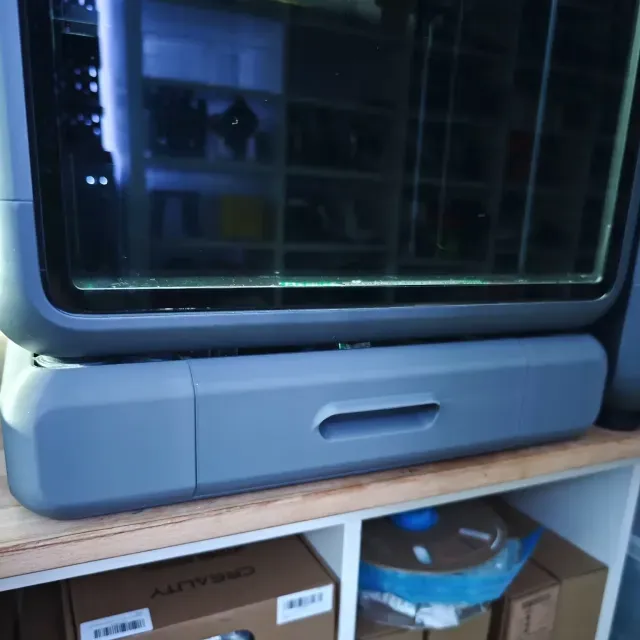
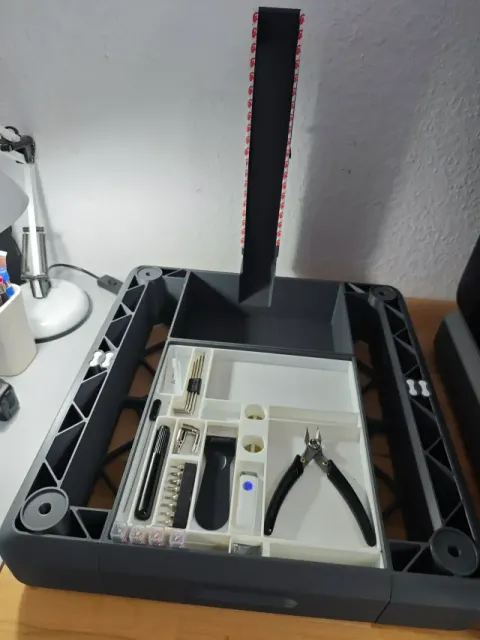
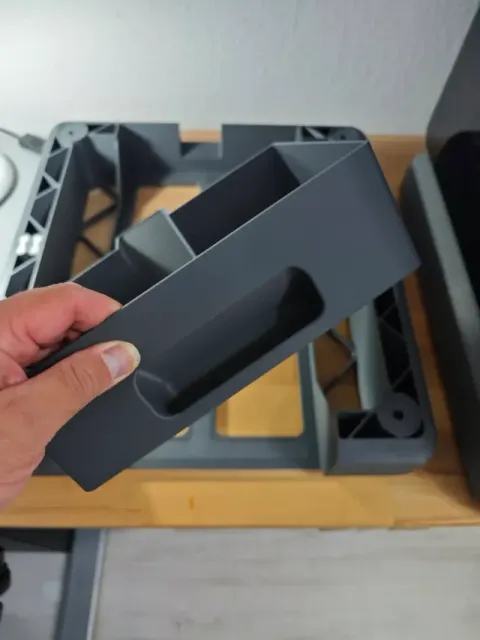
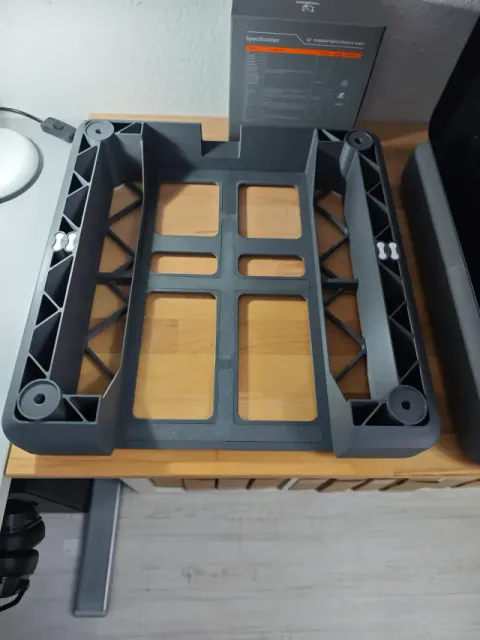
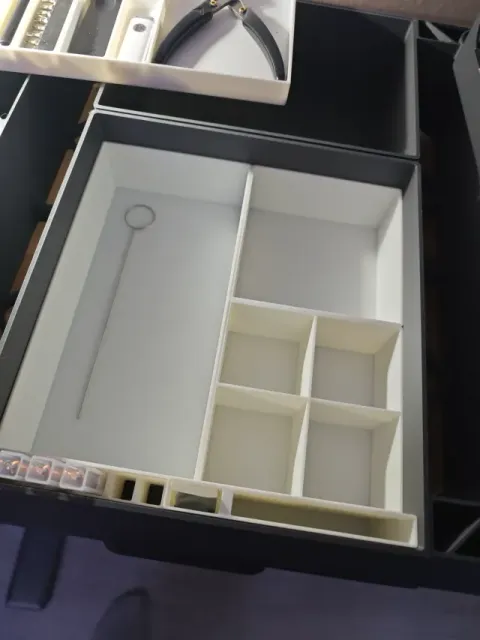
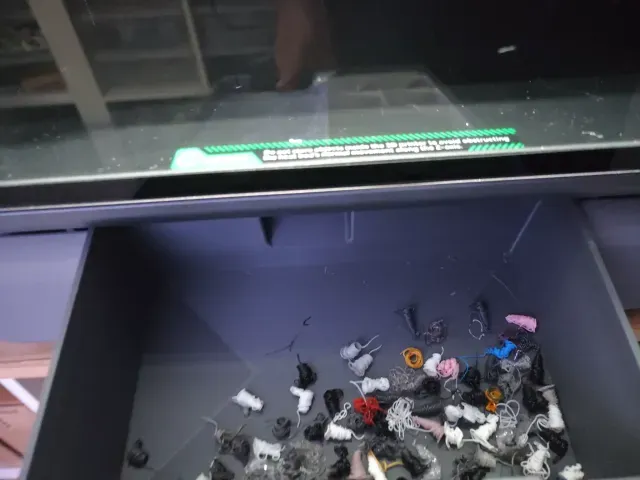
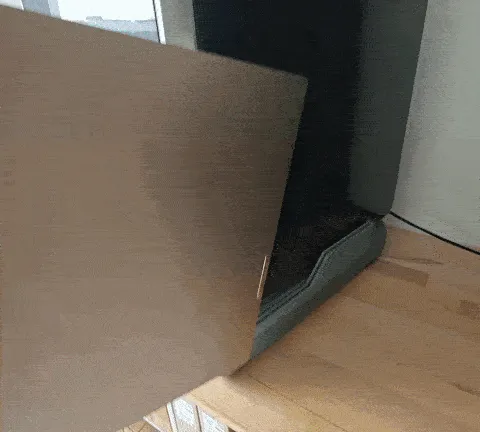

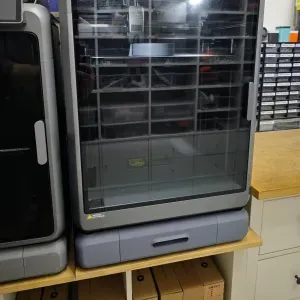
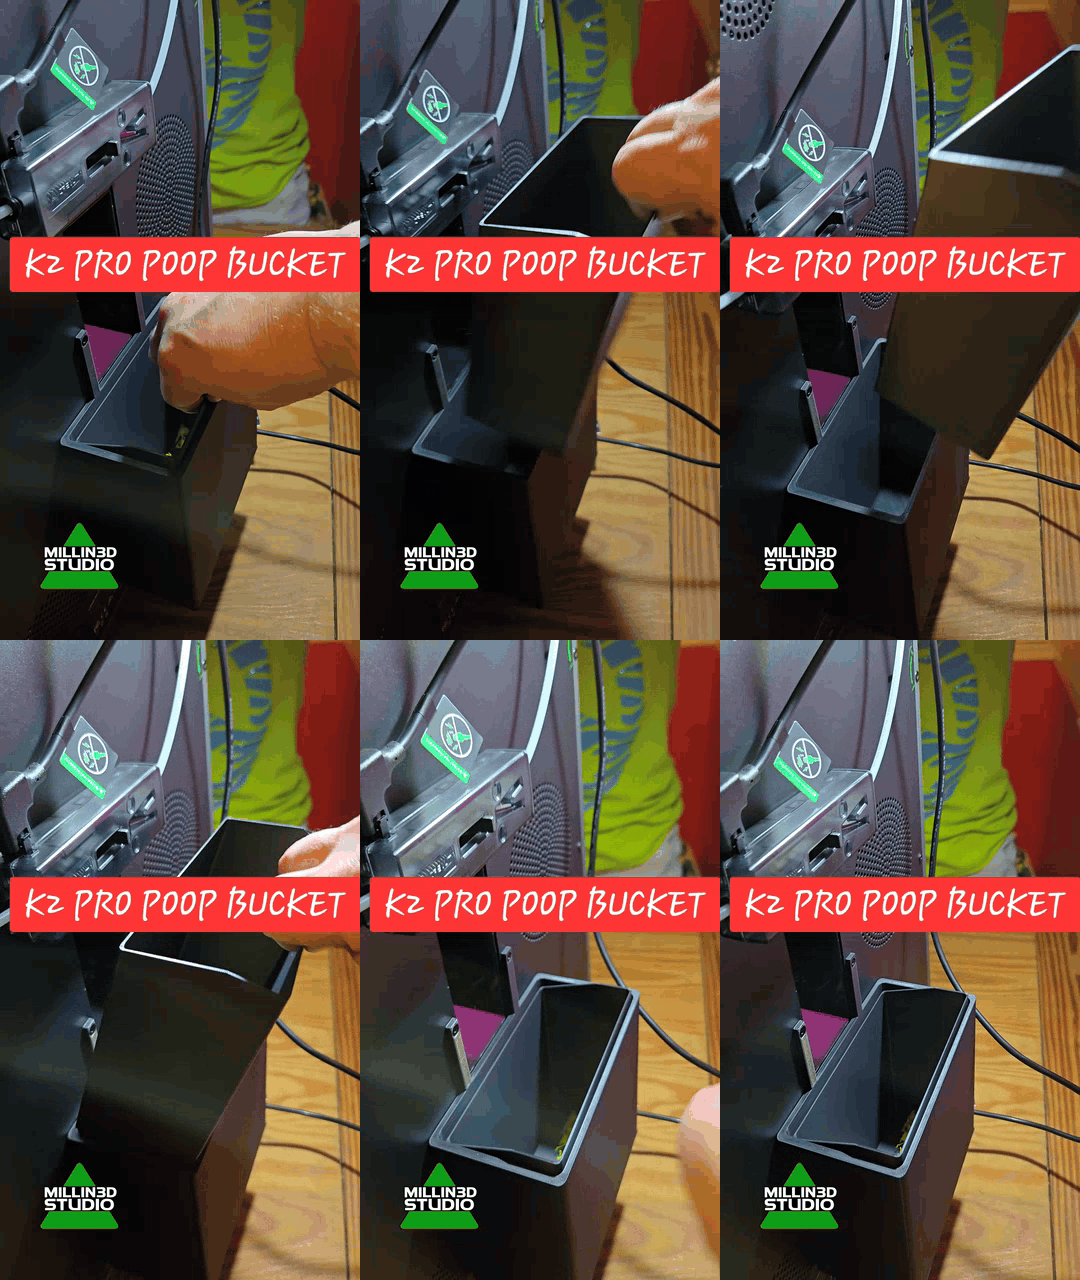
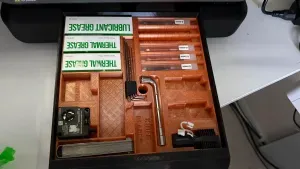
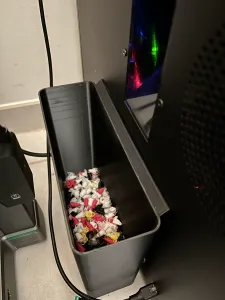
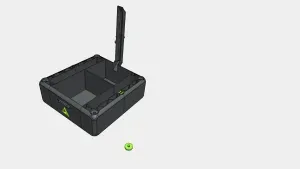
We've all seen it: the filament scraps that fall out of the back of the printer when changing filaments. There are a few solutions for this. But I wanted more. I wanted storage space for tools that I could customize, as well as a way to avoid always having to collect the filament scraps behind the printer. Finally, it was important to me that the design was based on the K2 Pro printer housing. My personal bonus, however, was that I wanted my two printers to be the same height and everything to look uniform. My favorite workplace has to be tidy, and having the K2 Pro and K2 Plus next to each other would be a sign of inequality, hehe!
How do I assemble it? It's very easy and almost self-explanatory. Everything can be done in just a few simple steps, and the only difficult part is lifting the printer onto the base, hehe.
1.) Print all the parts with your K2 Pro.
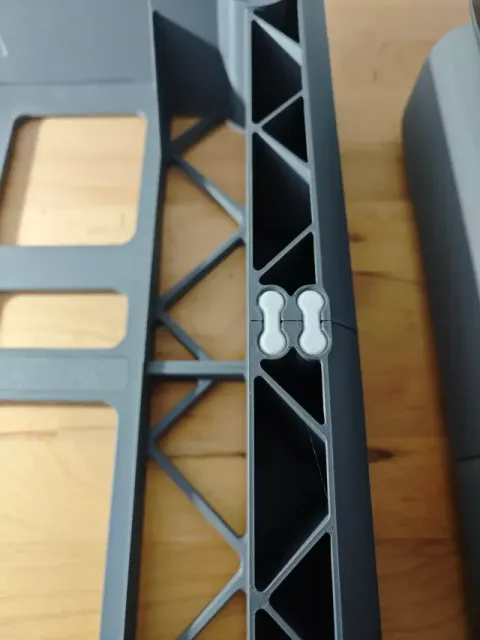
2.) Glue the connector on both sides at the waste side at the back.
3.) Insert and glue two connectors on the left and right sides.
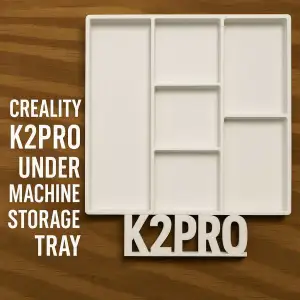
4.) Glue the cross in the middle into the grooves provided, as well as the half crosses on the front and back.
5.) Once everything is firmly connected, you can turn everything over and glue the feet into the four holes and attach 40 mm rubber buffers.
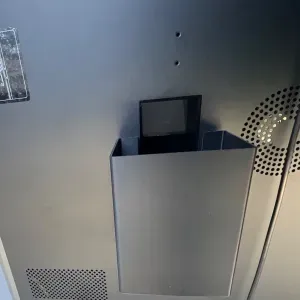
6.) Prepare the waste channel and glue it together with the clamp, or use 2 clips with screws (NEW)
7.) Use double-sided tape to attach the waste channel to the back of your printer.
8.) Now complete the drawers with the inserts as you see fit.
9.) Put everything in place and place your printer on its base.
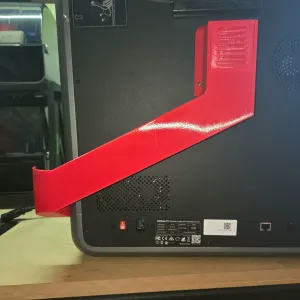
10.) And if you want, you can also print the printing plate holder and hook it onto the base.
11.) Finally, you can add your tools to the accessories. Done!
Update: - An optional building plate holder is now available in various quantities- Clips are now available to secure the waste chute using the existing screws, instead of double-sided tape- Clips are also available to secure the waste chute using small round magnets (10x2.6 mm to 10x6 mm)
If you liked this base, please leave me a like or comment. Thank you.
Названия используются только для указания источника результата. Polyzon не аффилирован с перечисленными площадками.