
Бесплатно 
K2 Pro Poop Chute Right Side
Printables
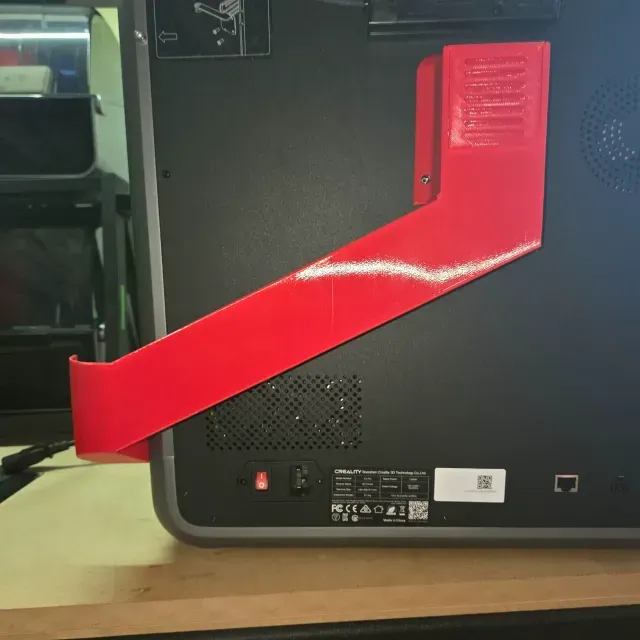
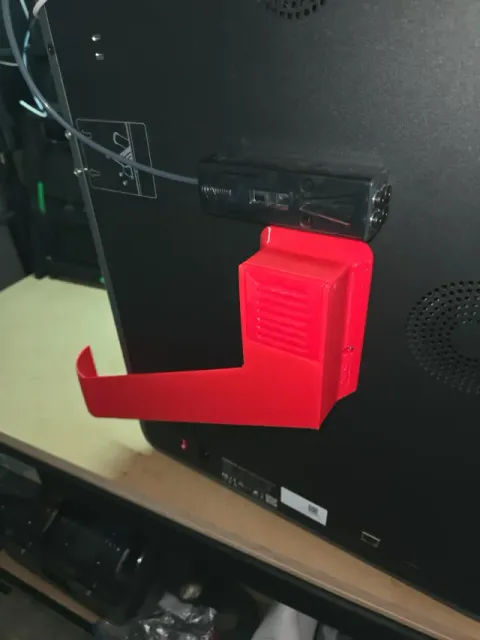
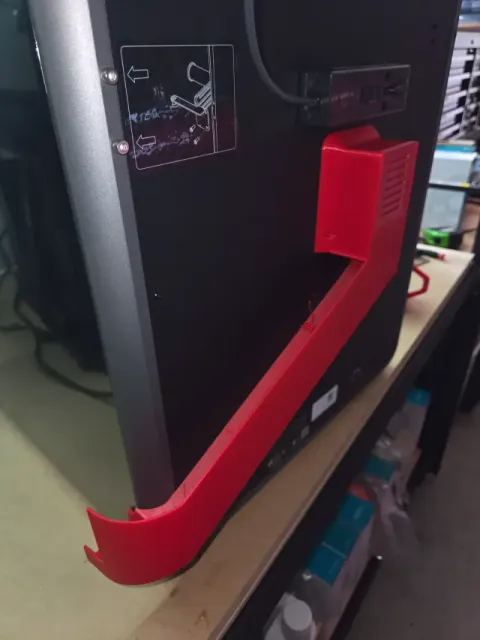
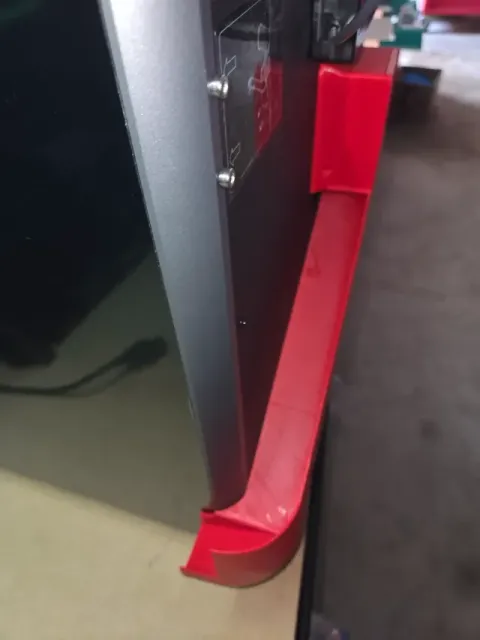
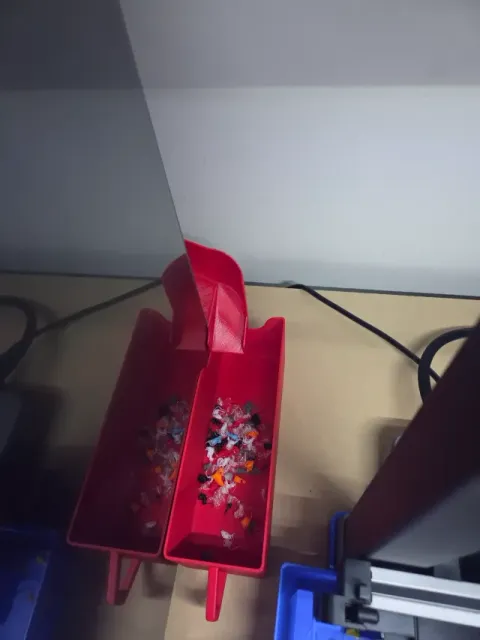
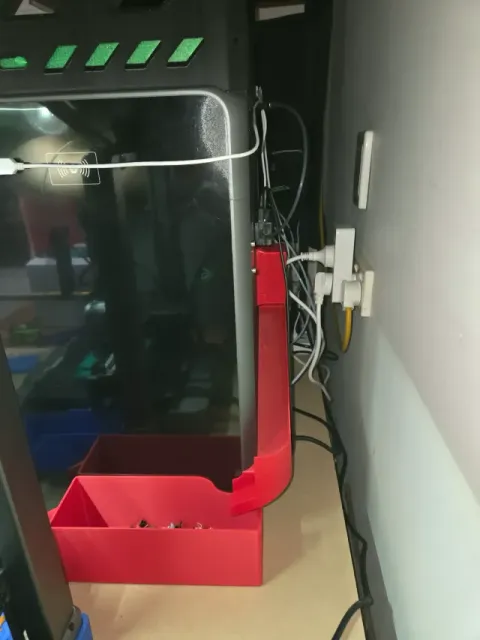
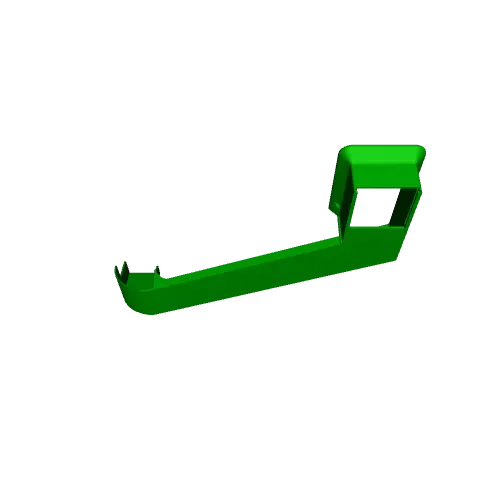
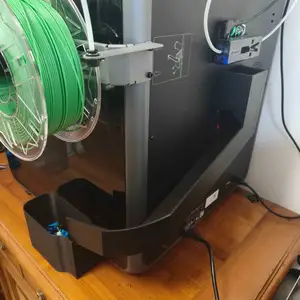
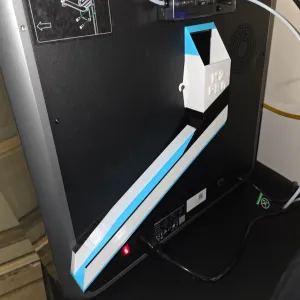
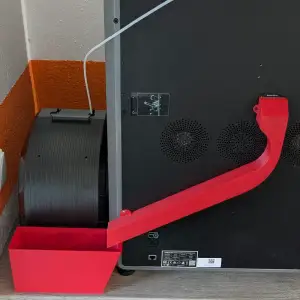
Found the original chute from vfrgaz, https://www.crealitycloud.com/model-detail/creality-k2-pro-poop-chute-slide-box?source=5 right after uploading my first chute and thought this is so much better than mine.
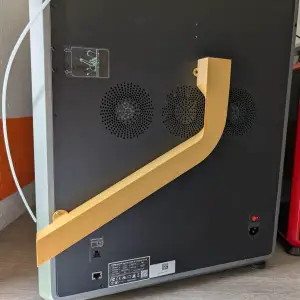
I did however want it to exit on the right side so I've spent a while using my limited Tinkercad skills to mirror, lengthen and change the redirect profile to suit my needs. Finally settled on this design that works quite well. A light sanding of the chute will help prevent the poop from catching on the layer lines and get all the way to the bin.
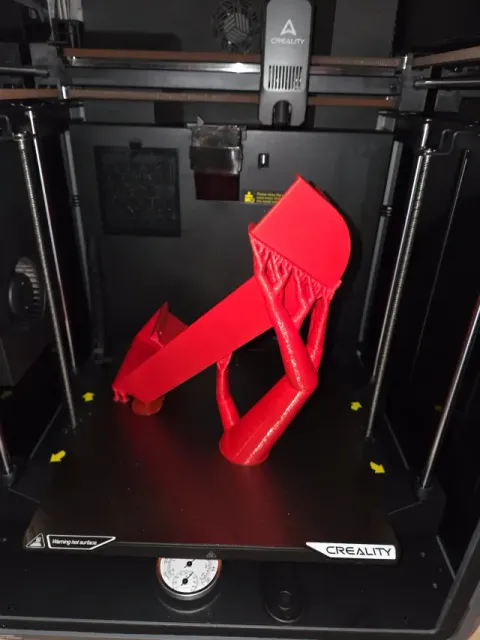
This will print on the K2 Pro it just needs to be set at an angle and add supports to prevent the chute from shaking during printing.
The chute has approximately 66mm of clearance for the waste bin if you want to make your own.
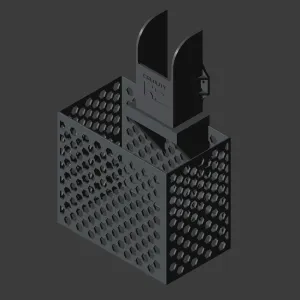
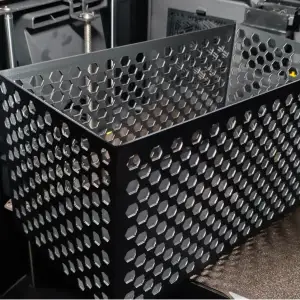
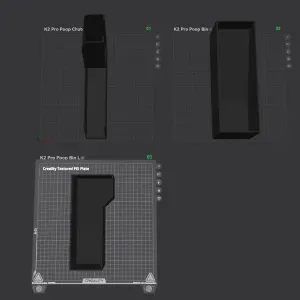
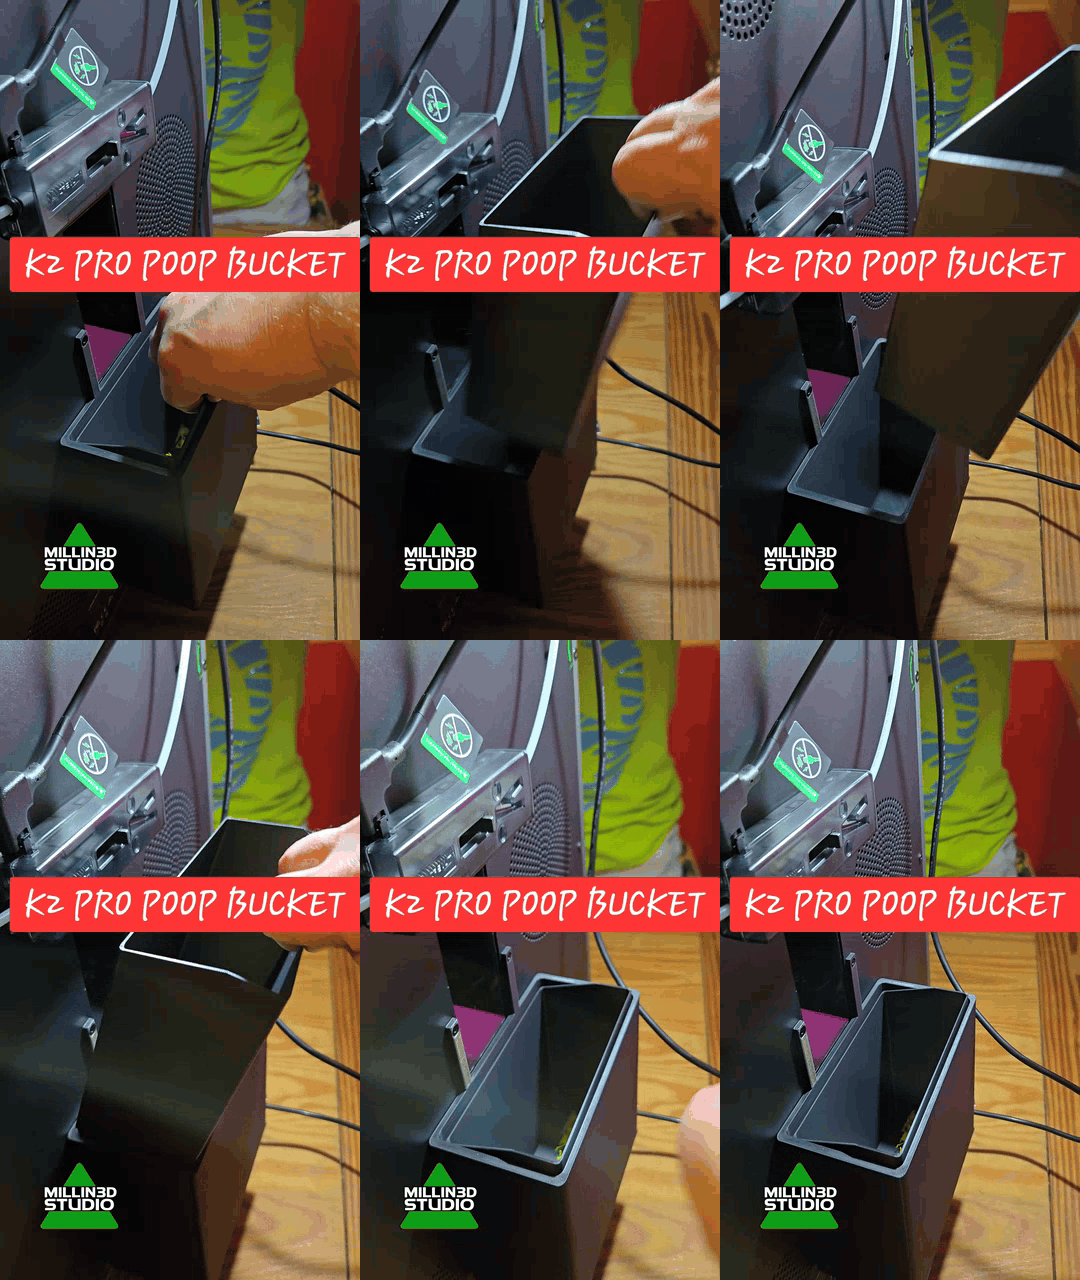
This bin is a redesign of toysoldier231's k2 plus poop bin https://www.crealitycloud.com/model-detail/k2-plus-poop-chute-waste-bin-catch-bucket?source=5
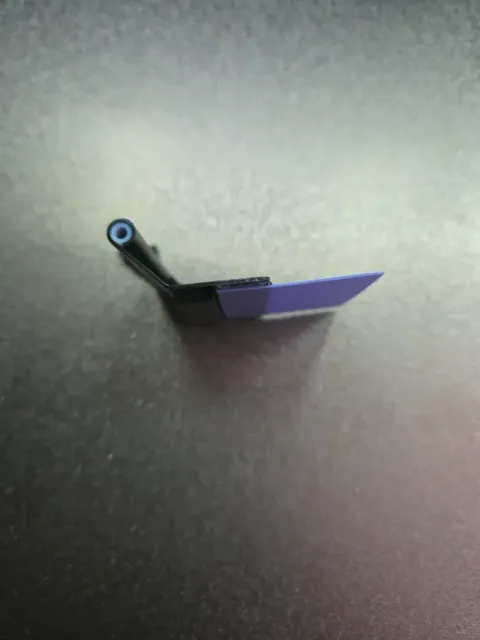
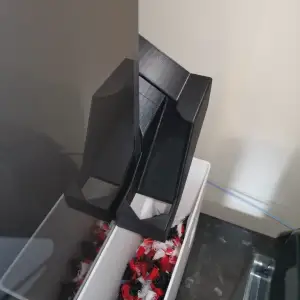
If you have found your getting poops with very long tails getting stuck I would recommend adding a small piece of plastic to the trap door. I cut a piece off an A6 note pad cover and attached it with some double sided tape (see last picture). This stopped the filament from oozing down the waste chute during colour changes
Design Concept
The K2 Pro Poop Chute Right Side is engineered to efficiently guide waste material from 3D print operations into a catchment box while attaching seamlessly to compatible 3D printers. Its curved structure ensures smooth flow of debris.
Purpose
This model is designed to capture and dispose of excess printing material from the K2 Pro 3D printer, minimizing maintenance and enhancing printer efficiency.
Printing Tips
For optimal strength and durability, use a material like PETG or ABS. It's recommended to print with a 20% infill using a layer height of 0.2mm.
Assembly Instructions
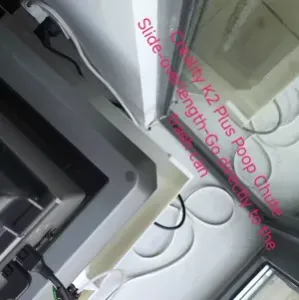
Simply remove the 2 screws at the sides of the waste exit, attach the chute to the back of the printer with these same screws. You will have to screw the screws through the chutes mounting holes as it is a close fit but once in place they will not fall out.
A light sanding of the chute will help prevent the poop from catching on the layer lines and get all the way to the bin.
Названия используются только для указания источника результата. Polyzon не аффилирован с перечисленными площадками.