
$ 1.50 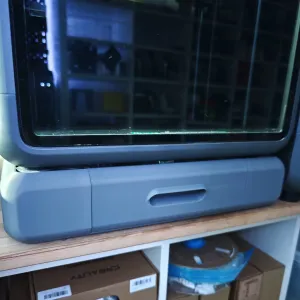
Creality K2 Pro base with drawer, filament pooh drawer
Creality Cloud
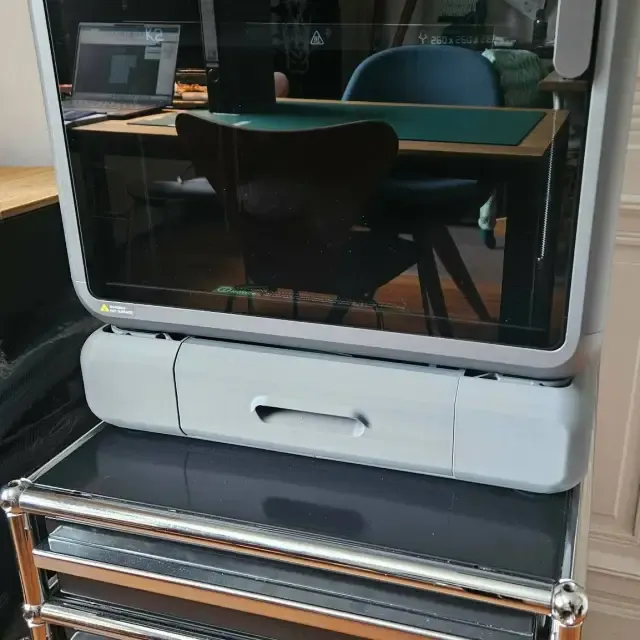
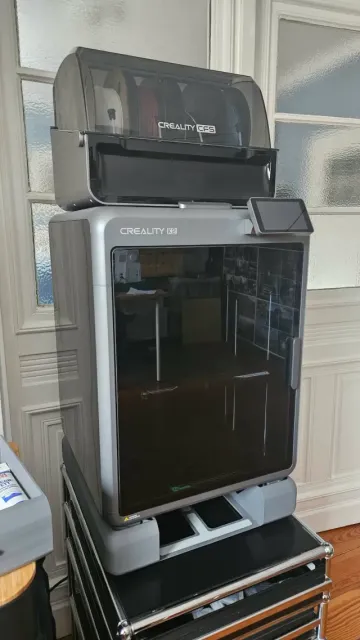
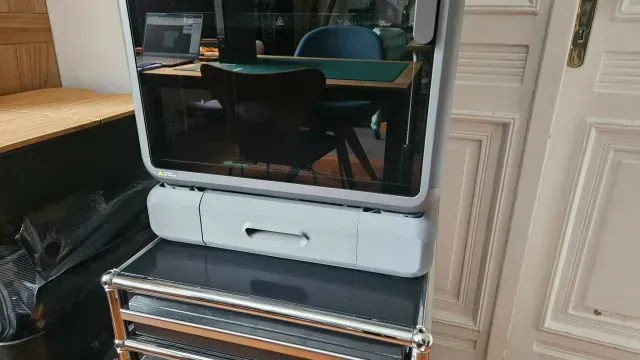
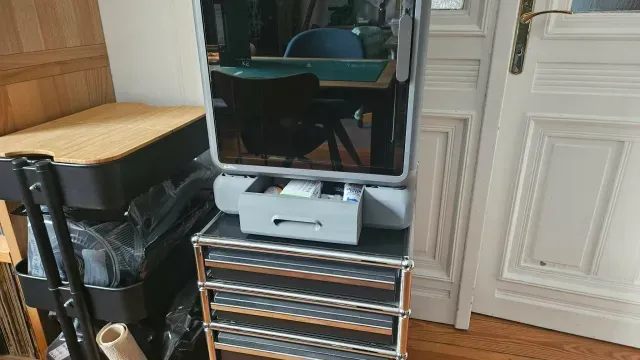
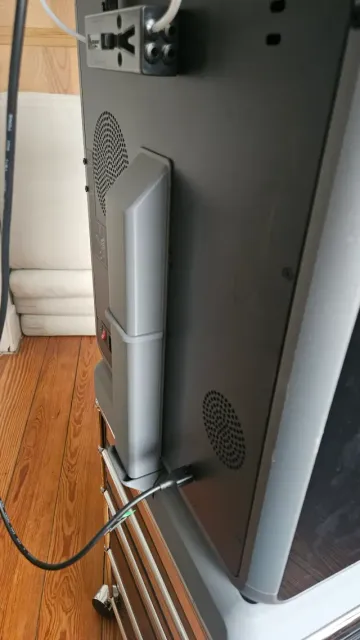
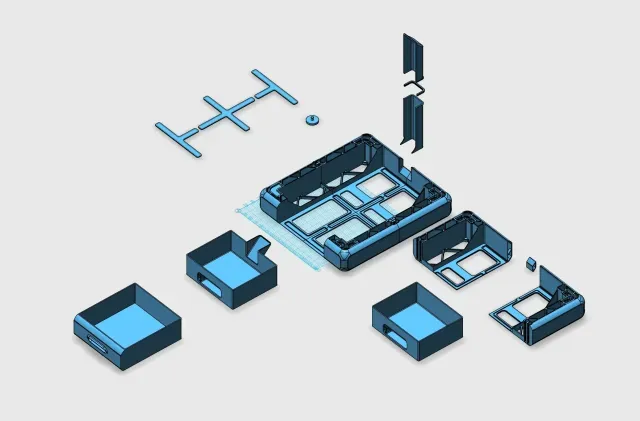
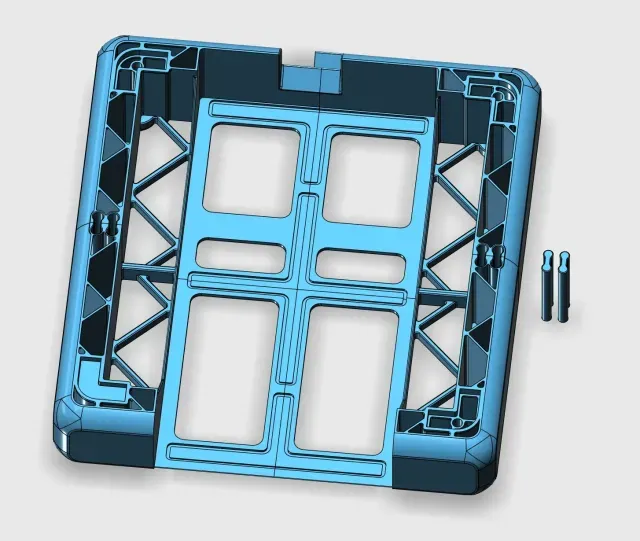
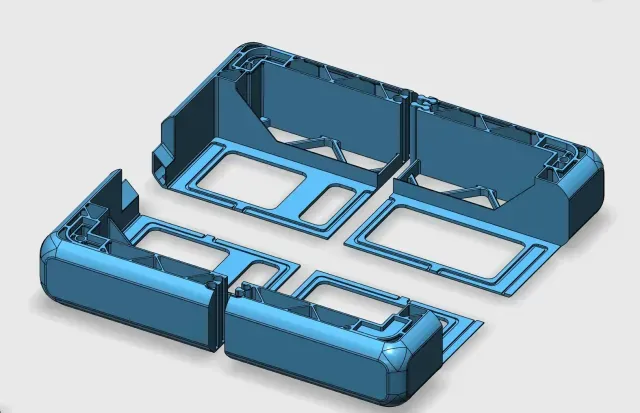
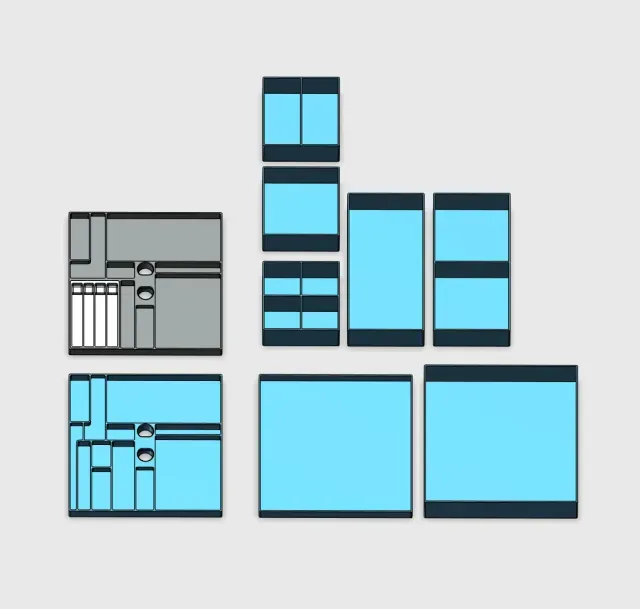
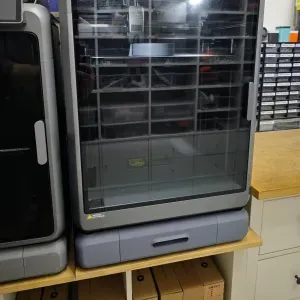
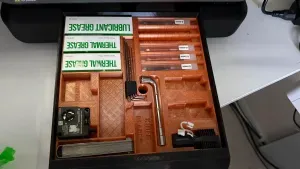
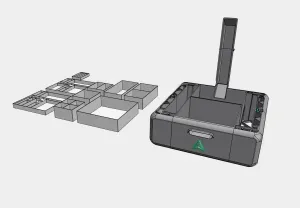
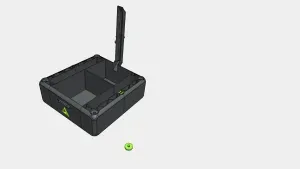
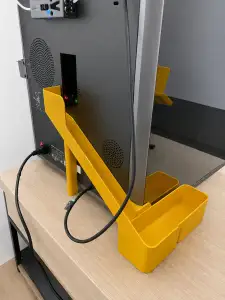
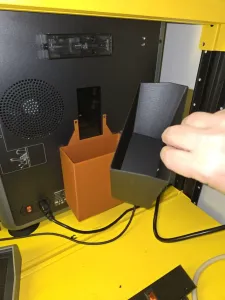
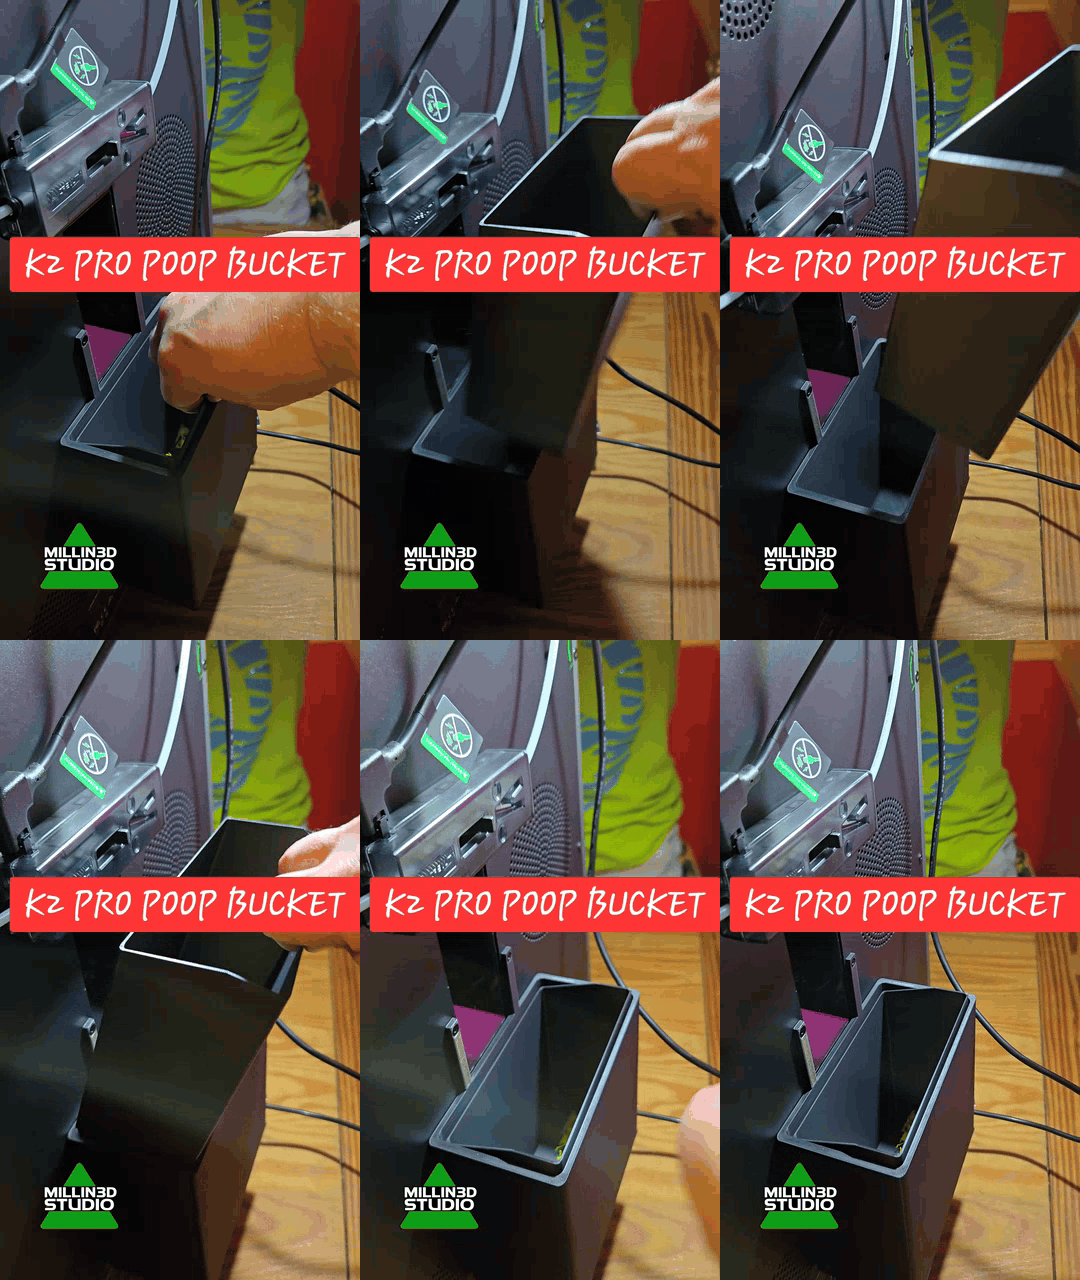
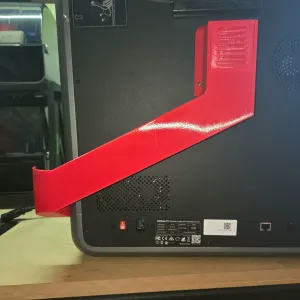
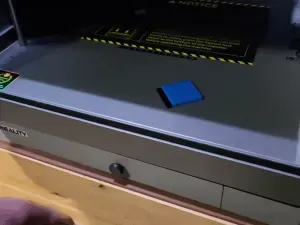
We all know that when you change filaments, the leftover filament falls out of the back of the printer. There are a few solutions for this. But I wanted more. I wanted storage space for tools that I could customize, as well as a way to avoid always having to collect the filament waste behind the printer. I don't like the numerous chutes that are supposed to work but often don't function very well. Finally, it was important to me that the design was based on the K2 (not K2 Plus or K2 Pro, as you can see in my Profile) printer housing. With my design, you get two versions, one of which has a chute through which the filament residue falls directly into a drawer. The other version is for those who already have a solution for filament waste; here, there is no chute integrated into the base and drawer. The inlays for the front drawer are super cool. You can arrange them however you like and put together your own set for tools and spare parts!
How do I assemble it? It's very easy and almost self-explanatory. I have also written the files in a way that is understandable internationally this time, including the number of parts you need. Everything can be done in just a few simple steps, and the only difficult part is lifting the printer onto the base, hehe.
1.) Print out all the parts using your K2 (not K2 Plus or K2 Pro, as you can see in my Profile).
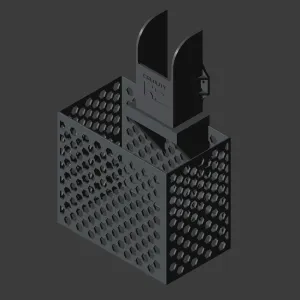
2.) Glue the connector onto both sides of the waste side at the back. 3.) Insert and glue two connectors on the left and right. 4.) Glue the cross in the middle into the grooves provided, as well as the half crosses on the front and back. 5.) Once everything is firmly connected, you can turn everything over and glue the feet into the four holes and attach 40 mm rubber buffers. 6.) Prepare the waste channel and glue it together with the clamp. 7.) Use double-sided tape to attach the waste channel to the back of your printer. 8.) Now fill the drawers with the inserts as you see fit. 9.) Put everything in place and place your printer on its base. 10.) Finally, you can add your tools to the accessories. Done!
If you liked this base, please leave me a like or comment. Thank you.
I recommend the following settings: - PLA, PLA+, - min. 3 walls, - 20% infill, - no support material required

Названия используются только для указания источника результата. Polyzon не аффилирован с перечисленными площадками.