
Бесплатно 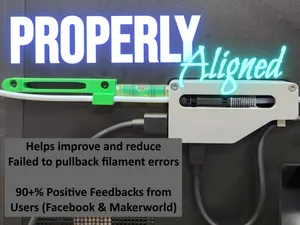
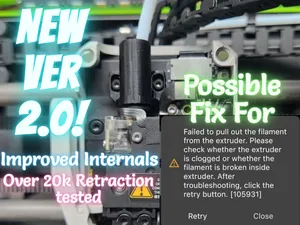
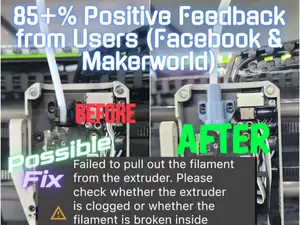
AMS Buffer Fix For Failed To Pull Back Filament
MakerWorld
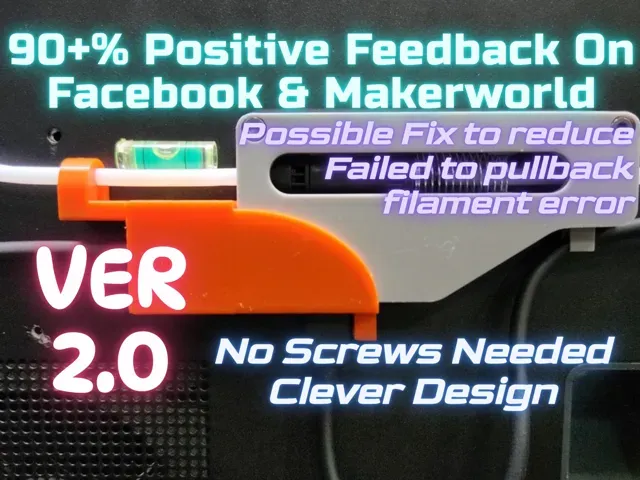

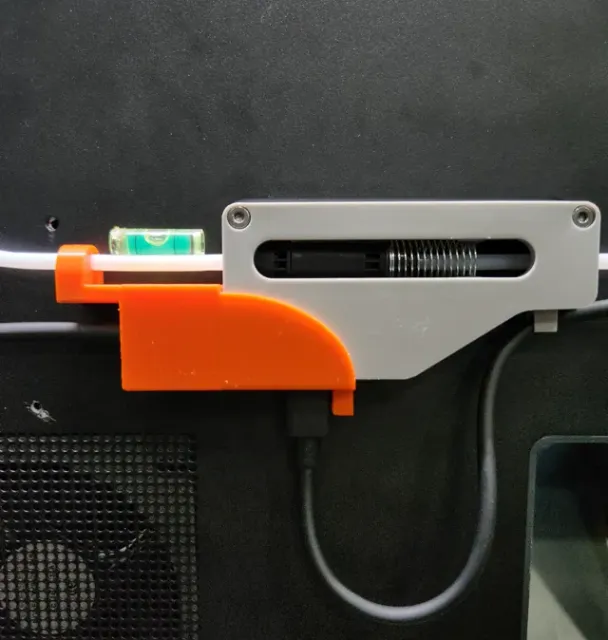
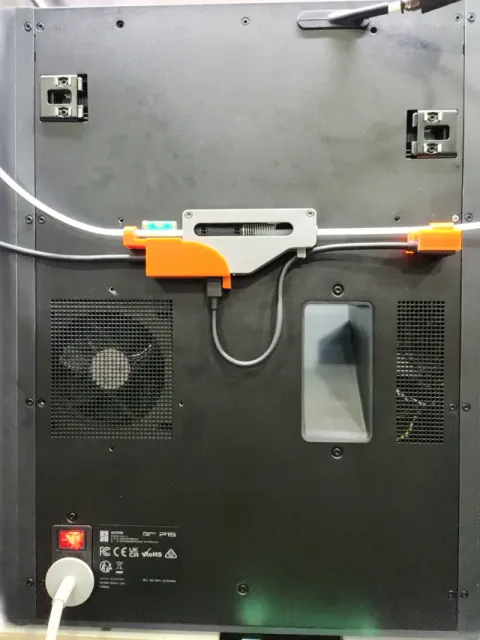
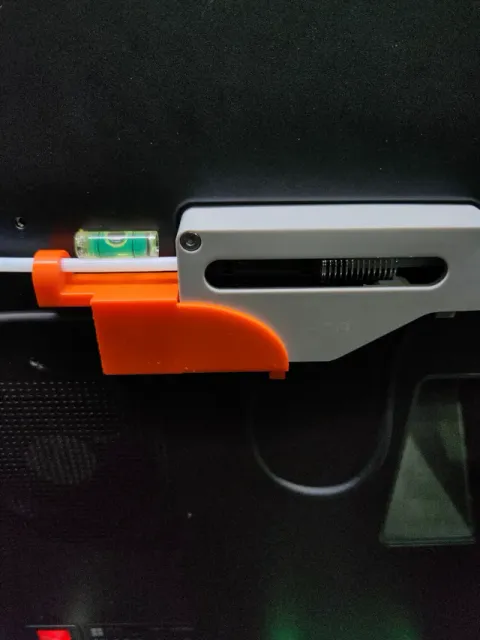
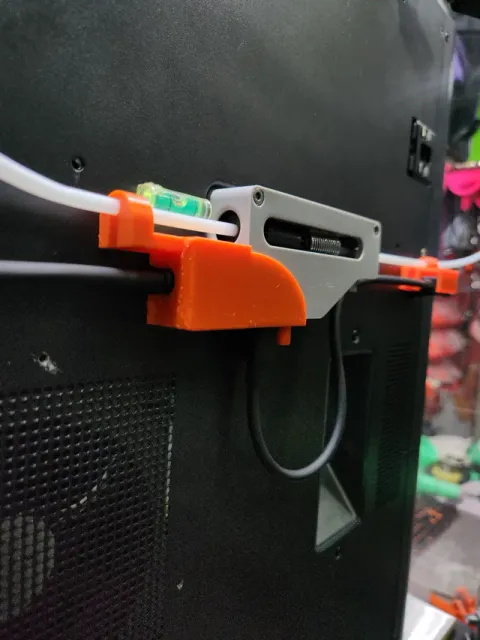
I update, revise and improve my design for my fixes very often. Please only use my Print Profile (Labelled as Designer or SPStudio) to ensure this fix is updated & work well. Profile with Non-Designer tags may be of poor functionality or non updated model.
Click on Like if this model helped you in some way. It is very important and will help increase the exposure of this design to more people who might need it. Cheers!
Announcement
New and Improved V2 Versions for the Ams Buffer Fix Before Buffer and After Buffer have just been released. Do check them out in my profile to see what are the improvement. Thank you for your continuous support.
Introduction
Failed to pull back filament error can be caused by multiple different variables & factors. This is a part of an series of Ams fixes that i have designed which can complement each other when used together. I do suggest you install all my fixes together for the 0ptimal effect to help your filament travel properly across the entire system which in turn can help improve, reduce or remove any potential Ams errors.
I have grouped all fixes into their respective Collection for ease of searching what to install.
V2 Collection are improvements done on the shortcoming of V1 Collection. Feel free to try V2 Collection and if it doesn't work properly then you can try the V1 Collection . You can easily find each of the Collection by clicking on the Collections tab on my profile.
Unfortunately there isn't a single fix that can 100% work for everyone. What works for others, may not work for you but my fixes is definately a great place to start and have worked for majority of the users. My fixes are precisely measured then modelled. A Proper Fix would have the highest chance to reduce or solve the error.
If you are too bored to read the entire lengthy write up explaining the need for this fix, here is the TL:DR.
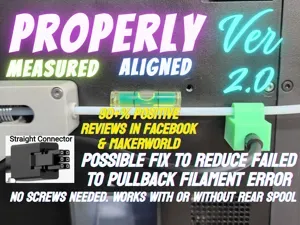
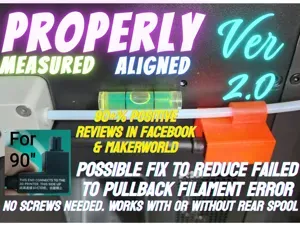
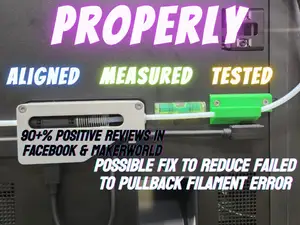
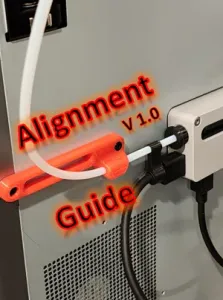
What is this? V2 Ams Buffer Fix For Failed To Pull Back Filament Retraction Fix will correct and maintain a nearly 100% straight line to move the filament into the Ams buffer thus reducing wear on the external Ptfe tube. Its design allow the most smooth, least amount of friction and pressure for the proper angle to go into the Ams buffer thus greatly reducing the possibility of an Failed To Retract Filament error or similar errors from popping up.
Main difference with the previous model Ams Buffer Fix For Failed To Pull Back Filament Error
- Completely New Design, Improved model from the hugely successful V1 that have over 9000 downloads! - ez Install with Installation video below - No additional screws needed at all but yet still well supported with a very clever design using the connector itself to lock the fix in place - Will not affect your warranty as it's reversible - V2 maintains the same accuracy of the original V1 version. - Precise measurement to maintain the angle of the Ptfe Tube to achieve reduced friction of filament moving through - Helps reduce the Ptfe wear and tear - ez to remove support - This fix have been tested for on 1 X1C, 2 P1S, 4 X1E for about 54800 retractions so far as of this listing. You can either get the screw version V1 or the no screw version V2. Both is as accurate but V2 is easier to install requiring no additional screws.
Feel free to continue using the V1 as there are no accuracy improvement on the V2 if V1 already worked for you. V2 is intended for people who is looking for their 1st fix for the left side of the Ams buffer or people who have trouble finding the screws needed in V1 or simply for new users who want the simple install.
Important
There are 2 versions of Ams 6 pins Wire Head so if you can then use an caliper to measure before you download the print profile closest to the dimension of the one that you have.
If i am not wrong, the original cable should be 10.10mm to 10.20mm, download the 10.One version
If you brought the extended cable to place your Ams further away then it should be the 10.60mm to 10.70mm, download the 10.Six version
You can measure your connector Before you download and print this fix if you get something that is way out of the range like maybe 9.90mm or 10.80 then please contact me or write in the comments.
If possible please do not use the wrong version as the connector need to be rather firmly tucked into the fix. It cannot be loose when the connector is in it because the fix uses the 2 connector to stabilize itself.
If you are having problem on both version then check your filament calibration and K Factor. I am running the default K Factor of 0.020.
As this fix is very precise down to 0.1mm so there are not much room to change the connector hole size as it needed to be firm and snug,
Who needs this fix? I believe that anyone with a Ams would benefit from this fix / enhancement regardless of do you have any problem or errors with the Ams / Printer. This will allow your Ptfe tube to be nearly 100% straight (laser and manually measured) when it entered the Ams Buffer buffer. In theory, there are only advantages and benefits after installing. There are literally no disadvantage to this fix.
Why should you use this fix?
This is ez to print but yet its very precisely measured and designed. I have taken measurements down to 0.10 degree (measuring the outgoing angle into the buffer) despite stating this fix as nearly 100% straight because there could be as small as maybe below 1mm deviations with every single machine due mass production.
The ability to install this without any screws will be very helpful to majority of user who wanted ease of install or have problem looking for a suitable screw that is needed in V1 install.
Support Removal
If you are having problem removing any of the Ams Cable on the Ams buffer just unscrew the 2 Ams buffer screw and it would be much easier to unclip those screw. You can use a Ams disconnect tool.
Installation Video (1st Method - Simple. Do try this first)
Installation Video (2nd Method - If you cant get the fix to fit in properly using the 1st Method)
Adjust this cable, wriggle it a bit and fit into the Ams Buffer connector at the side.
Push the fix firmly together into the Ams Buffer
This connector must be seated leveled and fully into the Ams Buffer. This is one of the key support.
Both connector should be level straight and sit fully inside the fix and tightly connected like this photo below.
This connector must be seated leveled and fully into the Ams Buffer. This is one of the key support.
Important
This would be the most ideal route for the Ptfe tube if your Ams is on tp of the printer. Its basically a huge C. Please try to make the Ptfe route like this. The most ideal length of Ptfe is 62cm IF your Ams is on tp of the printer with no riser. 62cm will be able to give you this ideal route.
If you have a riser just adjust the route to be somewhat similar for the proper effect.
Important Notes:
Note 1: This will not be compatible for those with the multiple Ams units or if you are using the multiple Ams HUB and its made specifically to users that only have one Ams Single Buffer . Note 2: Please follow the instructional video carefully its very important. Note 3: This fix is designed to still allow you to able to use pretty much any avaliable Ptfe tube removal tool so you can still remove your Ptfe tube if you want to replace it or for whatever reasons. Note 4: Hydra or Non Modified Ams can all benefit from this fix.
10.One Pla - 25mm/s First Layer
10.One Petg - 50mm/s First Layer
10.Six Petg - 50mm/s First Layer
10.Six Pla - 25mm/s First Layer
PLA - 0.24mm layer, 3 walls, 12% infill Rapid print, works great, support used.
10.ONE - PolyLite_ASA - 0.2mm layer - 42 min print
0.24mm layer, 999 walls, 10% infill In my case the ptfe tube did not fit through the hole of the part, even when I tried to fit it, it deformed, so I gave it a little more tolerance and that solved it, it fits accurately and does not wobble.
Названия используются только для указания источника результата. Polyzon не аффилирован с перечисленными площадками.