
Бесплатно 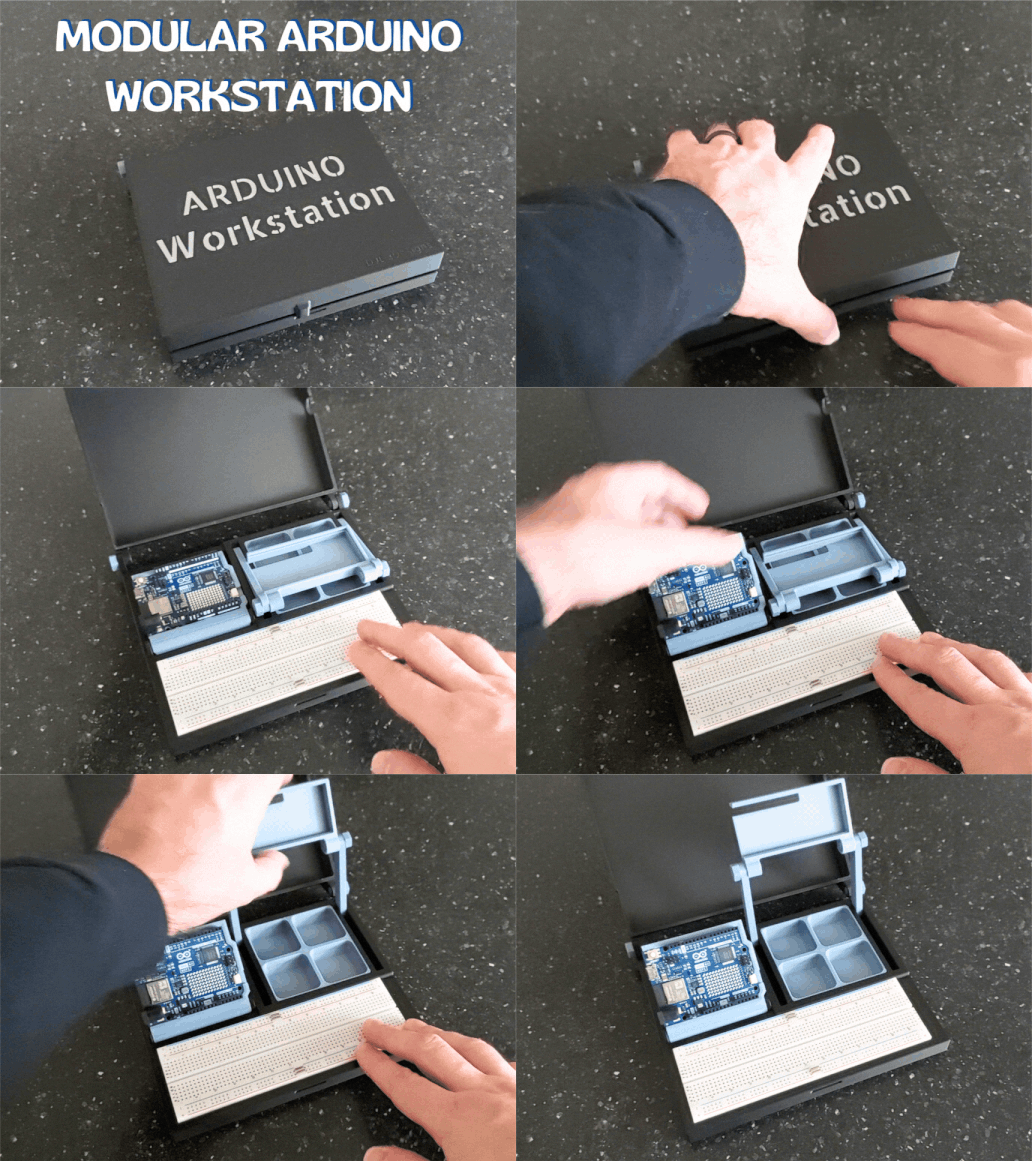
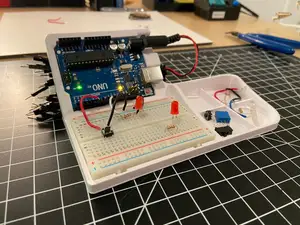
Modular Arduino UNO Breadboard Holder/ Workstation
MakerWorld
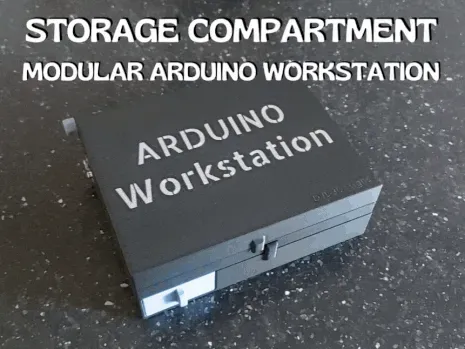
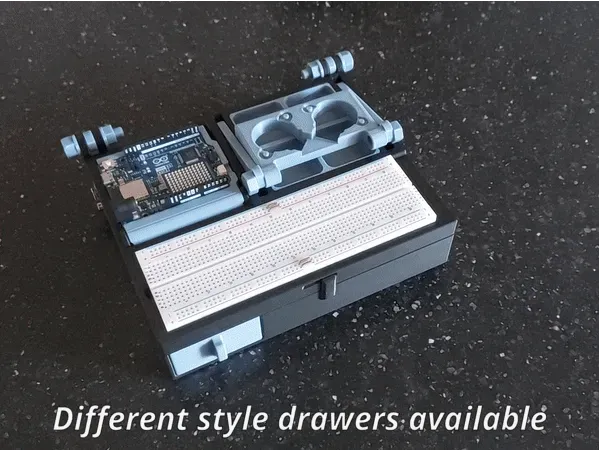
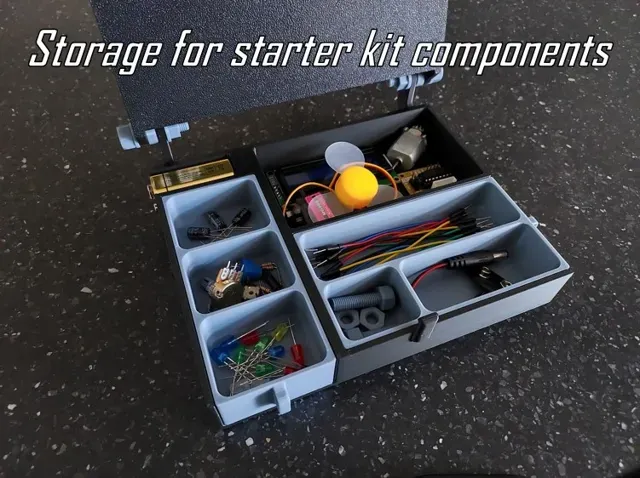
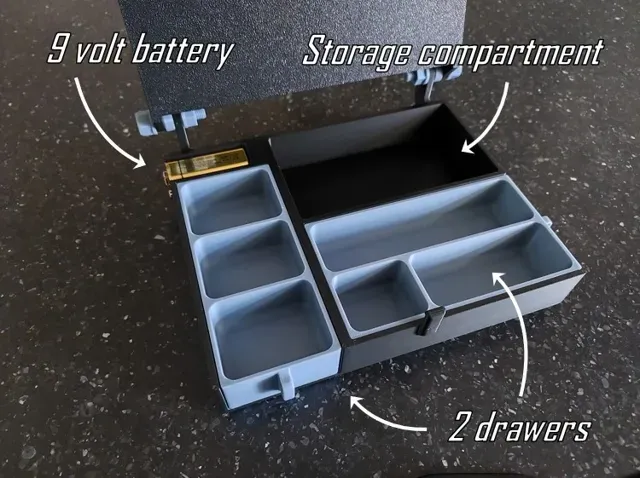
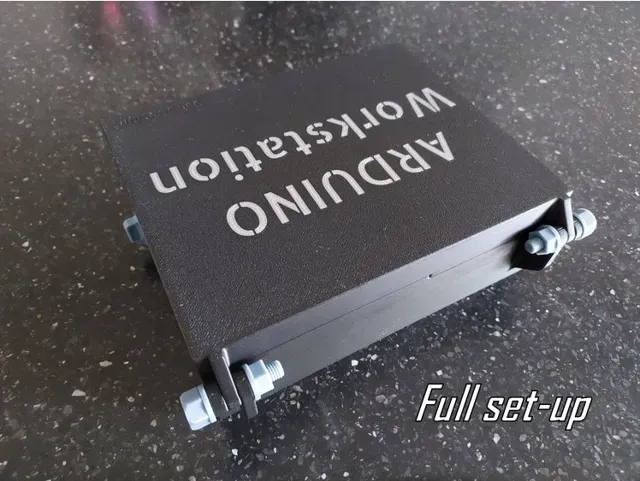
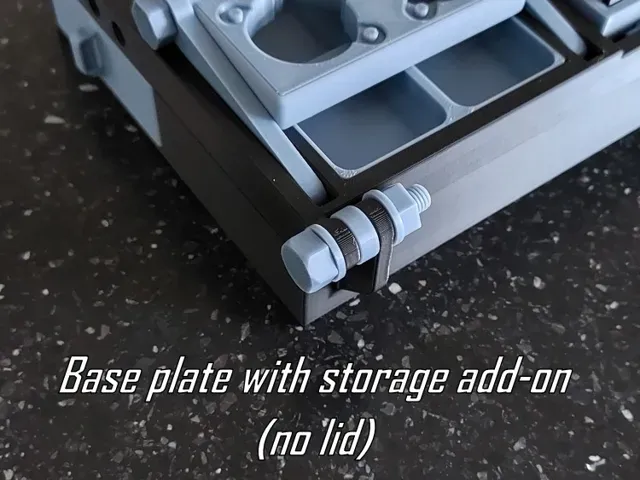
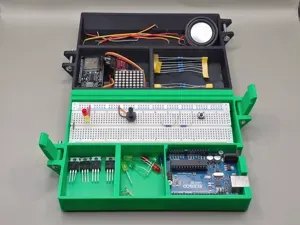
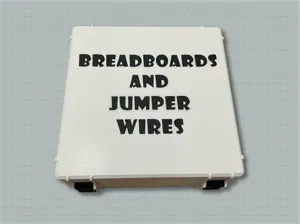
Storage Add-on for Modular Arduino Workstation
The perfect companion alongside any Arduino starter kit available!
Supported with more modules and mounts being released with future updates.
In this separate upload I'm excited to release the Storage Add-on for my Modular Arduino Workstation. Since there will, again, be some small instructions to follow, I choose to upload this add-on separately to avoid it becoming to overwhelming.
For updates on the project, please scroll to the update section down below.
Newest update on: June 14th 2025, STEP FILES for add/ons!
Compatible with the following Bambu printers: X1 series, P1 Series, A1 and H2 series printers
IMPORTANT NOTE:
- If you have already printed my full workstation and plan to add this storage upgrade you may or may not have to do a little re-work.
Details will be provided below in the instruction. The majority of parts can be re-used except for the bolts used to attached the lid.
Instructions
- Use profiles included! This ensures the bolts are printed to be more reliable.
Adjust any profiles at your own risk.
- Print the plate with the storage compartment - If you do NOT have the nuts and washers needed , please print the plate with these items found in the profile - Choose the print profile for the ‘basic’ drawers or the drawers with insert (more to be released in the future). - Print plates with replacement bolts (prints per object) - Optional: if you are not planning on using the lid, print the plate with spacers to fill the gap between
baseplate hinge and compartment hinge.
PLEASE ALLOW BUILDPLATES WITH LARGER PARTS TO COOL!
Removing the models prematurely can cause them to warp and not fit properly.
Assembly:
Step 1: depending on which version of lid you have, carefully remove the threads on the lid hinges with a maximum of 7,2 mm or reprint the updated lid which has no more threads (print profile for the lid is found on the workstations' upload page ).
Step 2: when already using the lid, undo the printed hardware and set aside. The bolts will be replace with larger ones to include the storage compartment.
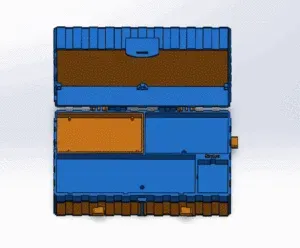
Step 3: Stack the modules in the order described in the image and attach with the printed hardware. Finger tighten the bolts and nuts
Step 4: if NOT using the lid, use 2 spacers and attach module with printed hardware
Step 4: Slide in the printed drawers of your choice and you are ready to get to work!
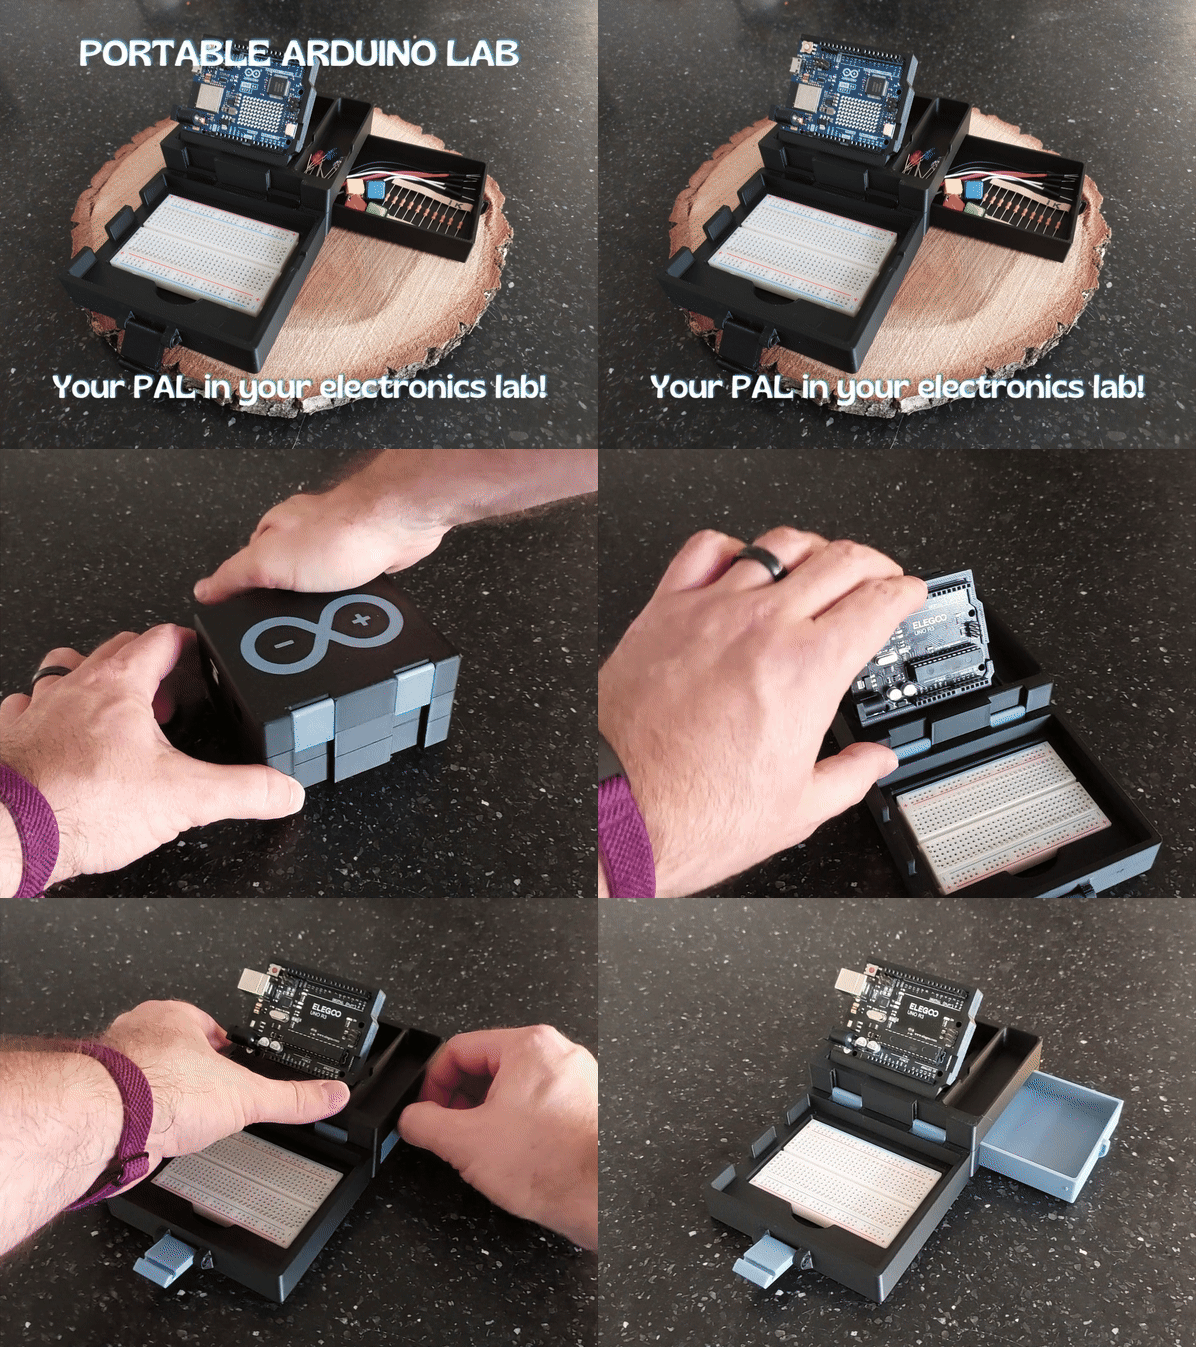
Recommendation on how to pick up the full set due to the added weight IMPORTANT: When picking up / transporting the workstation with the storage attached, I recommend using 2 hands! Unfortunately due to the added weight and the design of the latches (I will re-design these in the final version) the storage compartment tends to open up when picked up using only one hand. So in order the prevent electronic parts all over your desk I will say: “Do as I say, not as I do” ;)
Tips and remarks
- Unfortunately the latches on this workstation are NOT as perfect as I would like them to be and I apologize in advance should it not entirely meet expectations. In order to perfect it, it would have required a complete re-design of the baseplate and I did not want to burden the majority of users with having to re-print the baseplate as this would be very wasteful.
Thus I only redesigned to latches to be smaller.
- I'm planning on designing one final version of a workstation that may required same actual hardware (M3 screws for example) in order to provide a very strong and rugged latch / hinge system. It is my intention to also open this workstation up to the Raspberry Pi Model B's, Arduino Mega and perhaps the ESP32 but this is going to take some time ;) Need a better way to store all your jumper wires? Check out this cable organizer drawer by Miguel Angel :)
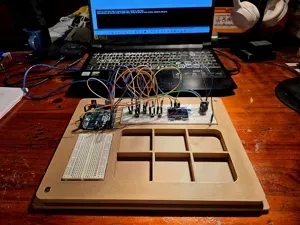
Cable organizer drawer for Arduino Workstation
Print Settings (recommended)
- No supports needed - Adjusted print settings for bolts + prints per object - No AMS required
UPDATE SECTION:
UPDATE (June 14th 2025):
- Uploaded STEP Files for the front and side drawer! Create some amazing add/ons for this workstation and share them :) Either upload them as a print profile on this models' page or upload them as a stand-alone. Make sure to link back to this model see people know what is for ;)
Let's work together and improve this design with your ideas and feedback. I'm only starting this workstation but my intention is to keep evolving it.
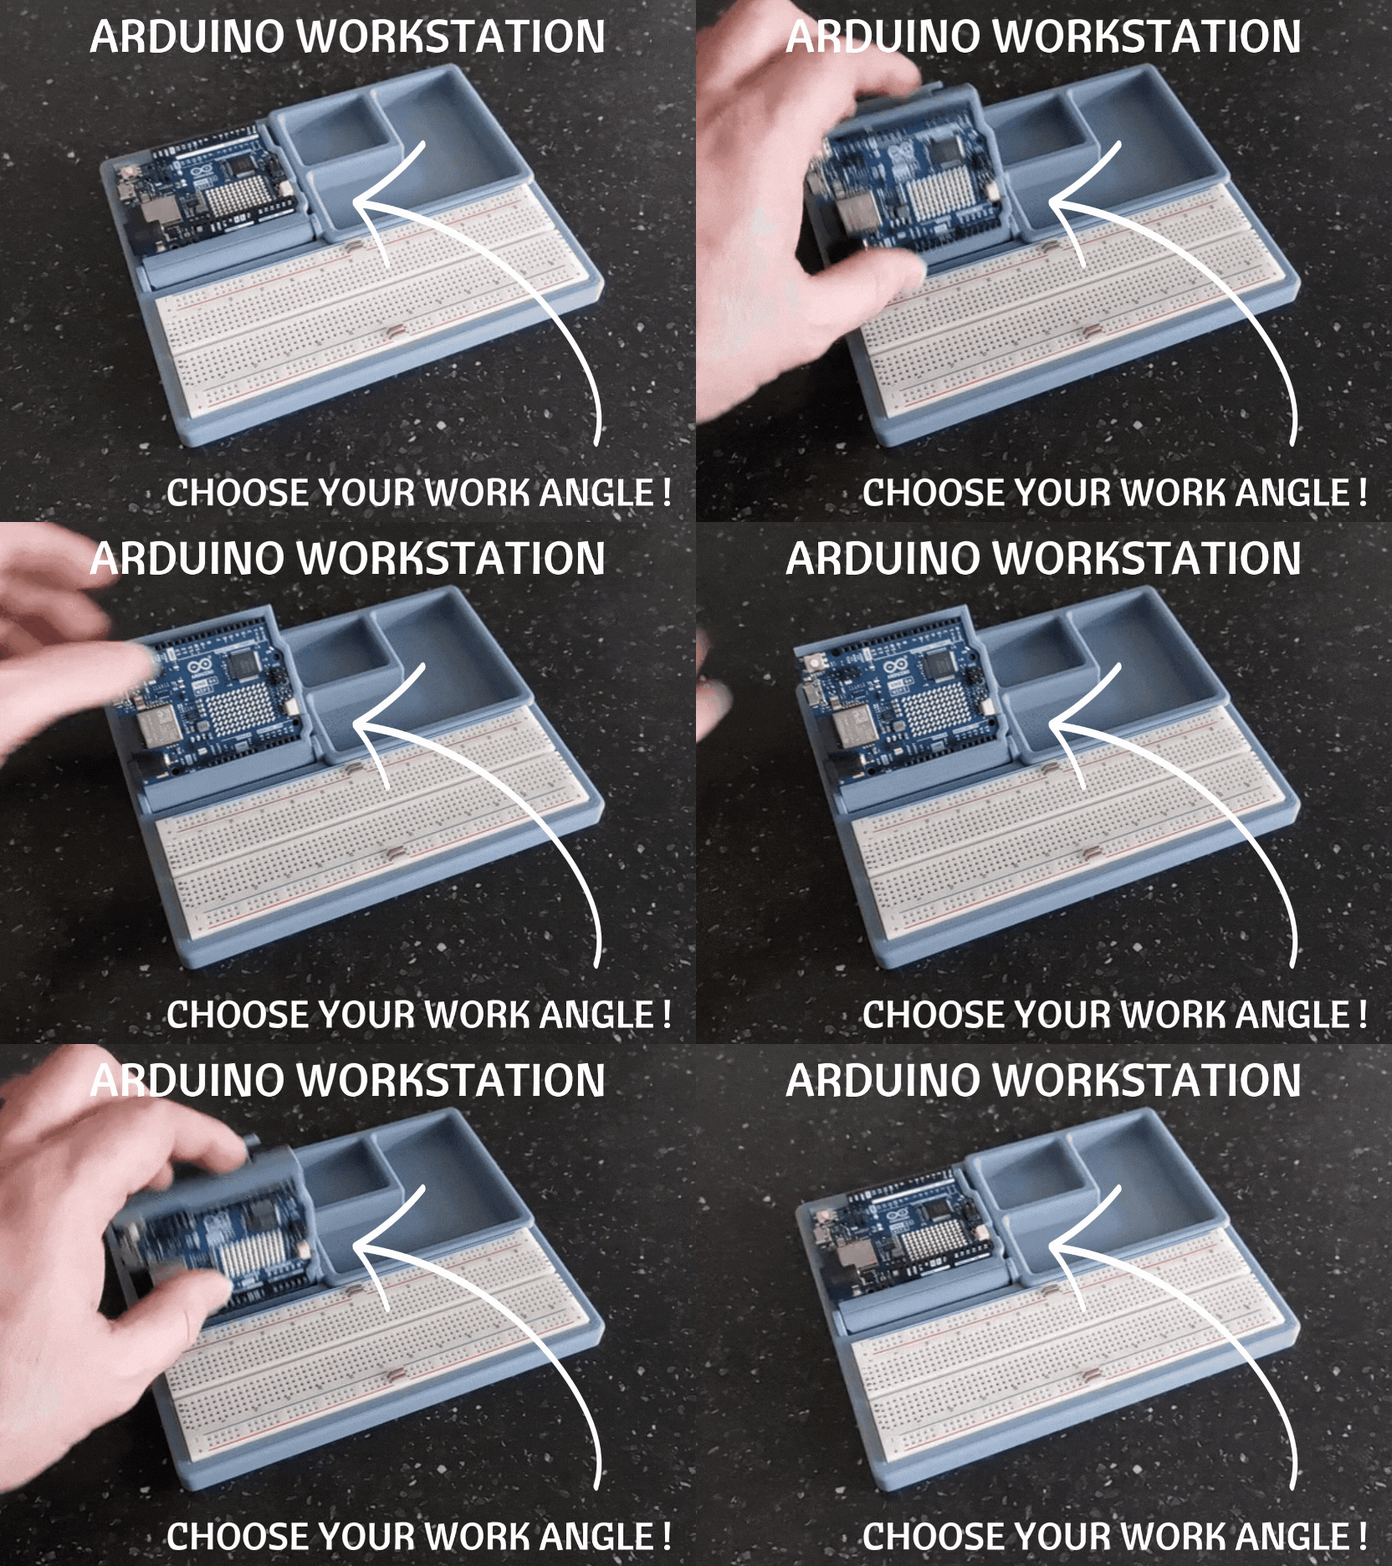
Looking for the workstation that this add-on is compatible with? (click on image below):
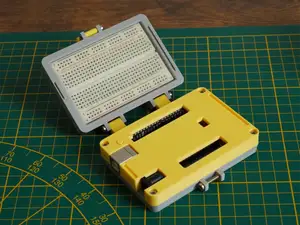
Looking for a Arduino workstation but not needing fancy extras? Maybe my Adjustable Arduino Workstation is enough! (Click on image):
Storage compartment, drawers and printed hardware Standard settings (slower speeds)
No supports needed
No AMS
Profile contains:
Storage compartment
Drawer sets
Printed bolts, nuts & washer for assembling
NOTE: print per object is highly recommended for the small parts! NOT ACTIVATED BY DEFAULT
Названия используются только для указания источника результата. Polyzon не аффилирован с перечисленными площадками.