
Бесплатно 
Sawstop Fence Tube Drawer
MakerWorld
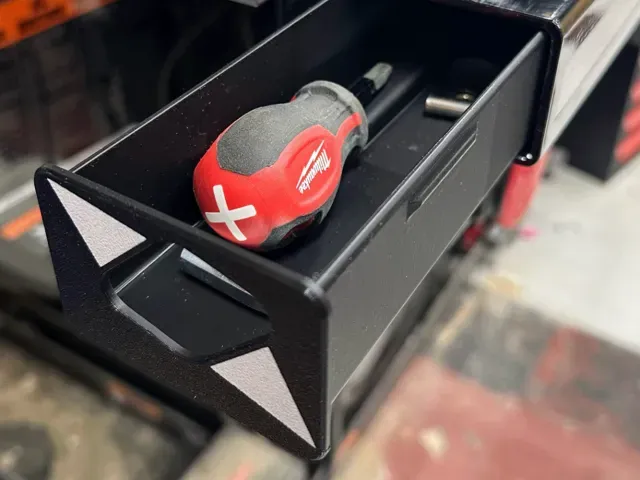
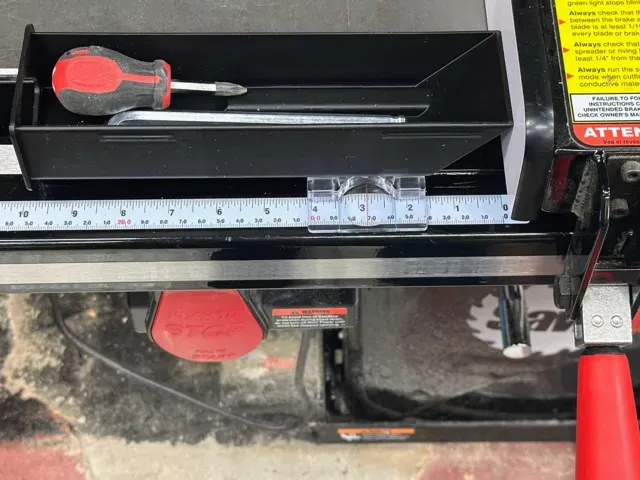
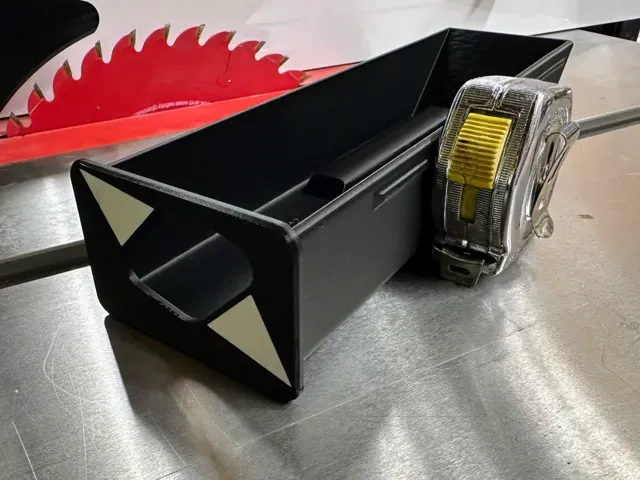
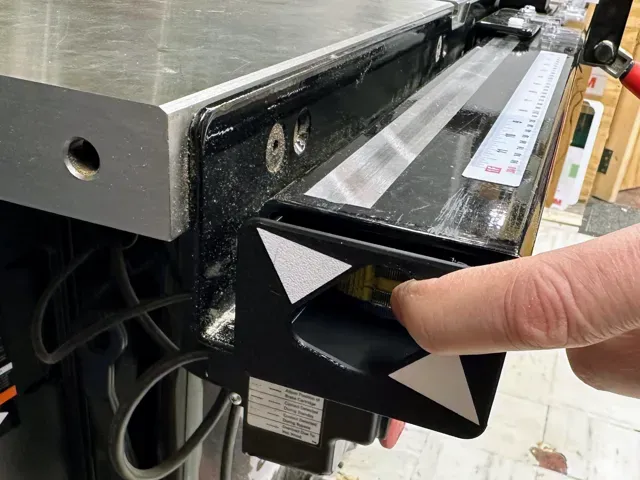
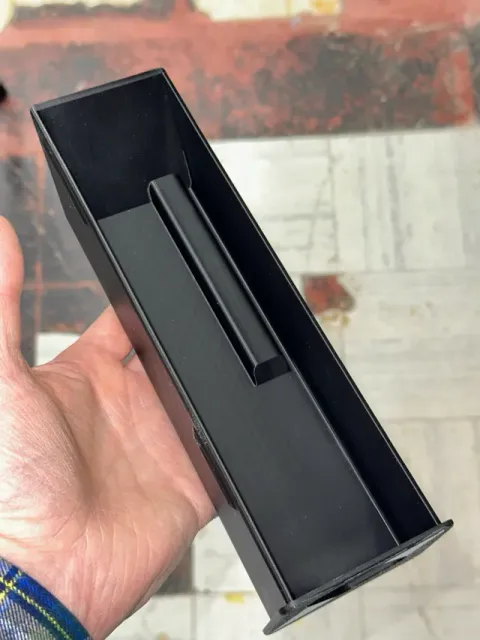
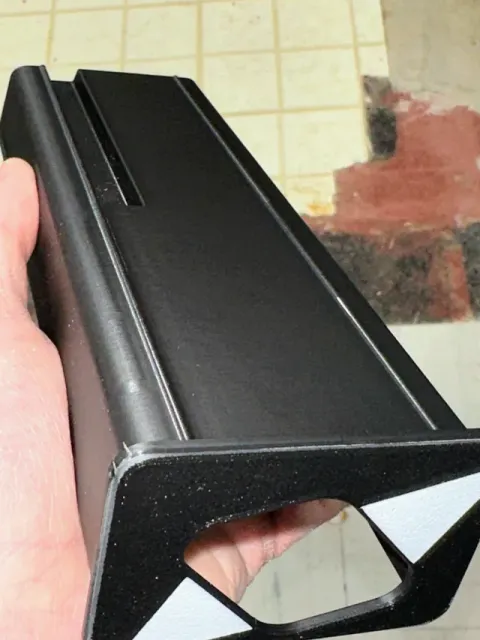
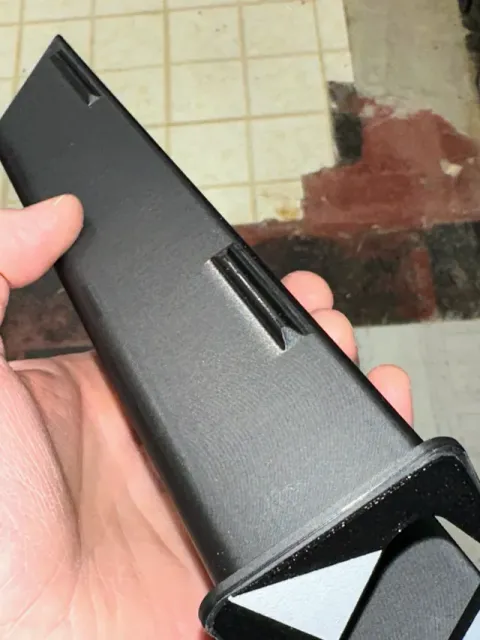
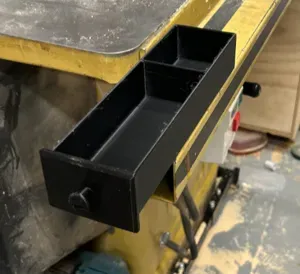
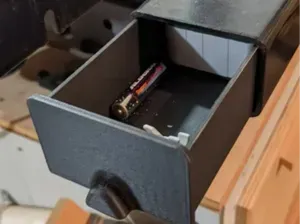
This set of left and right drawers fits into the ends of the front rail of the SawStop Professional T-Glide Fence. The design is based on my 36" fence and is likely to fit the 52" fence as well. If you have the 30" premium fence, I would be curious to know if it fits.
These drawers fits snug and won't vibrate open thanks to small tabs on the sides that pinch against the inside of the tube when the drawer is fully closed. They also slide smoothly on small rails on the bottom of the drawers, rather than just a flat bottom.
On my table saw, the fence rails had a burr around the inside lip, so be sure to file that off before using the drawers.
Testing the fit
First, check that the front rail of your fence measures 2 inches tall X 3 inches wide (measuring the outside of the tube). So far so good, right? Now the tricky part: The fence rail contains screw ends that hold the rail to the saw - These are locate several inches into the tube and the height of the screws is hard to measure. To avoid having to measure inside the tube or printing out the drawers only to find they don't fit, there is an extra plate with a set of "Test Fit" parts. Print that plate - its just 38g of filament for the set of two - and slip them into the tube ends. The test first drawers are inserted into the ends of the tube so that the part that sticks into the tube the farthest (the tongue) is on the bottom and towards the back of the saw. If the ‘test fits’ are able to slide all the way in, then the drawers should fit.
Printing Notes
The design prints vertically and is 245mm tall, so it requires a 256mm Z-axis printer (Bambu X1 or similar).
The provided print profile works well. It uses two colors for the drawers, but the colors are only in the first few layers, so there is minimal color switching. Just set all the colors to the same color to print with a single color. If you create your own print profile, here are the key settings:
- .2mm layer height with a .4mm nozzle creates a good quality part - Standard PLA - No supports are needed - I don't use a brim - it leaves a sharp edge when trimmed off - Instead of the brim, I increase the bed temp. to 60C to help with adhesion
Enjoy - Let me know how it turns out!
0.2mm layer, 2 walls, 15% infill - .02mm layer height with a .4mm nozzle creates a good quality part - Standard PLA - No supports are needed - No brim - Increase bed temp. to 60C to help with adhesion (or use brim if not on a heated bed)




Названия используются только для указания источника результата. Polyzon не аффилирован с перечисленными площадками.