
Бесплатно 
Simple Modular Desk Calendar
MakerWorld
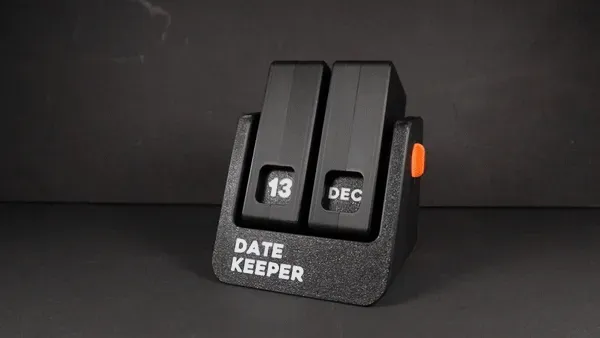
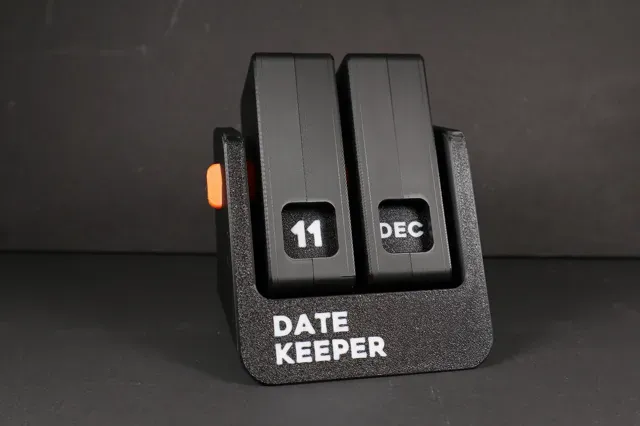
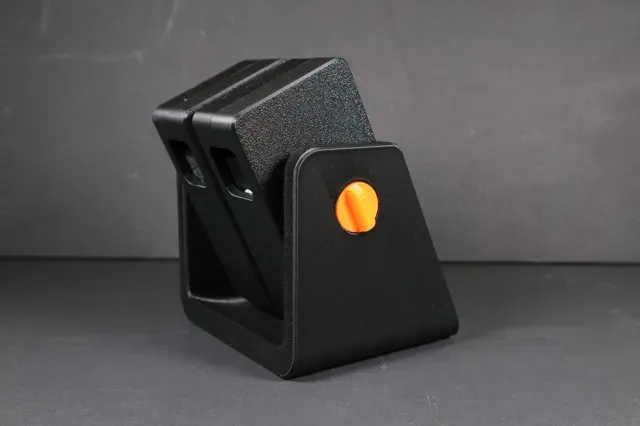
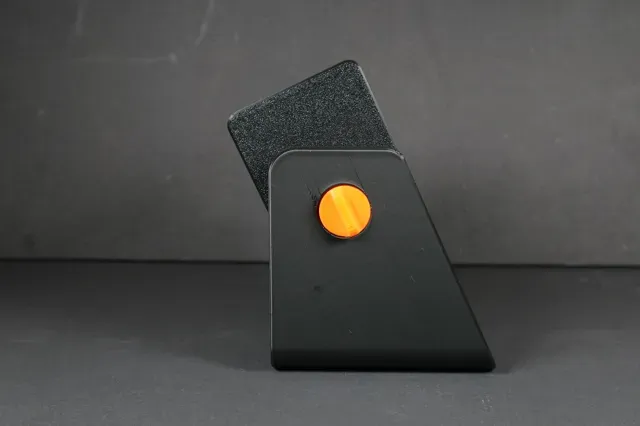
The Perpetual Calendar
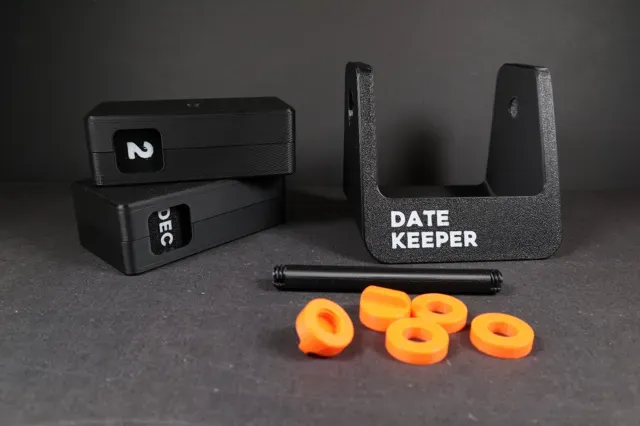
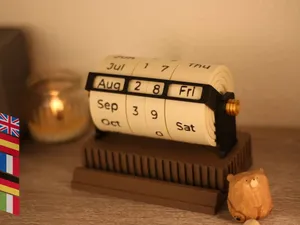
A fully 3D printed calendar. No Magnets, no bolts, no glue and no screws are needed. Just 3D printed parts. If you don't have an AMS unit, you can just print the date/month tiles in one color - Then you use a Posca Marker or similar to add the date and months.
I seperated each color print (besides the date/months tiles) to individual print plates. Please move these around as you please for faster or more eficient prints.
NB: When assembling the calendar please only tighten the axis so you can still move the date and month individually.
The indicator tiles needs to be inserted in this order.
NOTE: The two housings are not the same.
The centerblock one for the days is 31,4mm - The centerblock for the months is 28,8mm
If you’re having issues with adhesion in general with your printer - please use the print profile with added brim to the threaded axis.
Please have a look at this assembly video I've made. If you follow these steps it's a very simple assembly.
This video shows how to orient the date tiles so the calendar works as intended.
Please make sure you print bed is clean when printing the multicolor parts to ensure maximum adhesion.
Due to the nature of 3D printed parts being very light, you might encounter that the tiles won't fall down immediately. If this happens just give the housing a little tap and it should fall into place.
My calendar is printed with these filaments:
Sunlu PLA+ White (I am having bed adhesion issues with this filament - I recommend Bambu PLA White instead)
Sunlu PLA+ Black
Bambu Lab PLA Basic Orange
UPDATE 31-12-2023:
Uploaded a new print profile. Version V1.1
Made a few modifications to the two housings so the tiles would fall down more consistently.
This update also reduces the print time by more than 1 hour.
UPDATE 08-01-2024:
Some users have been complaining/leaving low ratings about the ironing of the tiles or bed adhesion. Please modify this yourself within Bambu Studio if your printer is not well calibrated or maintained. Also, make sure your printer bed is clean from any grease.
I've had zero issues with my own prints. both ironing and bed adhesion. Printed on a P1S.
Date Keeper V.1.1, 0.2mm layer
Date Keeper V.1.1, 0.2mm layer (Blank base - No Text) This print profile has a blank face (No text)
Added brim for center axis This profile is for people who are dealing with bad bed adhesion on their printer and who are not able to add brim themselves.
A1 Mini Ready - 0.2mm layer, 2 walls, 15% infill Re-plated to print on my a1 Mini and wanted to share for other mini owners
2 Colors on 2 Plates, 0.2mm - 2 Color on 2 Plates - 0.2mm lay height - 2 walls - 8% gyroid infill
0.2mm layer, 2 walls, 15% infill - Non AMS required version. - For dates pause and change color manually in layer 6 and 20 - For months pause and change color manually in layer 6 and 23 - The housing with D means it is for Date . No need to measure or get confuse again - add a brim to the center axis to make it more stable while printing
3 plate
0.2mm layer, 2 walls, 15% infill neeed to add brim on designer profile… perfect result.
printed on texured pay plate… the next will be on High temp plate… i'll update if need some fix!!! in any case great job from the maker!!!
中文月份 Chinese Month 0.2mm layer, 2 walls, 15% infill Change to Chinese month for easy viewing by Chinese friends. I hope those who want to print will respect the original author and not use it for commercial purposes
0.2mm layer, 2 walls, 15% infill 有天瑞打印参数
Original model with Polish months All settings as in the original. I added Polish month names, did not remove the original ones. No need for AMS, pause when changing color in the layer.
A1 Mini Non-AMS & extra tolerance for spacers Same os original print profile by designer, besides: - Non-AMS option - Days and months cut out - Optional spacers with extra tolerance - use when the filament used for the rod is too rough (I used PLA wood)
To print without AMS just add a pause between layers 6 and 22 (for days) & layers 6 and 25 (for months). Change the filament after every pause.
0.12mm layer, 4 walls, 100% infill This is the addition of the custom frame.
![Mid Century Modern Perpetual Calendar [245mm Tall]](https://cache.polyzon.org/api/img?url=https%3A%2F%2Fmakerworld.bblmw.com%2Fmakerworld%2Fmodel%2FUSf623f8f888d417%2Fdesign%2F5098e932407804a4.png&w=300)

%2Fhttps%3A%2F%2Ffbi.cults3d.com%2Fuploaders%2F52110506%2Fillustration-file%2F98af83c4-195f-4d60-a17b-45af29fd9860%2F00_PK1589_01_hero.jpg&w=300)

Названия используются только для указания источника результата. Polyzon не аффилирован с перечисленными площадками.
Комментарии