
Бесплатно 
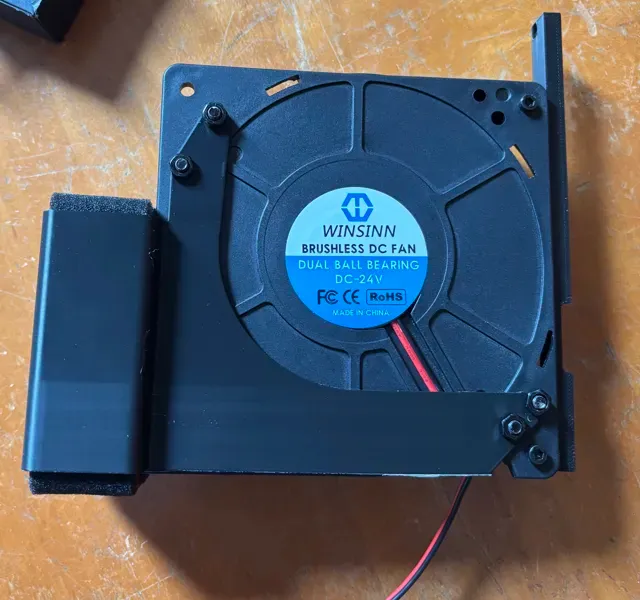
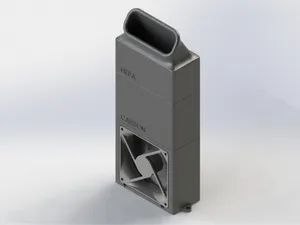
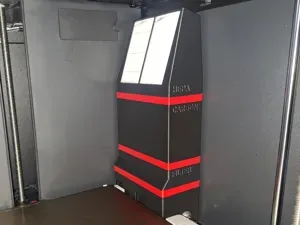
Bento Box TURBO Mod: 24v Blower Fan Filters Fumes!
MakerWorld
DISCLAIMER
I am not responsible for anyone negligently wiring and burning down their house, do your own research and pay attention to what you do.
WHY is this Bento Better?
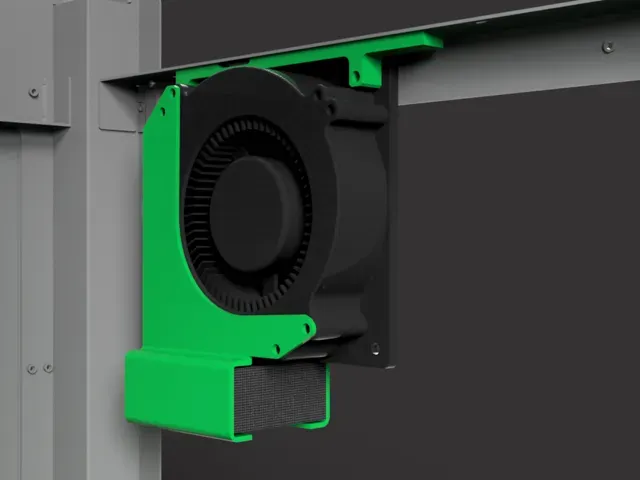
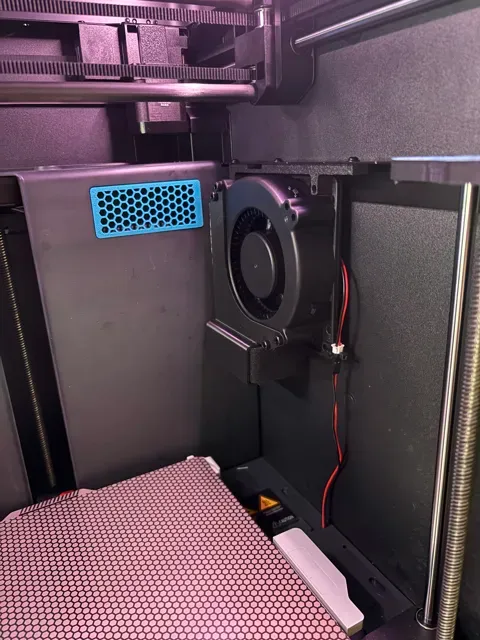
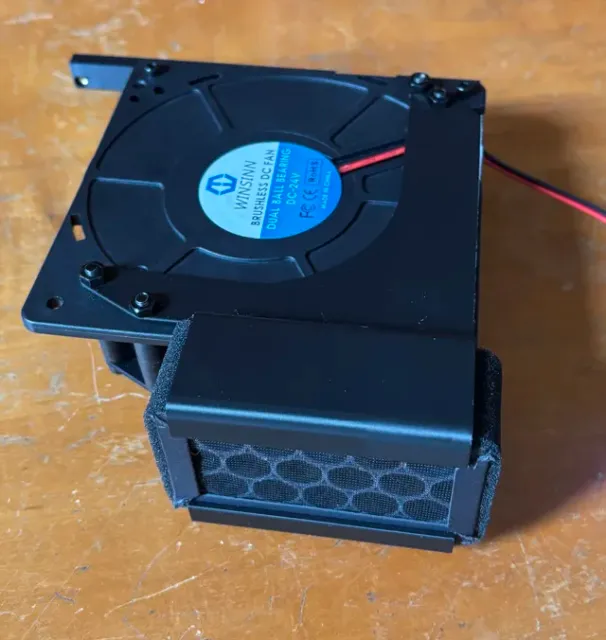
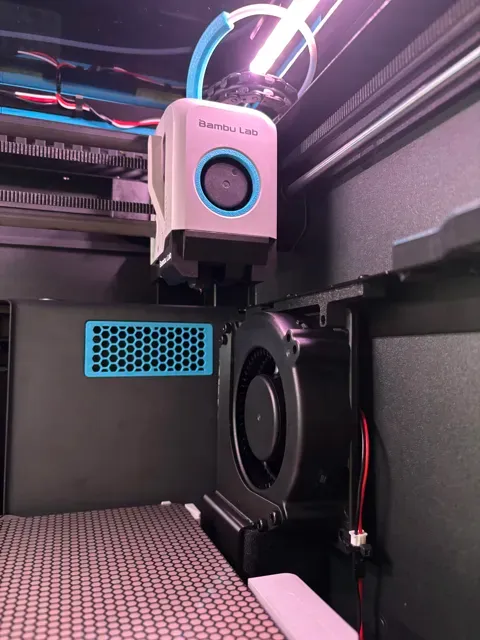
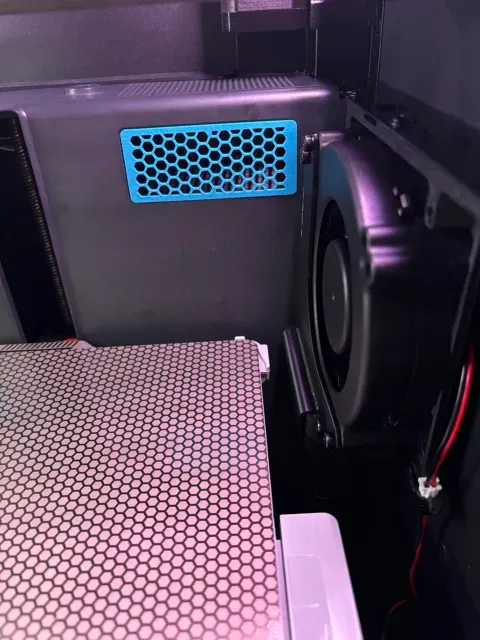
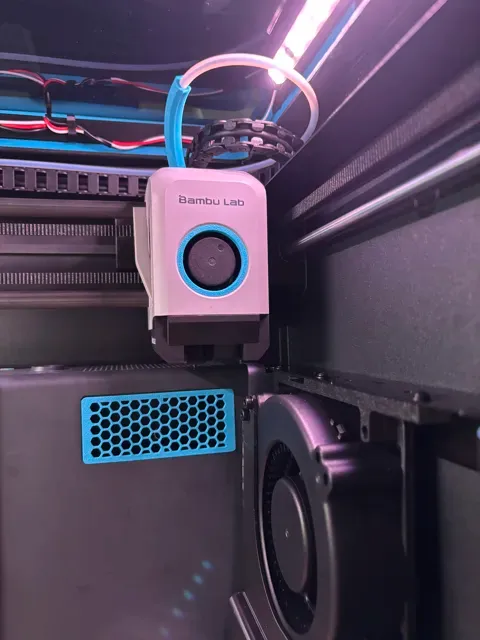
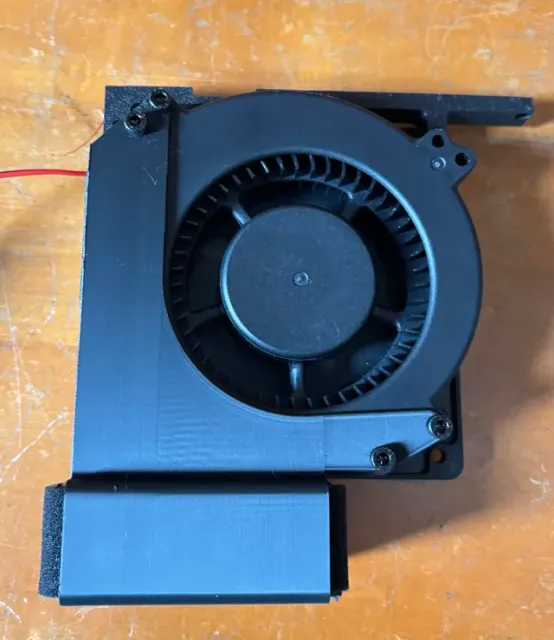
This is a super simple setup. It uses standard Bambu Lab or Voxel PLA filters. The 120mm fan provides better static pressure and CFM than a standard ”Bento Box”. Doesn't interfere with the printers motion system and is powered completely separate from the printer. Can swap the filter without removing the setup.
BOM:
1 24V 120mm Blower Fan
1 24V Power Supply
5 M3x8MM Screws
3 M3 Washers
5 M3 Heat Stake Inserts
4 M4x40MM Screws
4 M4 Hex Nuts
1 ~2ft Positive Wire
1 ~2ft Negative Wire
1 Zip Tie
1 P1/X1 style chamber filter
Maybe 4 WAGO Lever nuts to make connecting easier or some Dupont Jumpers/crimp connectors.
Optionally:
Inline Fuse (The power supply has built in Over Current Protection)
Inline Switch
Loctite
Fan with power supply/speed controller
Strongest fan I could find, but would need a power supply like this
Assembly:
Start by printing the Parts:
Use a soldering iron and insert the 5 Heat Stake Inserts in these locations on the Fan Mount:
Attach the fan mount to the fan with two M3 screws:
Attach both sides of the filter housing at the same time with the M4 screws and nuts:
Tighten everything snug.
You can slide your filter in now or after you install the assembly in the printer.
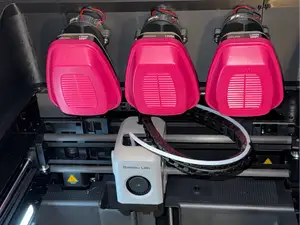
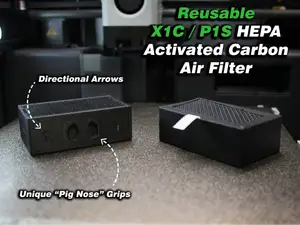
This works with the standard Bambu filters and the Voxel PLA HEPA filters.
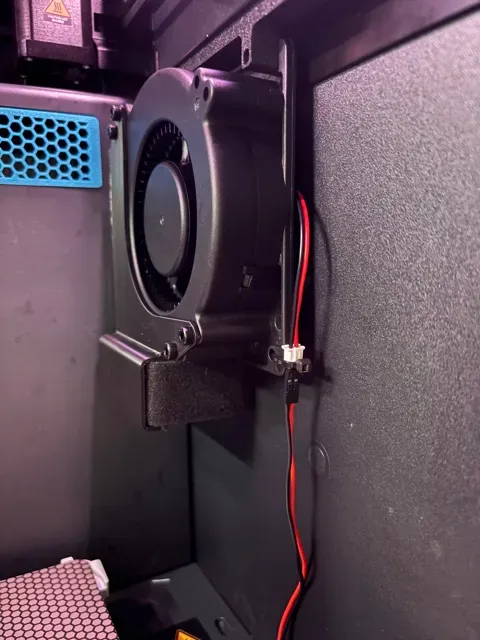
Use the remaining M3 screws and the 3 washers to attach fan to printer frame, the screws go in two square holes and one round hole at the back.
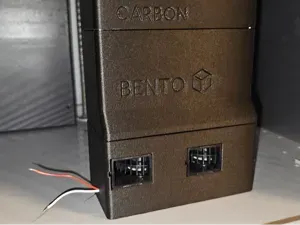
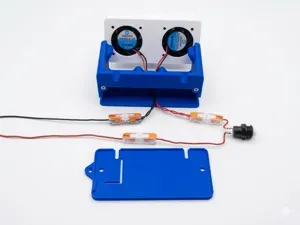
Connect your fan wires to your power wires and secure with zip tie.
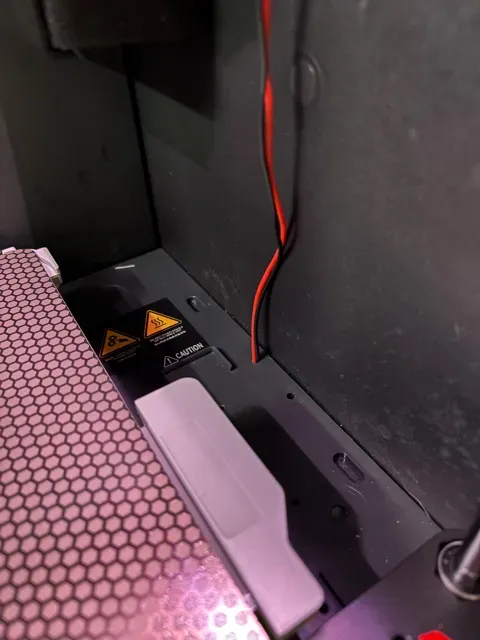
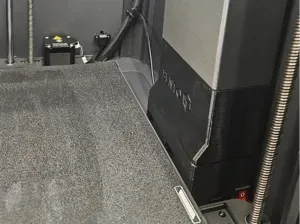
Feed wire ends through hole in the bottom of the chamber.
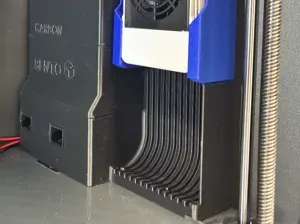
If you haven’t installed the filter yet, do so now, I designed it to be a tad snug, so be patient and try to line the filter up in the housing nice and even, then push it in until the filter touches the back wall, this will center the filter under the fan.
If you have a fuse or switch install those now.
Connect your power wire to the positive on the power supply terminal.
Connect your ground to the ground terminal on the power supply.
Double check everything and plug in your power supply.
To remove the filter, hold the housing assembly with one hand, then with the other place your fingers on the center and farthest back part of the filter and slide it out towards the door.
FILTER HOUSING
FAN MOUNT

Названия используются только для указания источника результата. Polyzon не аффилирован с перечисленными площадками.