
Бесплатно 
Modular Corner Shelf – Expandable and Easy to Hang
MakerWorld

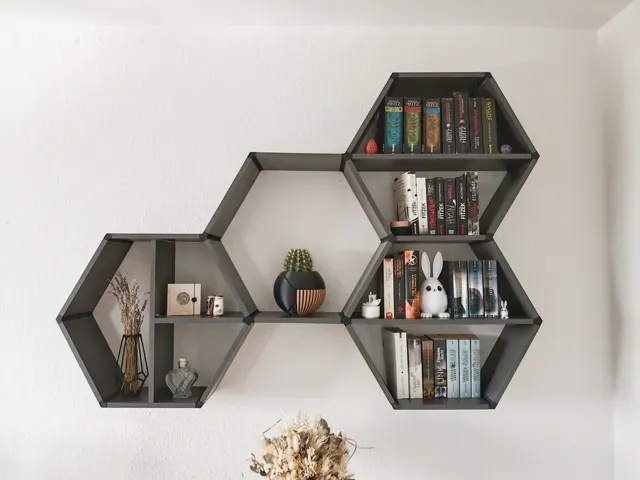
Hex Shelf – Modular Wall System with Seamless Printed Connectors
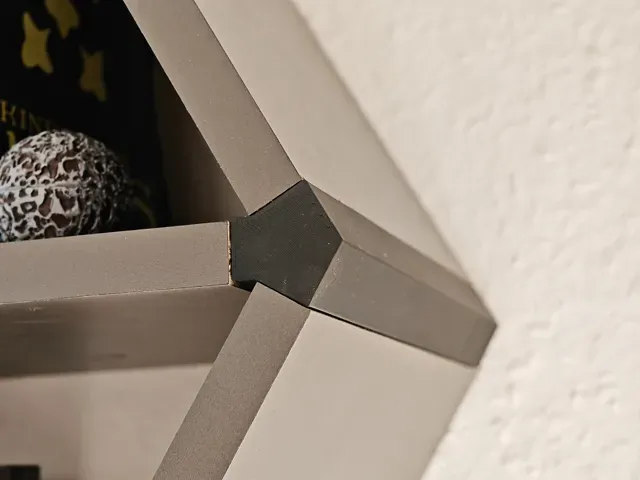
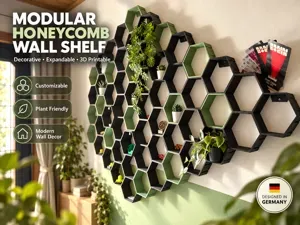
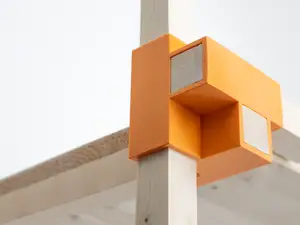
This fully customizable hexagon wall shelf system combines the warmth of wood with clean 3D printed corner connectors for a minimalist, seamless look. Only the connectors and rails are printed – the shelves are made from standard 200 mm × 16 mm wooden boards , which slide into place using a clever snap-fit system.
The layout is entirely up to you: by mixing 2-way, 3-way, 3-way horizontal, and 4-way connectors, you can build any hexagonal design you like. Each joint consists of two printed parts — a mount base (which can be wall-mounted) and a snap cap (which clicks into place once all boards are inserted).
A printable drill guide is included to ensure perfect alignment of all screw holes.
Boost Me 🪵 Materials & Parts (for the shown setup)
Wood boards:
- 22 × 275 × 200 × 16 mm - 2 × 566 × 200 × 16 mm - 1 × 508 × 200 × 16 mm Printed parts:
- 44 × rail - 9 × 2-way mount base - 9 × 2-way snap cap - 3 × 3-way mount base - 3 × 3-way snap cap - 2 × 3-way horizontal mount base - 2 × 3-way horizontal snap cap - 3 × 4-way mount base - 3 × 4-way snap cap - 1 × drilling guide Screws:
- 88 × 4×20 mm countersunk wood screws or BHCS - ~10 × 4.5×60 mm countersunk wood screws + wall plugs (for mounting the bases) Optional:
- A printable shelf board version is included if you're overflowing with filament — but wood is strongly recommended for rigidity, aesthetics, and practicality. 🛠 Assembly Instructions
- Print the drilling guide and use it to mark and drill the rail holes at the ends of each board. - Attach the rails using the 4×20 mm wood screws. - Lightly insert a mount base (e.g. a 2-way base) onto the rails of your starting board. - Hold the board up to the wall, level it carefully (a smartphone app works great), and press a 4.5×60 mm screw through the mount base to mark the wall position. - Take it down, drill the hole, insert a wall plug, and screw the mount base to the wall. - Slide the board back into the mounted base using the rails — it should lock firmly into place with the built-in push pin system. - Continue corner by corner, building outward. Use a level to keep consistent 30° angles. - Once all board slots are filled at a connector, press the snap cap on until it clicks into place. 🧱 Mounting Notes
You don't need to mount every connector to the wall. I only secured the top row and a few sagging corners in the middle. The rest holds together just with the push-fit rail system.
HexShelf: 0.2mm Layer, 4 walls, 30% Infill
PrintedBoard: 0.2mm layer, 2 walls, 15% infill



Названия используются только для указания источника результата. Polyzon не аффилирован с перечисленными площадками.