
Бесплатно 
BLV - AMS / AMS 2 Riser P2S / X2D / X1C / P1S v4
MakerWorld
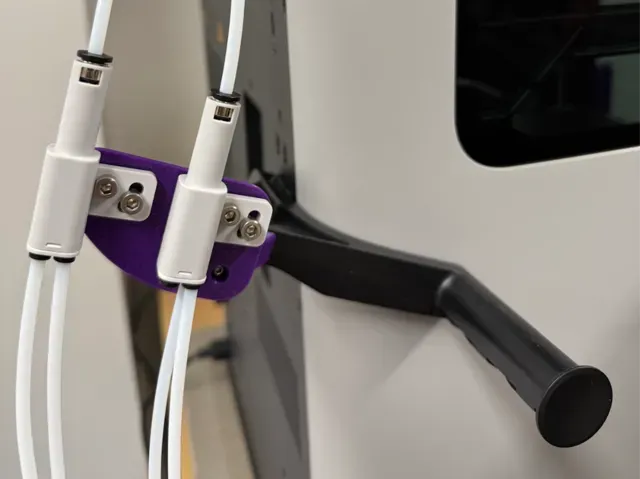


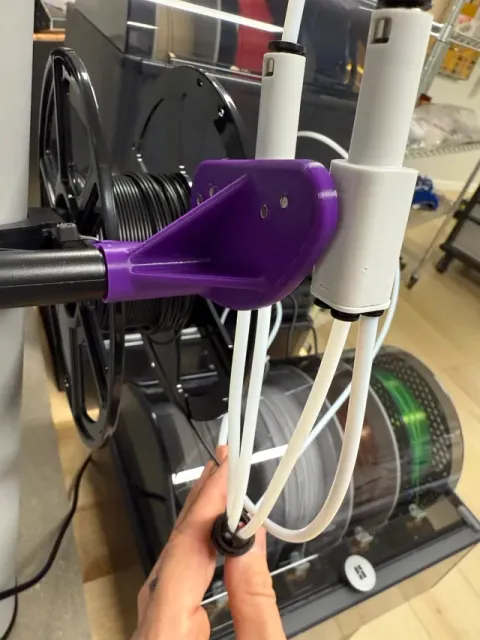

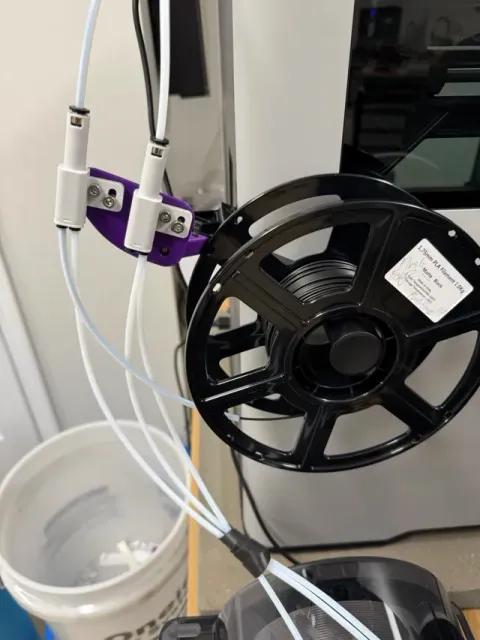
The Bambu H2D printer is an incredible machine, but it lacks a proper solution for efficiently multiplexing filament into its dual nozzles. Bambu’s own 4-in-1 PTFE Adapter is useful for feeding multiple AMS units or spools into the printer, but there’s just one problem—there’s nowhere to securely mount one, let alone two of them!
Boost Me My designs are free, boosts are nice if you like my work. The Mount Bambu Forgot
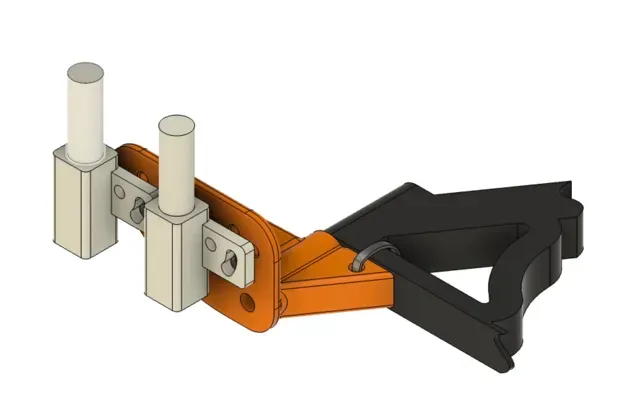
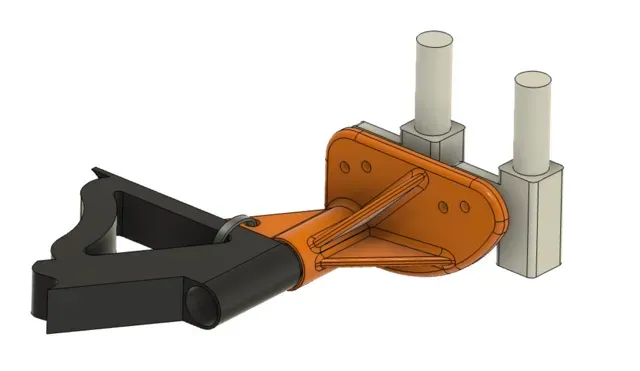
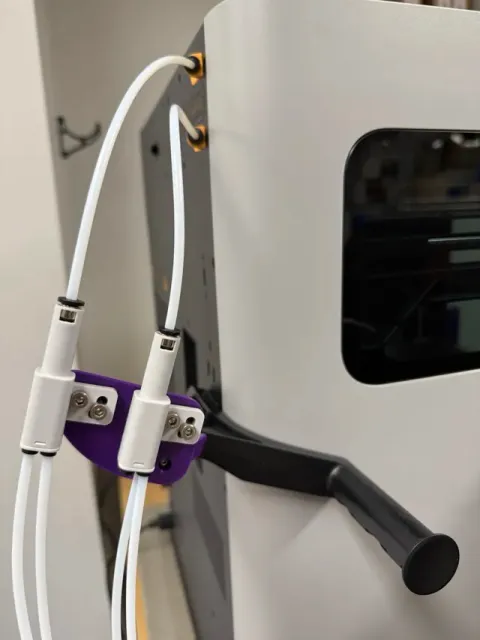
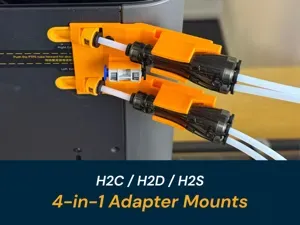
The MuxStation is a simple yet essential upgrade that securely mounts two Bambu 4-in-1 PTFE Adapters directly to the back of the stock spool holder. This allows you to easily feed up to four AMS inputs per nozzle, all while keeping the spool holder functional for direct feeding when needed.
Features
- Effortless AMS Multiplexing – Seamlessly route multiple AMS units or spools into your printer. - No More Dangling Adapters – Mounts securely to keep your setup clean and organized. - Uses Existing Hardware – Just add 4x M4x10 screws and a zip tie—no extra parts needed! - Retains Stock Functionality – The spool holder works as usual while supporting multi-feed. - Quick & Easy Install – Print, mount, and start multiplexing in minutes. How It Works
- Print the MuxStation bracket. - Attach it to the back of the stock spool holder using the existing ball screw. - Secure the Bambu 4-in-1 PTFE Adapters in place with four M4x10 screws. - Secure the bracket to the spool holder with a zip tie to keep it from rotating. - Connect up to four AMS inputs per nozzle and start printing with ultimate flexibility! Don’t let Bambu’s oversight limit your printer’s potential. Download the H2D MuxStation now and take full control of your AMS setup!
Step by Step Instructions
- After printing the part (recommended in PETG, but PLA is probably fine), unscrew the ball screw inside the OEM spool holder that secures the little swiveling bit to remove it. Save this in case you want to put it back someday. - Now, slide the printed part (orange here) over the domed part of the spool feeder like so, and install the ball screw (highlighted in blue here): - You can also attach a ziptie shown here in blue to secure the mount against rotation (not strictly required, but recommended , you could also use some other attachment method like tape or string): - Now, insert an M4x10 (or whatever length you have that reaches) into each of the 4 holes on the top of the part to cut threads into them. - Now, install the screws to lock the 4-to-1 splitters into place: - All done, should look like this :
PETG on H2D Profile
PLA Profile



Названия используются только для указания источника результата. Polyzon не аффилирован с перечисленными площадками.