
Бесплатно 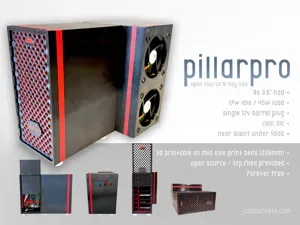
pillarpro - Open Source 8-bay NAS + 3.5" drives.
MakerWorld
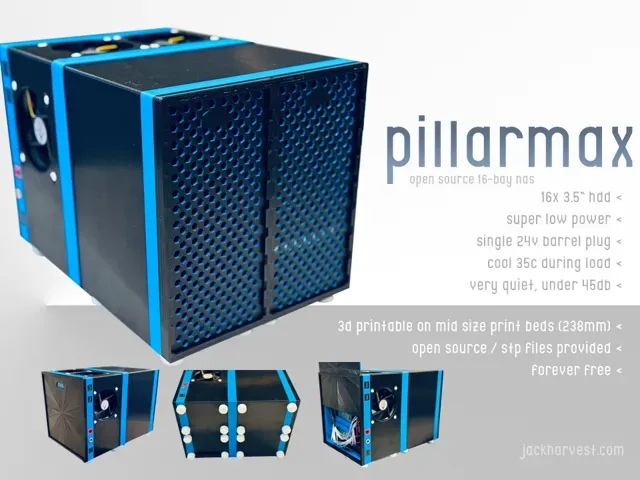
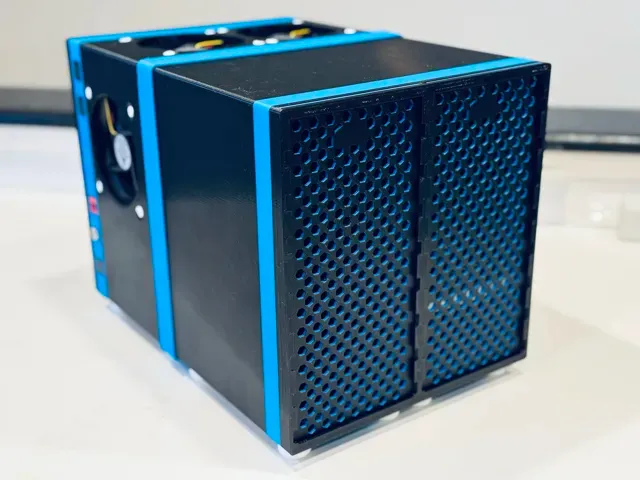
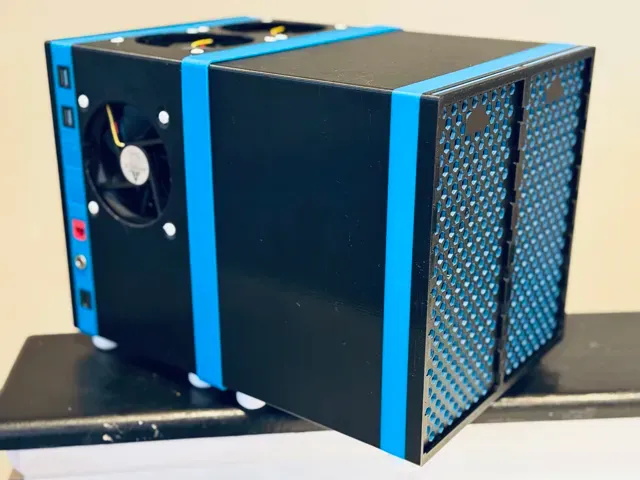
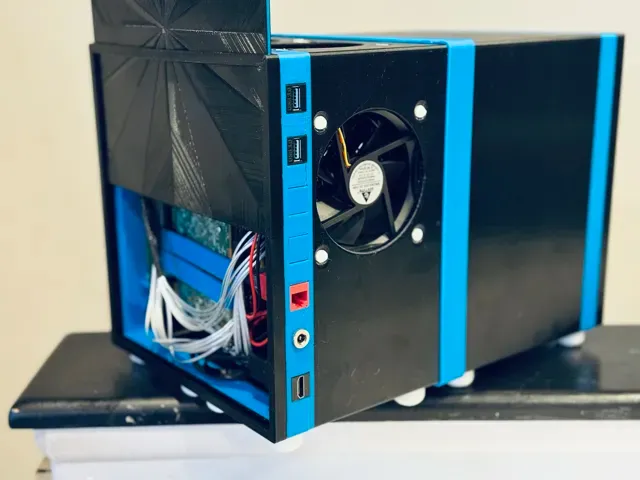
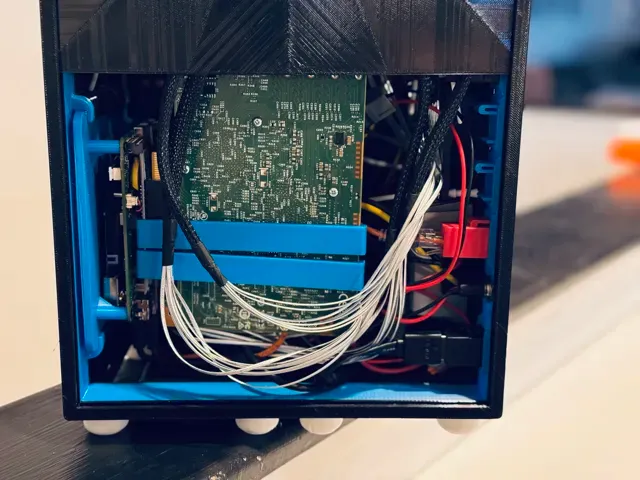
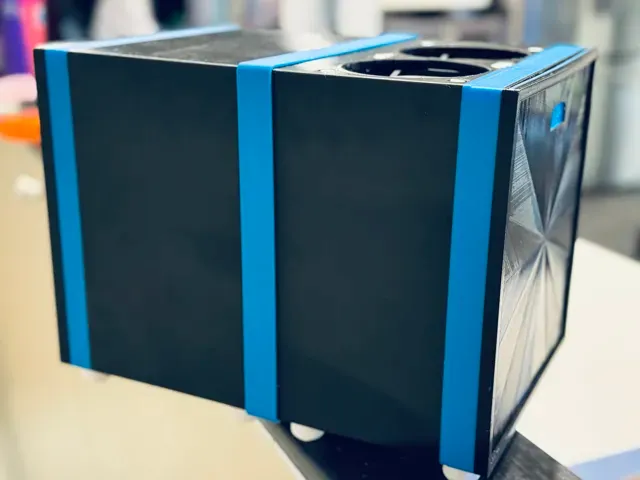
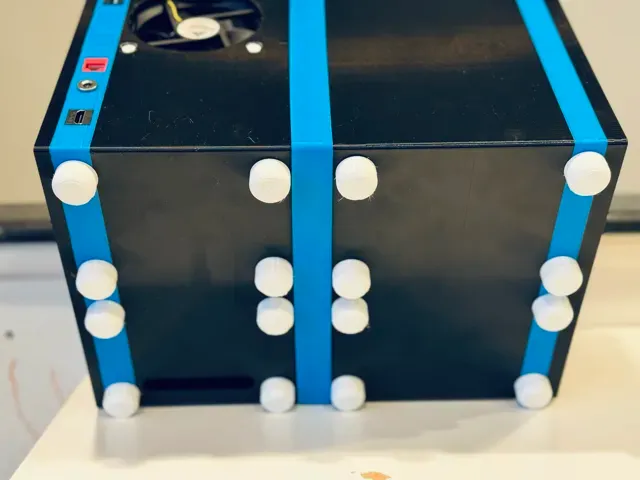
Boost Me With this 16-bay delight, I give it out for all to utilize as OPEN SOURCE. A boost would definitely help this month long design feel accomplished though. :) Note: The formatting of this writeup is more condensed and easier to read on jackharvest.com . I have no ads; I hate money, clearly. That said, I have copy and pasted it here, and edited nothing, simply so its available.
There are post-processing pictures on PillarPro's writeup . I didn't include them on pillarmax. You know what you're doing probably.
--------------------------------------------------------------------------------
Downloads First:
PillarMax Main Pieces [This page]
Automatic customizer tool for creating the standoff plate for your Mini PC. [This page]
Just insert the distance between the screw holes on your mini-pc’s motherboard from left to right, and up to down. Boom. Download.
PillarMax Mini PC SAS Card (full height) Adapter. [ Download ]
Anti Vibration TPU Screws. [ Download ]
PillarMax takes a 16-bay $5000 Synology-like approach, and delivers a DIY solution into your lap for under $300. Potentially for under $150, depending on how much crap you already own.
Requirements.
- Must sip power . - Must be economical . - Must be quiet. - Must be cool. - Must be easy to print & build . I consider Mini-ITX not aggressive enough for power savings, no matter the processor dropped in . Thus, a SOC (system on a chip) solution is required. Laptops and Mini PCs have their processor baked on, and have a far lower TDP than any desktop variant.
Meet the PillarMax.
I was going to start with a purchase sheet, but, I think its more exciting to show what you’re getting first.
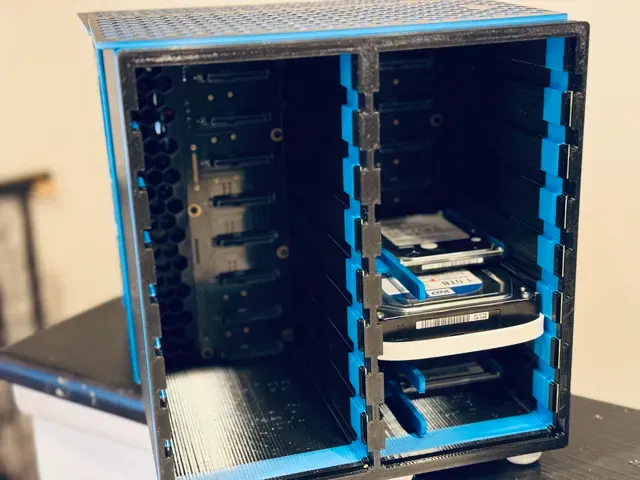
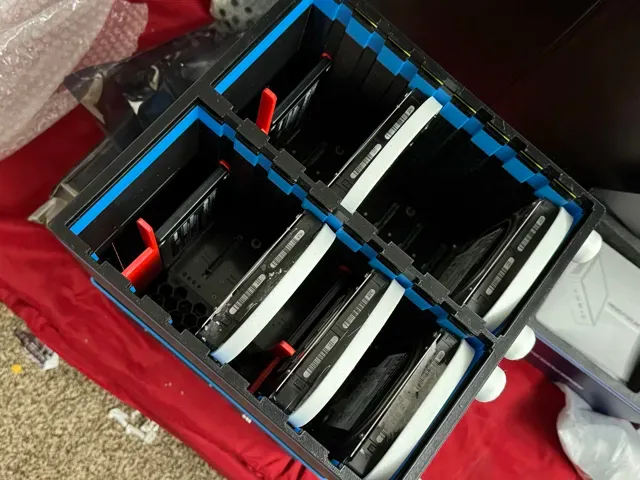
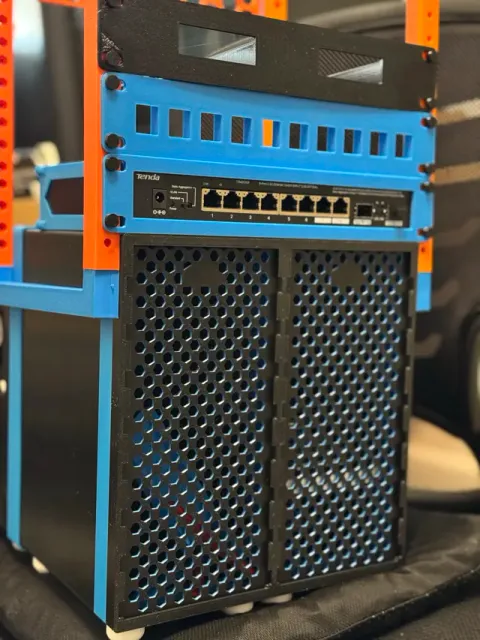
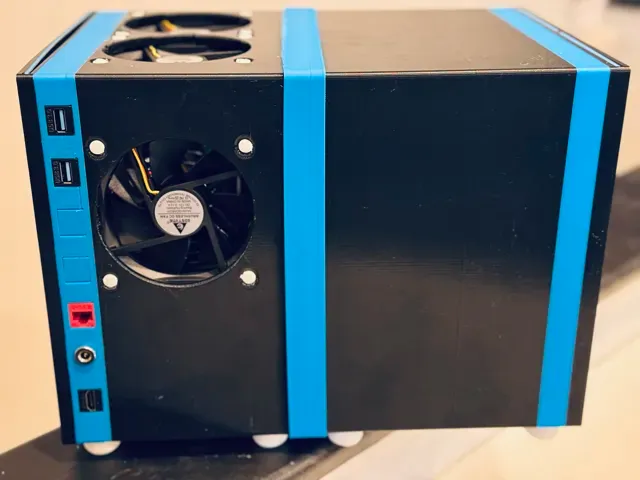
PillarMax, like the PillarPro, is broken down into only 2 main pieces (and their doors): The hard drive chamber , and, the Power Chamber . The ‘garage doors’ for each side are different for a reason; We want the airflow coming in across all the hard drives, as this dense of a machine is best suited for negative air pressure.
The design is, I believe, the most dense 16-bay NAS possible! With air gushing through the 3 fans, its easily one of the most thermal friendly as well. Not to mention the power usage… all around, really happy with it, and can’t wait for everyone to be able to join the fun with their old mini pcs (or new!).
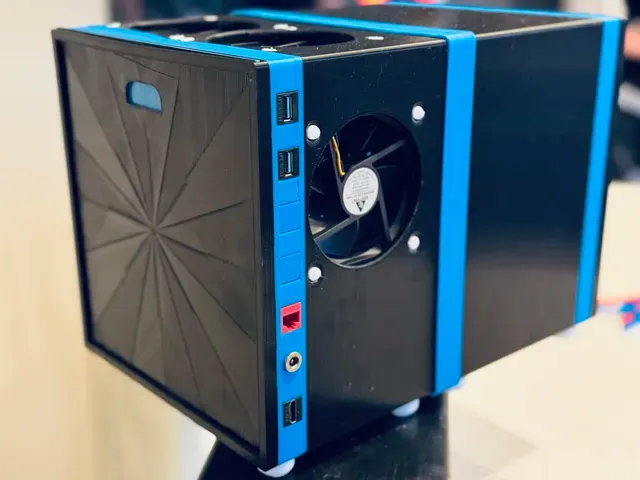
The IO up the rear left is in any order you’d like (except the power plug). There are 6 keystone jacks you can use to route your Mini-PC’s connections from. You can just print blanks of course if you don’t see a need, or just want to add those later. At minimum, you’ll want a network port and 5 blanks.
Show me more about these pieces.
The outside consists of two main components: The hard drive chamber , and the power chamber .
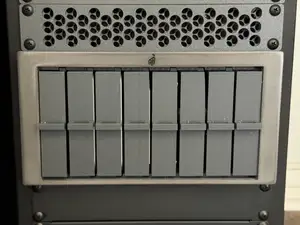
The hard drive chamber with two garage doors installed.
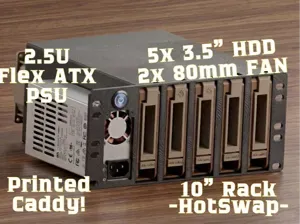
The power chamber has 3x 92mm fans, 6 keystone jacks, 1 dc barrel jack, and provisions to mount your Mini PC, 5V Downstepper, and 12V downstepper. (More on that later, don’t freak out, its easy).
It’s hard to believe, but yes, these two components each fit a print bed. 238.2mm x 230.3mm of bed space is required for the hard drive chamber…
…and the same 238.2mm x 230.3mm for the power chamber.
(Don’t worry about that broken piece, version 1’s strength in that spot was less than it should have been; Bolstered for you though!
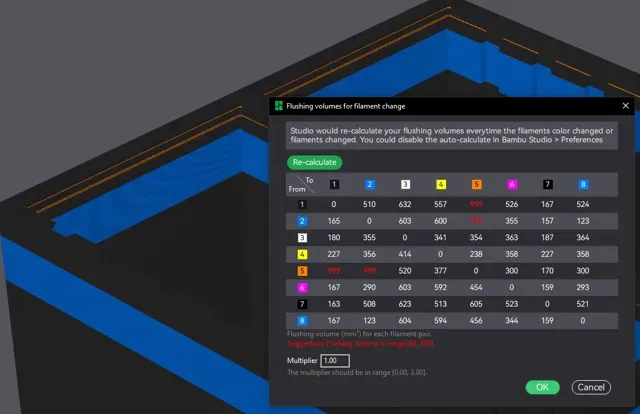
3D Printing Note: Both the power chamber and HDD chamber take advantage of using PLA as support for the PETG print. This means, when you remove the supports, they are removed with nominal effort, as the two are allergic to one another. (This also means you should set your purge pretty high (3x or 4x from normal) when swapping between the two filament types; Mixing in the nozzle by any amount will cause that layer to be extremely weak, and sheer right off).
How do they go together?
Once the two SATA backplanes are installed (1 8x in the left, 1 8x in the right) with nice short M3 screws, you’ll wonder “why did you advise I use such short screws?”
Simple. From the other side, you’ll use more M3 screws
Here’s an exaggerated look at how these two parts connect to one another. They use the exact same pilot holes that your Backplane screws use.
The backplane is only needing enough threads to get hooked to the plastic.
The other side should use screws that traverse and go all the way through, but not interact with the screws for the backplane.
I suppose you could send really long screws all the way through, with a nut on the opposite side in the power chamber. The thought didn’t occur to me until typing this. Do it however you want. xD
Perfectionist warning:
You do NOT need to use every screw hole. In fact, some of them are terribly placed on account of crudely piping over the measurements from PillarPro. Simply do your best to get 50% of the screws in place.
The bulk of the weight is going to be in the drive chamber. You’ll lift underneath that side. This is just so the power chamber is connected.
But what about the inside of the power chamber? I’m scared.
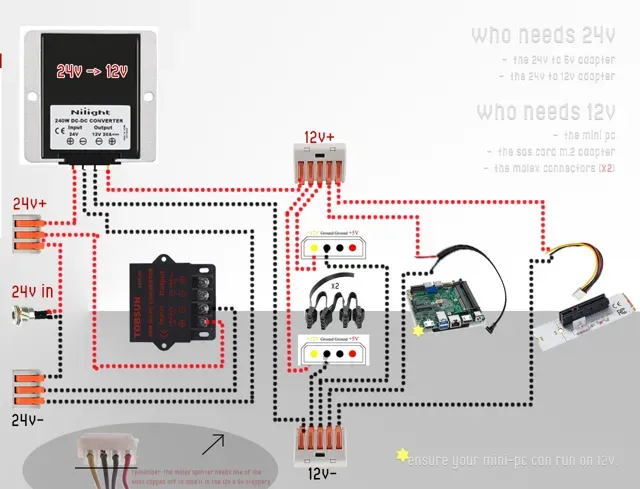
Don’t be scared; The inside consists of a few main components: The mini pc of your choice , and some voltage converters (down steppers) to make things the correct voltages for feeding our equipment. Also 3 fans. Easy.
Your Mini PC (well… the motherboard from your Mini PC) resides on customizable stilts [hyperlink pending] which sits on a 5 inch square. This is the mini-PC “standoff board”.
Simply measure the hole distance from left to right, and then top to bottom, pop those numbers into the automated customizer builder for this Mini PC standoff maker, and download your personally tailored print!
Your M.2 Slot (one that supports NVMe) will become occupied by this $8 adapter. This gives us an x4 motherboard slot to work with (which we’ll put a SAS card into for connecting hard drives).
[Original] Settings vary by object; You got this! I beg you to use the print profile, but if you don't, that's ok - just know you need to set up the supports manually, snug, and use a material that PETG hates to adhere to (PLA or Support for PLA/PETG) for your support interface, especially around the garage door rims.
Названия используются только для указания источника результата. Polyzon не аффилирован с перечисленными площадками.
Комментарии