
Бесплатно 
Mini Utility Cutter - Compact & Stylish
MakerWorld
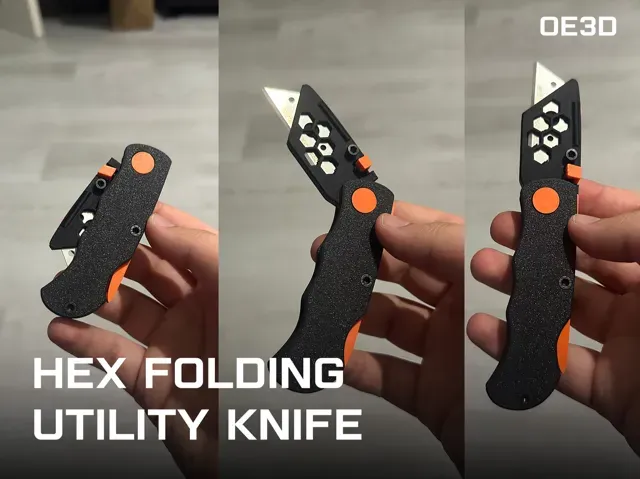
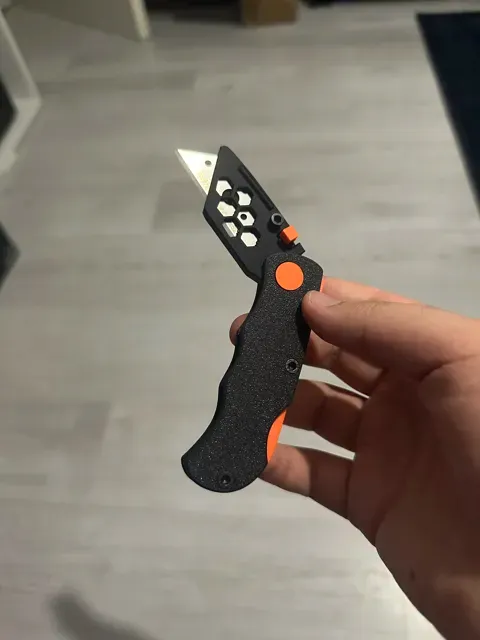
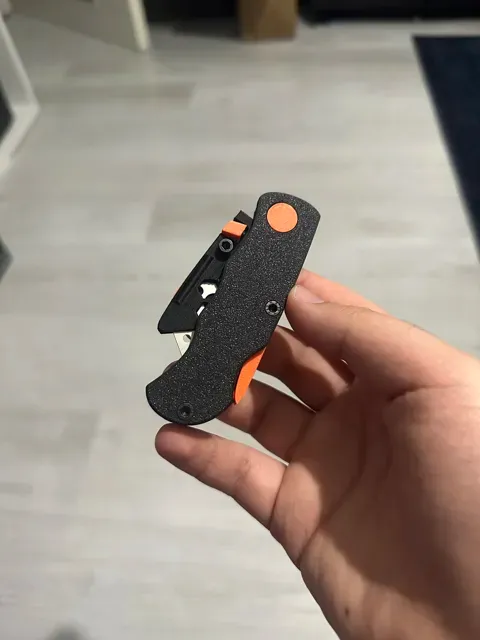
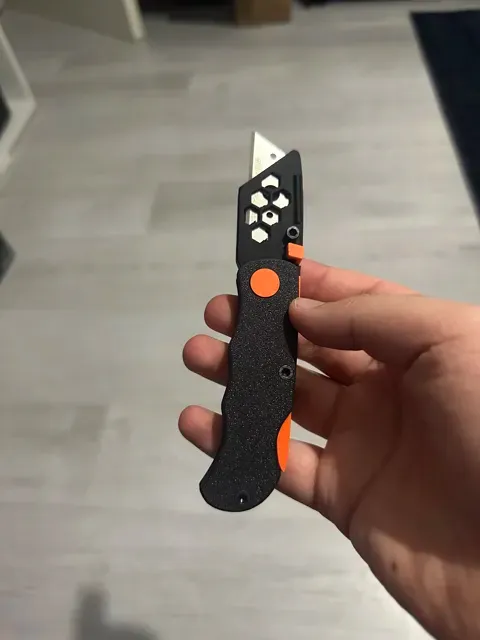
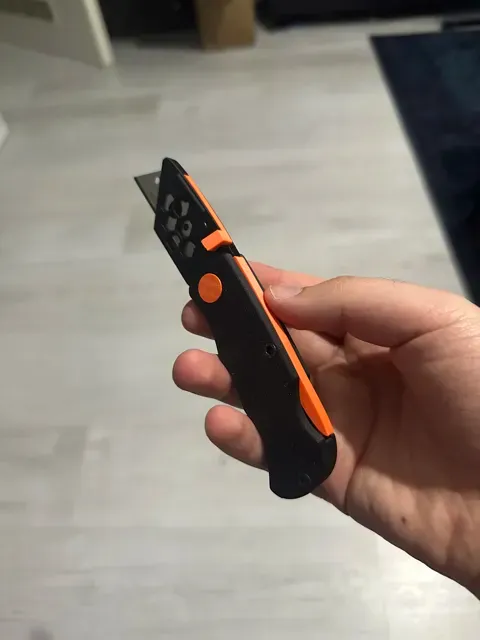
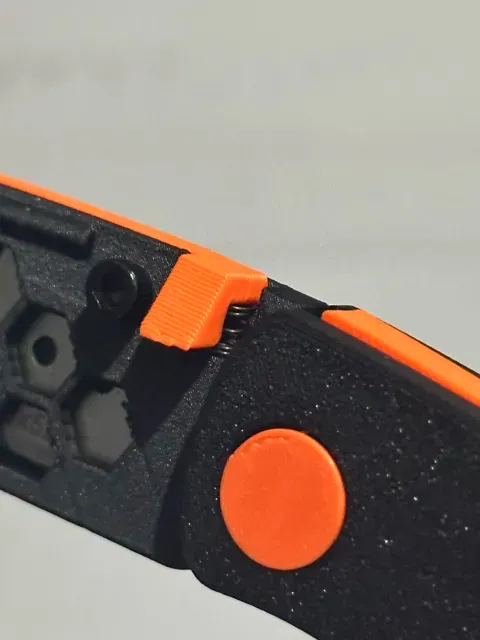

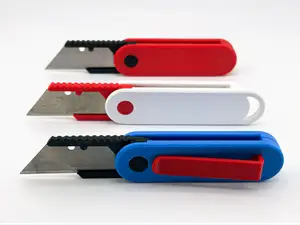
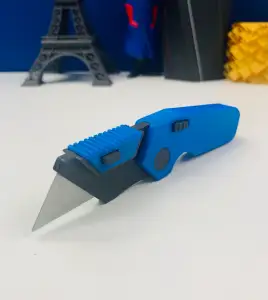
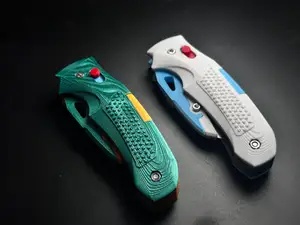
This is an (almost) fully 3d printed folding utility knife/box cutter that fits standard 2- or 3 notch blades.
Perfect for cutting anything (and I hope not yourself).
The design has a locking mechanism for the blade holder and the blade itself.
These are utilized with a spring. You can use one from Makersupply or like I did, from a pen.
Depending on the filament you will need a bigger piece, stronger spring, longer length etc. Just try what's best for you.
BOM
- 2x M3x10 (Designed for 5.4/5.5mm diameter and 3mm height head) - 1x M3x6 or M3x5 (Also designed for 5.4/5.5mm diameter and 3mm height) - One spring (Cut in half) or two smaller springs - Standard utility knife blade
I used Bambu PLA-CF Black for the Blade holder and Shell and PETG-HF Orange for the other parts. Fully PLA should be fine too unless you plan on ramming the utility knife somewhere.
Very important: The images currently show M3x12, but it needs to be M3x10. Will be updated
Assembly
Step 1 – Assemble the Handle Base
Take the two main handle halves and align them together. Secure them using one M3x10mm screw through the rear-most hole (closest to the blade pivot area). This holds the base together while still allowing you to open the handle if needed.
Step 2 – Install the Internal Spring into the Handle
Place the spring into the designated groove inside the handle. The spring should rest against the locking notch inside the handle as shown. Secure the spring section in place with the second M3x10mm screw through the middle screw hole of the handle.
Do not fasten too much or it won't move.
Step 3 –Assemble the Blade Holder and Locking Slider
Take the blade holder (the head piece) and insert the locking slider into the top track — do not insert the blade yet . Place the small spring under the locking sliders handle. Fasten the slider using one M3x5mm or M3x6mm screw , depending on fit. Do not fasten too much or it won't move. This creates the lock mechanism for later securing the blade.
Step 4 – Connect the Blade Holder to the Handle
Align the pivot point of the blade holder with the corresponding hole on the handle. Join them using the printed male and female connector pieces to form the rotating hinge. Ensure the parts rotate smoothly and lock correctly using the internal spring from Step 2.
If the male and female connectors don't fit use the loose fit one and reprint. If it still doesn't fit please comment or write me and I will try to make a fitting version.
Multiple options, with and without brim and tolerances. Multiple options, with and without brim. (Especially for A models of printers, but also tested on my A1 mini without brim and it worked)
Without ams. Different filaments.
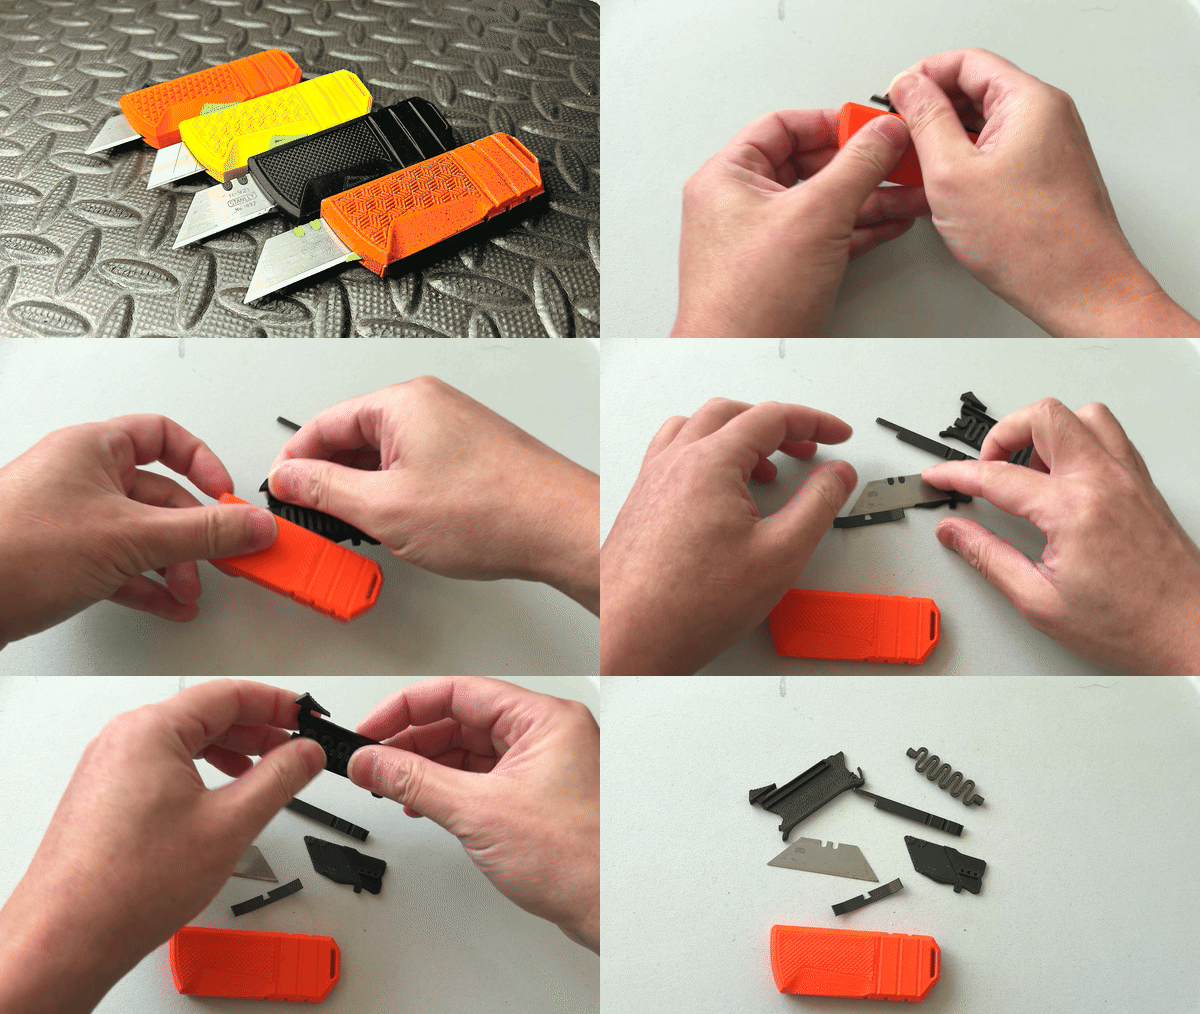



Названия используются только для указания источника результата. Polyzon не аффилирован с перечисленными площадками.