
Бесплатно 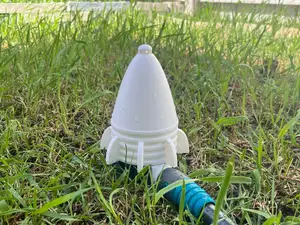
Rocket Sprinkler Spray
MakerWorld
Update:
1.6 19.10.2025
Due to confusion, I am placing the STL file with jet nozzle "5 nozzle outlet" in the print profile. If anyone wants .step or .f3d files for this modification, please contact @BeriBGood
1.5 22.08.2025
I strengthened the structure of Slim Boy. It now weighs 12 grams more but should be more resistant to hard landings.
1.4 21.07.2025
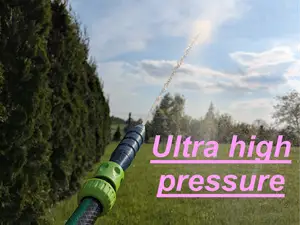
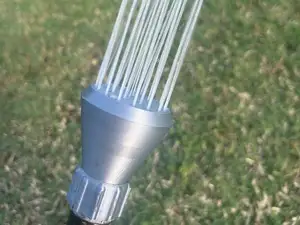
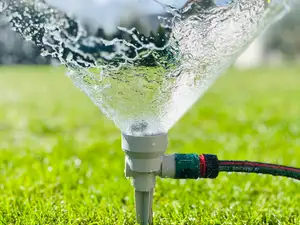
@BeriBGood created an interesting modification to the jet nozzle. He sent me the files for this nozzle which I posted in the files section, where you can download it. In the comments section he writes: " I took inspiration from commercial models which used several outlets instead of a single one. I decided to use 5 outlets, keeping the hexagonal geometry and tilting the 4 outside outlets so that (in theory) the jets meet at 50 cm above the plate. They join into a more precise one.My tests show that both of them are more stable that way, even with moderate wind and they can fly higher without tilting ."
1.3 - 20.05.2025
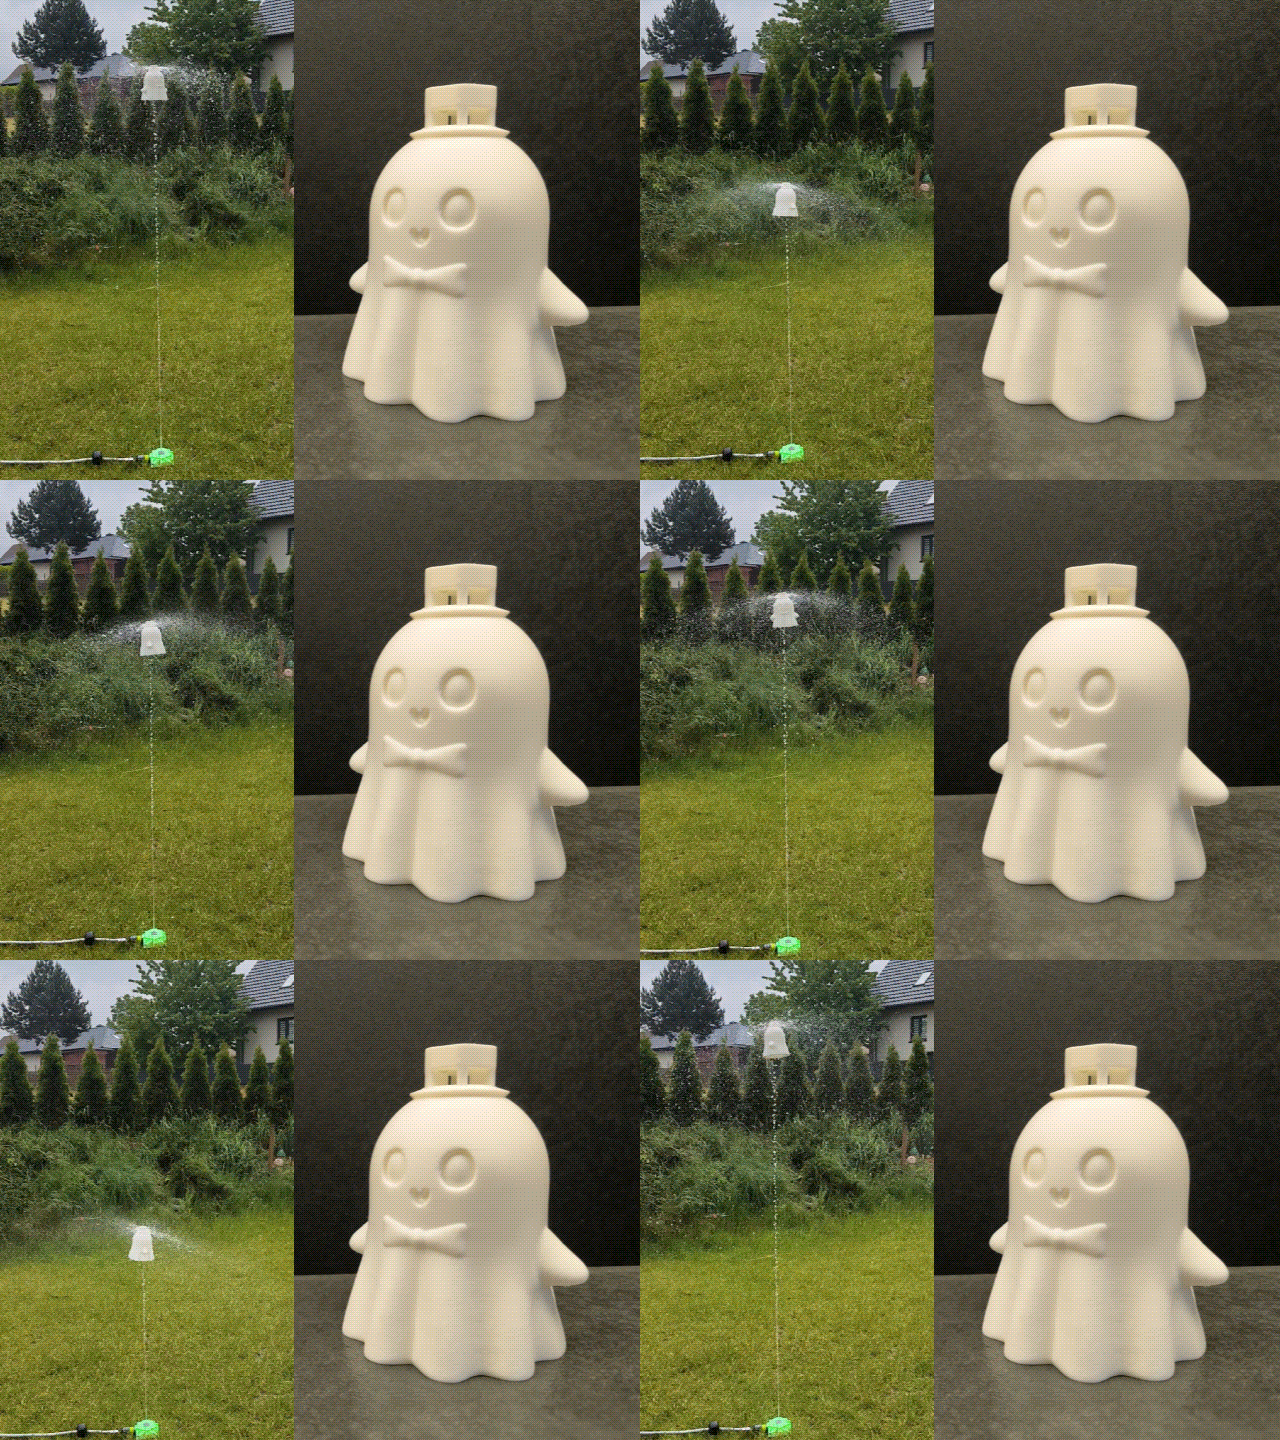
I created another design for this concept - Sprinkler Ghost.
It is available in the link: https://makerworld.com/en/models/1437360-sprinkler-ghost#profileId-1495565
1.2 - 03.05.2025
Many users in the US are having problems with the connector, so I added a new nozzle called "C". It fit US connectors.
Credit for @vidision for the connector file
Also I added more brim to rockets so the brim around fins are connected with main brim.
1.1 - 02.05.2025
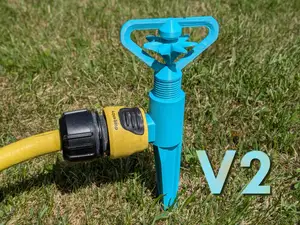
I added a new jet nozzle called "B" to fit the 1/2" hose. So you don't need any connector, just slide the hose on.
Overview
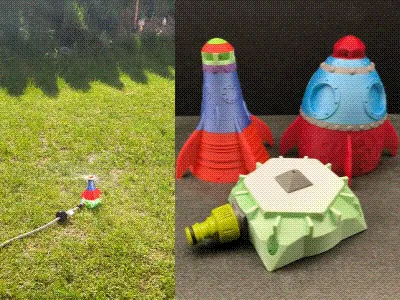
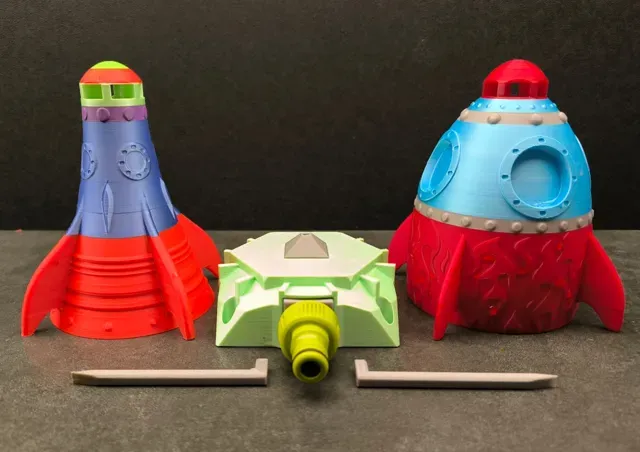
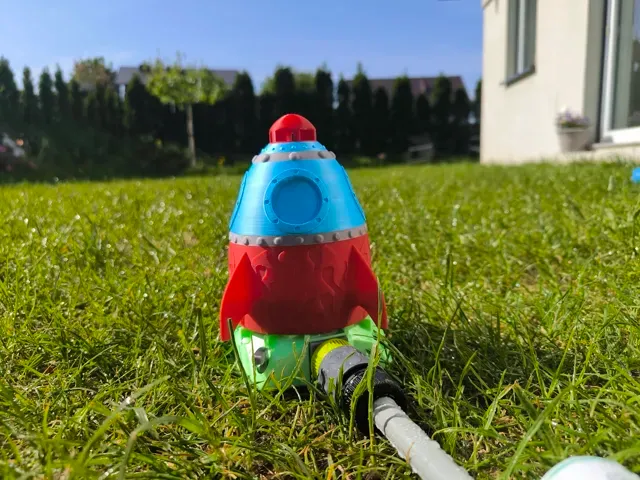
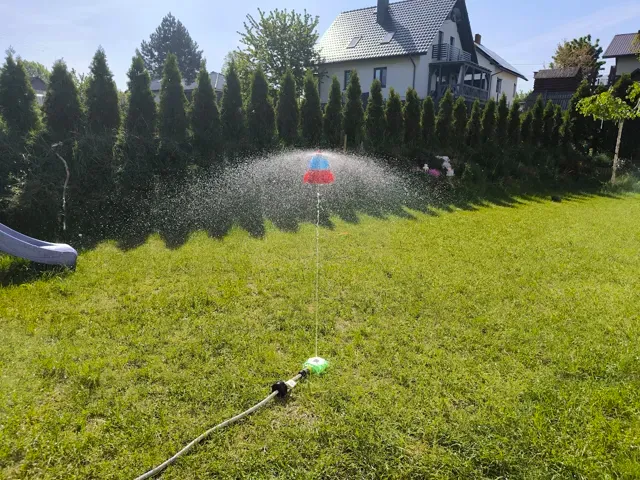
Sprinkler Rocket - An unusual toy that will make a hot summer in the garden more pleasant
A garden toy and a sprinkler at the same time.
This project took me a week to perfect. I tested a lot of things in it, shape, center of gravity, nozzle holes, different base variants, etc. Ultimately, I managed to create a project that I am proud of and that gives me a lot of joy when I play it in the garden. Every kid who comes to my sons is fascinated by this rocket.
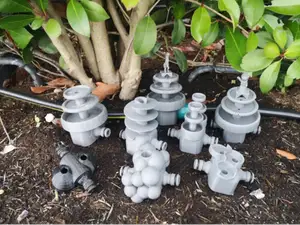
Below are all my test versions of this project :)
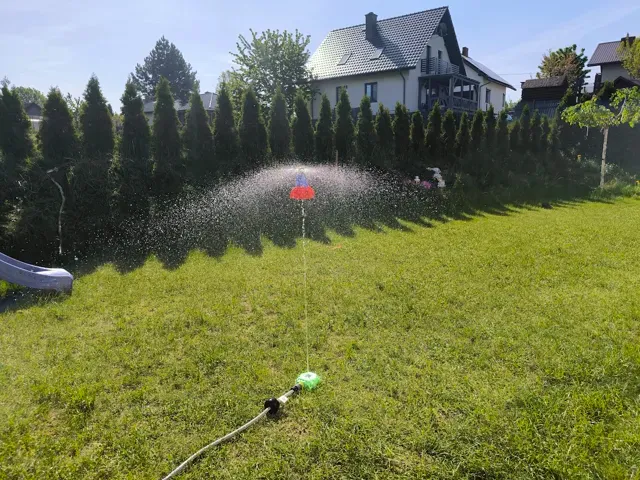
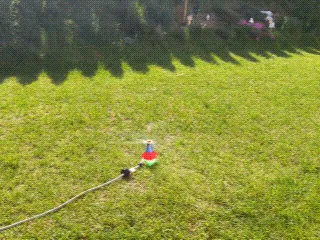
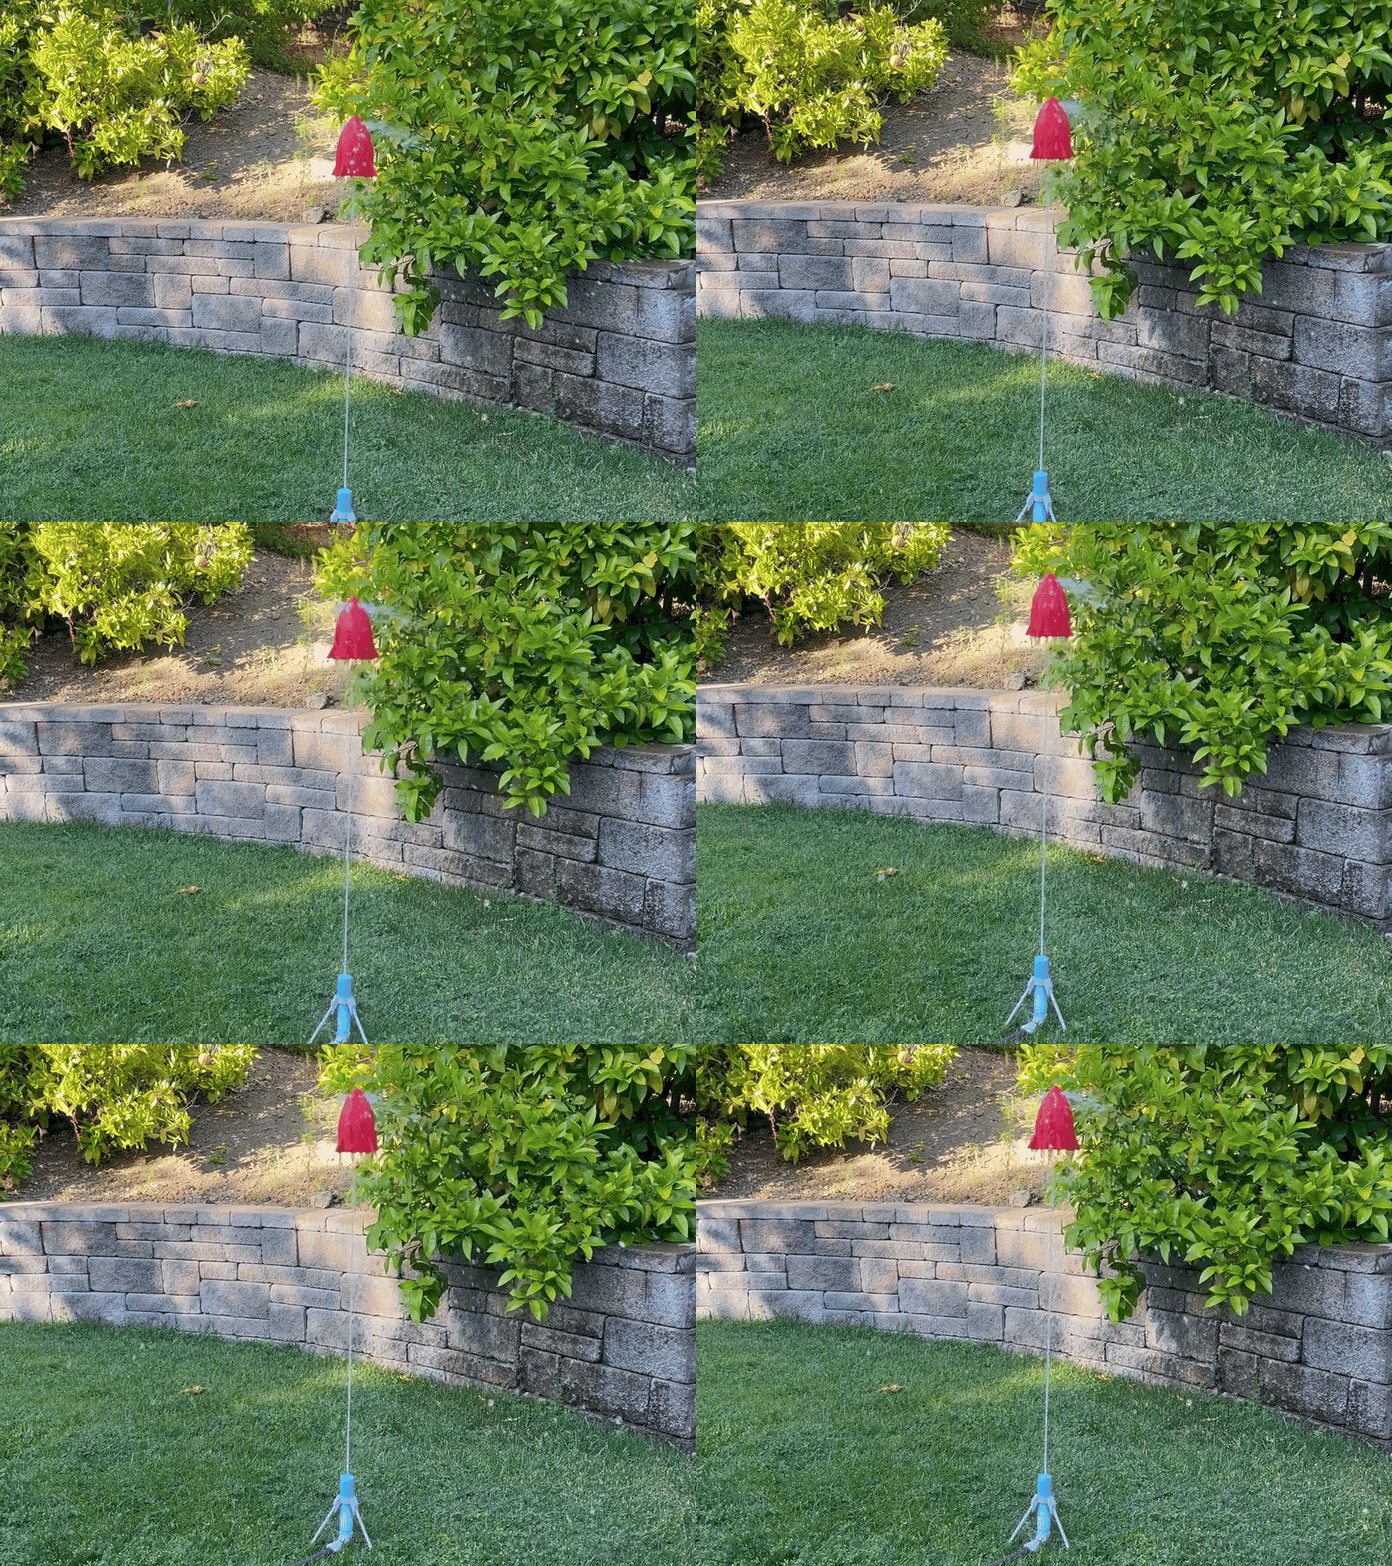
How it work
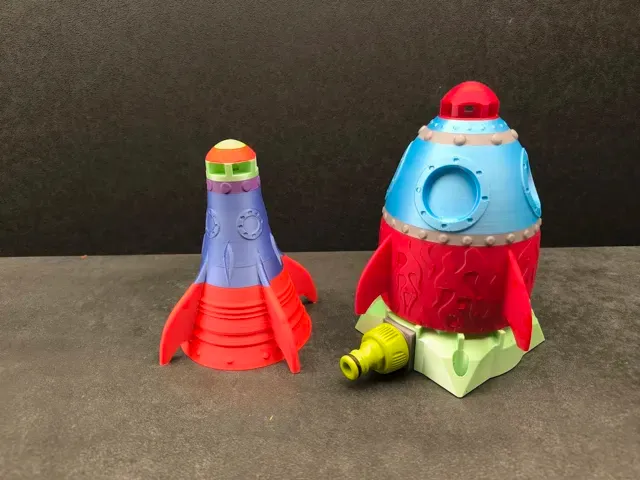
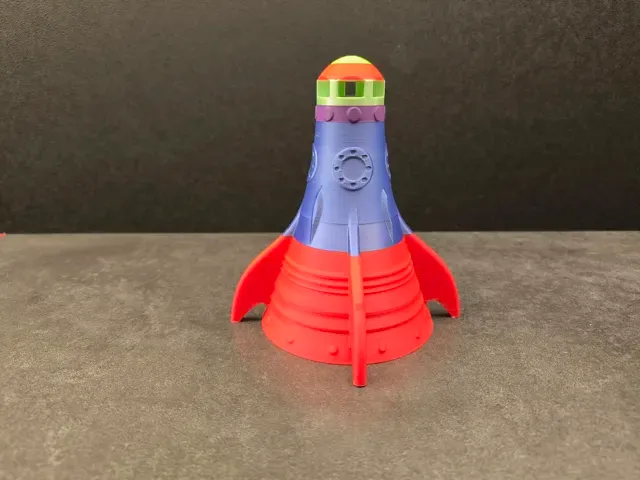
Slim Boy Rocket
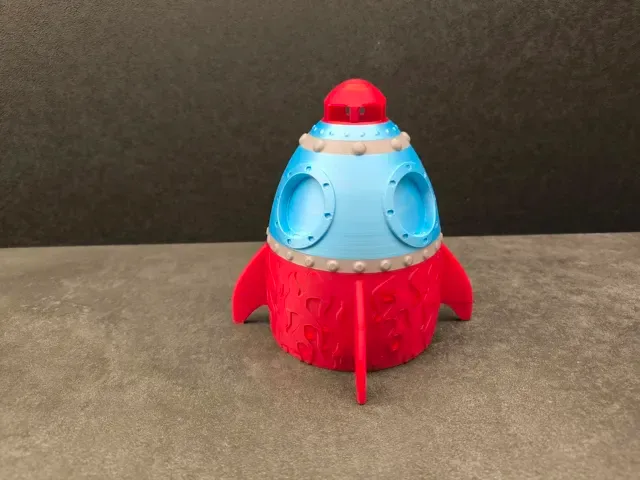
Fat Boy Rocket
Instruction.
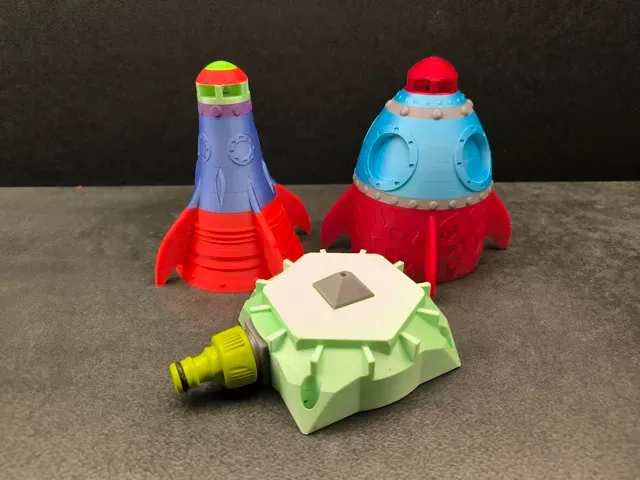
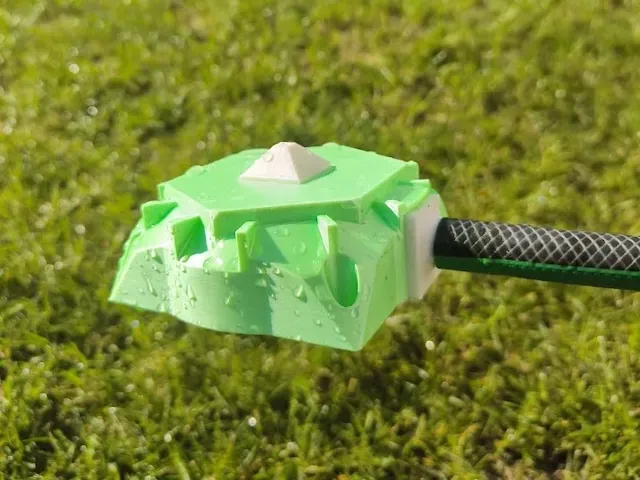
Print the base and jet nozzle.
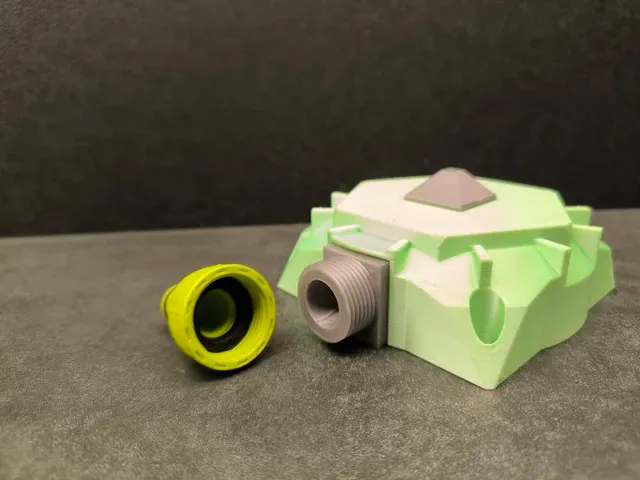
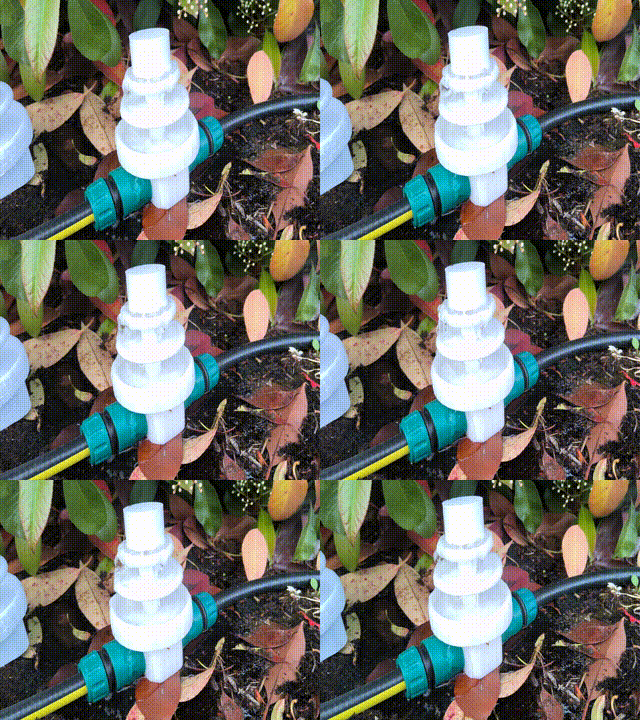
Insert the jet nozzle into the base. It should sit tight, you can also glue it.
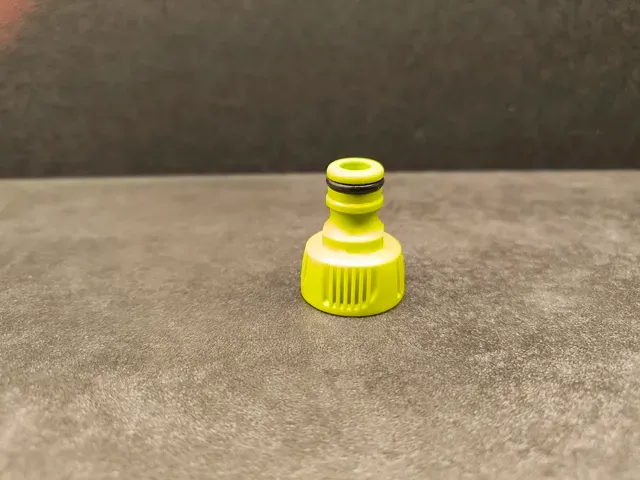
Then screw the connector tip onto the jet nozzle
You can buy connector tip or print it, e.g. from this page : it is “¾ inner”
https://makerworld.com/en/models/465793-gardena-quick-connector-set#profileId-374642 (however I didn't test it)
If you want to buy it, it look like below:
Connect the garden hose and place the base flat on the ground.
The base must be level for best results.
You can use pins to attach it to the ground.
Print one of the rockets.
There are two types: Slim Boy and Fat Boy.
Slim Boy is lighter, flies better and prints faster.
Fat Boy is heavier and slightly less stable, but I personally like its cartoon shape better :) It takes longer to print.
Once printed, place the rocket on the base and turn on the water.
You can control the height of the rocket by slightly adjusting the pressure on the valve.
Sprinkler Rocket: 0.28mm layer, 2 walls, 7% infill
5 Outlet Sprinkler Jet 0.2mm layer, 3 walls, 15% infill
Rockets - strong build plate adhesion - reliable print (AMS) My first two prints of the rockets failed due to poor adhesion to the build plate.
The original print file has an outer brim. This print profile also has an inner brim and a smaller distance between the edge and the model to improve adhesion to the build plate and make printing more reliable. The print speed is also reduced to achieve quieter and more consistent printing.
This modell is awesome - enjoy it!
0.8mm nozzle Designer infill, brims and jet layer height 0.8 nozzle
Designer's various infill
.4 layer height except jets
.2 layer and added wall for jets
PLA or PETG
0.2mm layer, integrated pauses, no AMS needed - 0,2mm Schichthöhe - 5 Pausen integriert für Farbwechsel an den korrekten Schichten - dadurch ist kein AMS nötig - aufgemalte Stützen nur an den Flügeln - variable Schichthöhe an der Spitze der Rakete für einen schöneren Druck


Названия используются только для указания источника результата. Polyzon не аффилирован с перечисленными площадками.