
Бесплатно 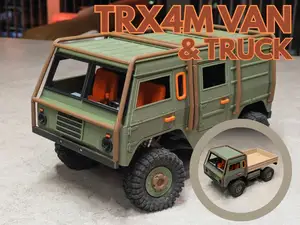
TRX4M Van & Truck
MakerWorld
Boost Me If you like this, leave me a boost and let me know! Any comments, problems, concerns, requests, tell me in the comments *** I like to keep my models free, so if you'd like to help me out even further, you can Buy Me A Coffee too! ***
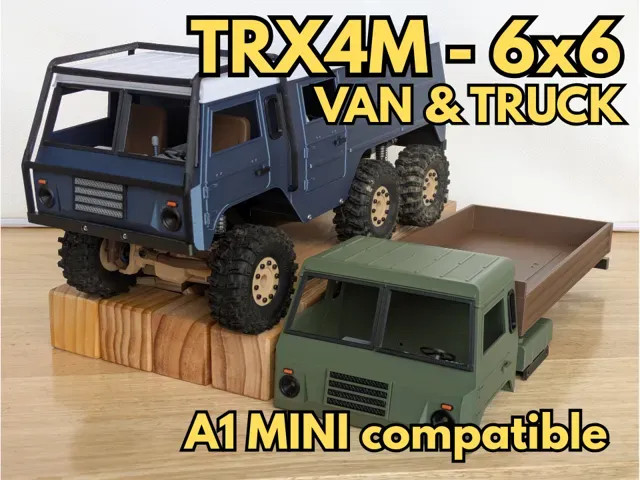
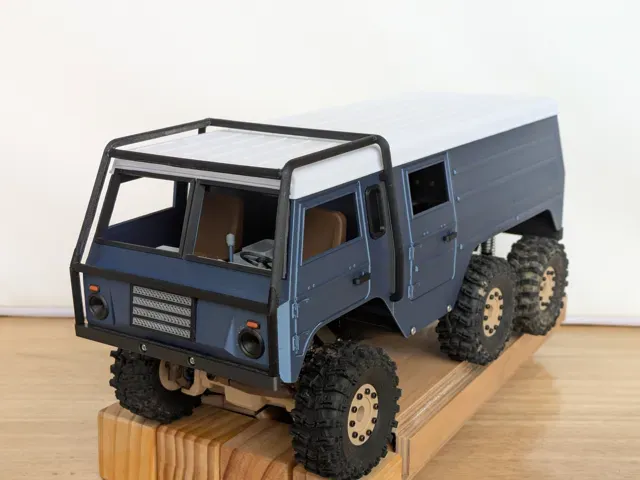
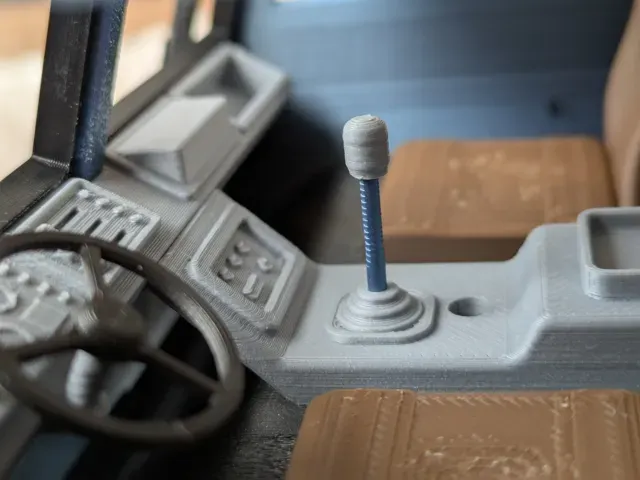
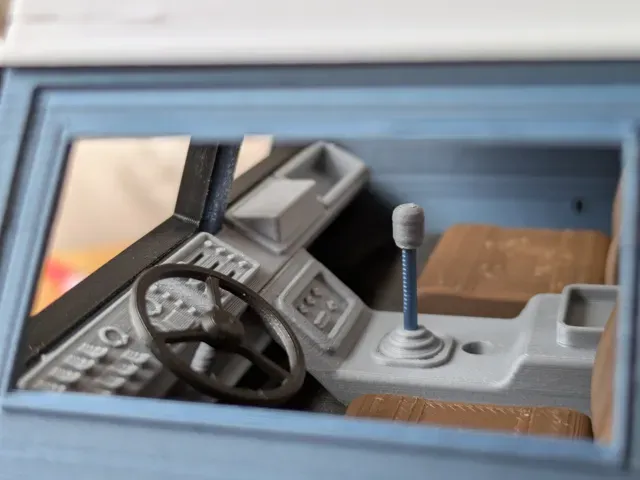
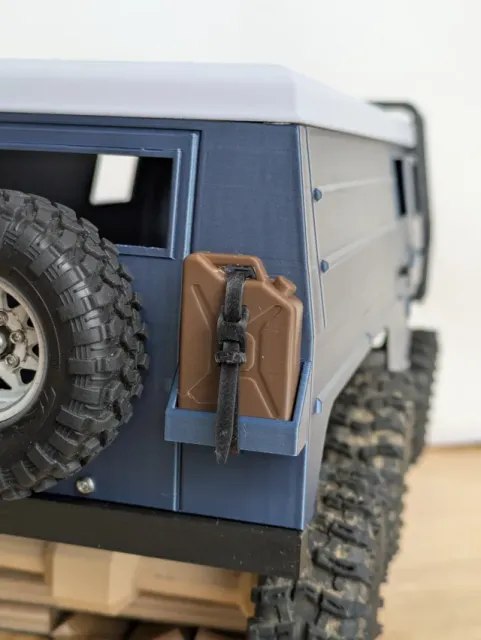
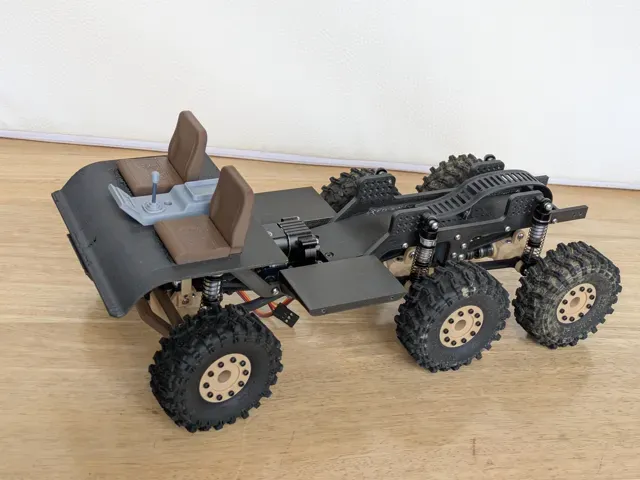
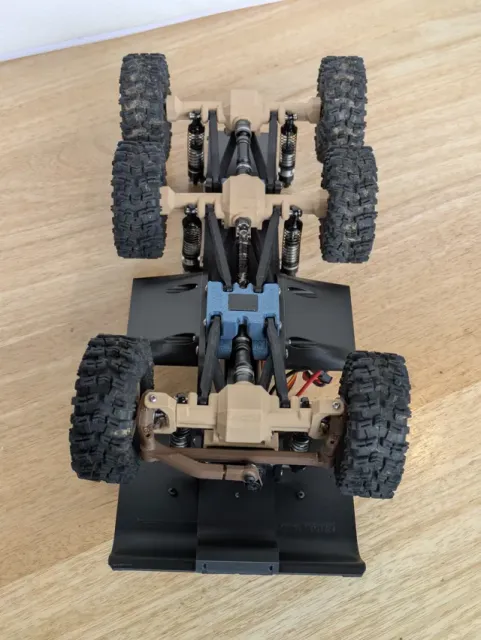
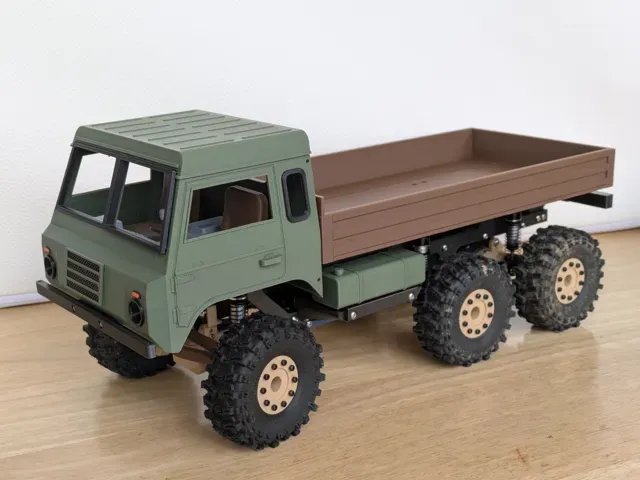
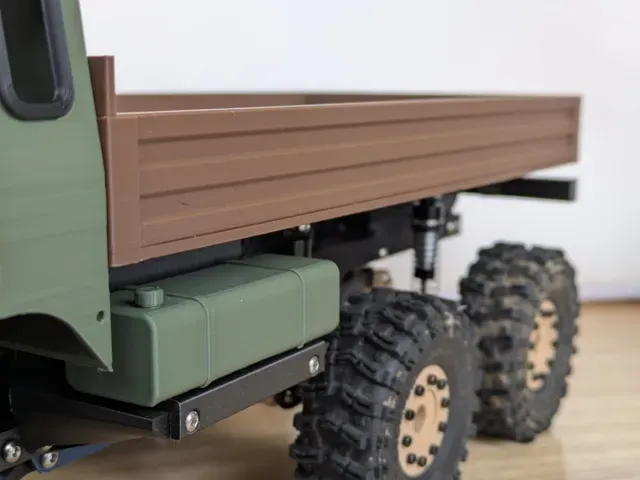
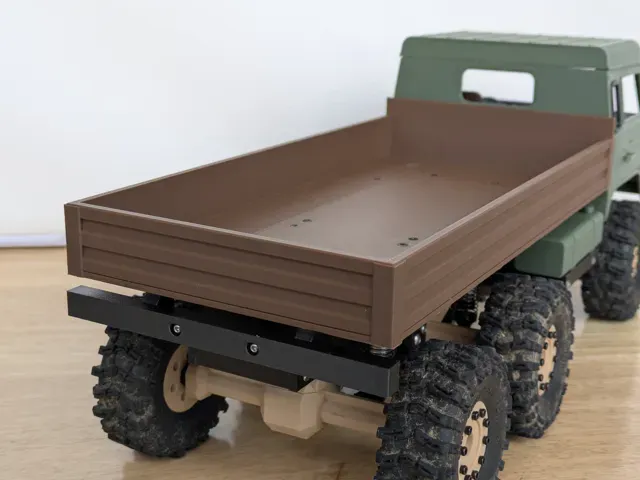
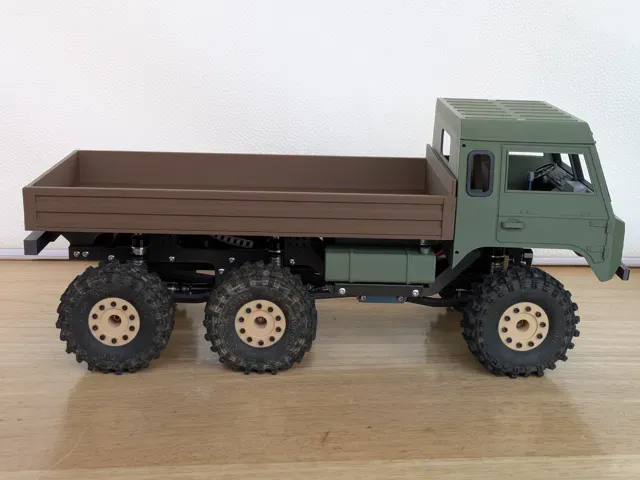
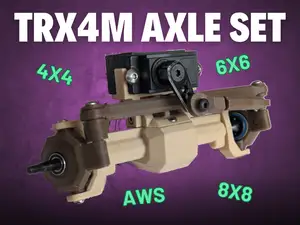
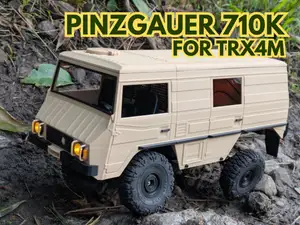
Here's my first top to bottom custom 6x6 build based on the TRX4M platform. This model includes the main cab, cab interior, 6x6 chassis & skid, as well as some optional modules to customise the body even further. Need axles and links to get you up and running? I also have these available on MakerWorld, check my profile.
This has been a pretty huge project with a lot of parts, so I expect there may be the odd mistake, please let me know in the comments if you have any issues or find any errors, thanks!
NOTE: assembly guide added below as PDF , please download and read this
**** 4x4 version now available here: https://makerworld.com/en/models/1401466-trx4m-van-truck#profileId-1453510
A1 Mini profiles now added - see full description at the bottom of this page
PRINT PROFILES
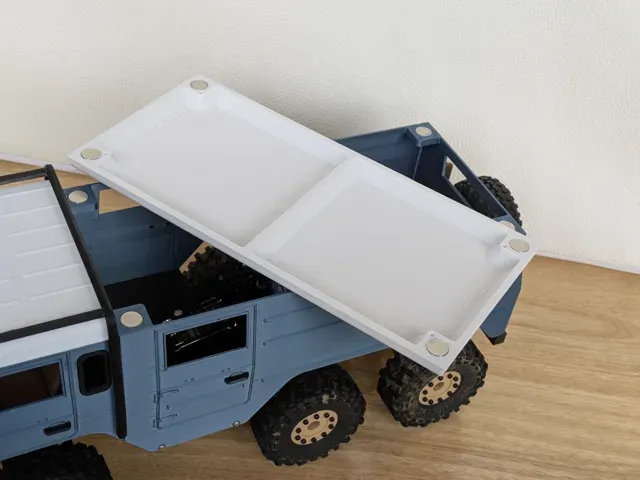
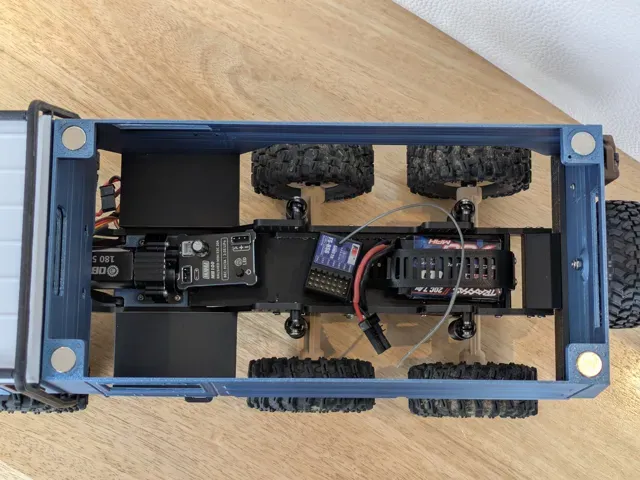
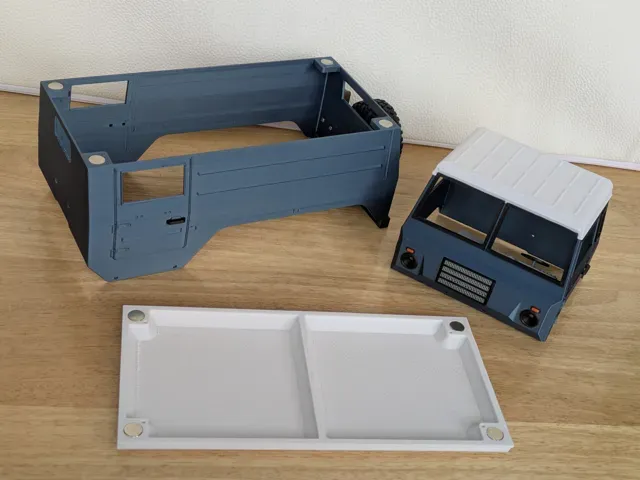
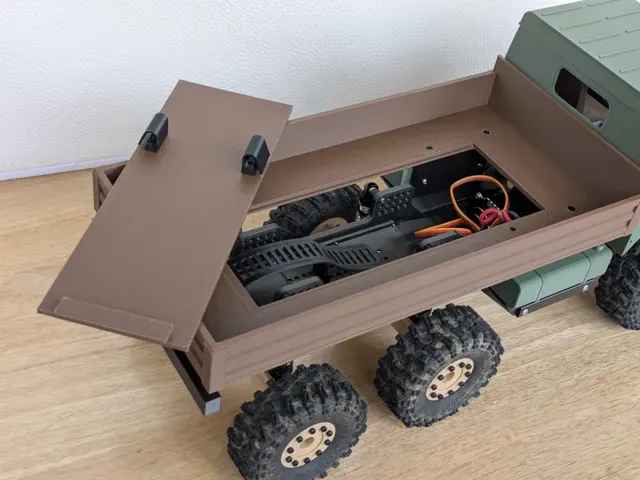
- Cab & chassis - print this to get you started and to assemble your working 6x6 - includes the main cab, full interior, chassis, skid, etc. Axles, links & wheels can all be printed from my other models available here on MakerWorld - Van Body - fully enclosed rear body section that comes with removable roof attached via magnets to allow access to the battery and electronics - Tray - truck bed with clip in panel for access to electronics, etc - Cage - extrernal roll cage for the main cab
PRINTING
Make sure you have your filament well calibrated, your printer is working well and your printing plate is CLEAN. There are some large parts that will be prone to warping if you're not careful.
Tolerances are very tight, which may cause issues with fitting some components, so some post processing (i.e. opening up holes with drill bits or careful trimming with a sharp knife) may be necessary.
WHAT YOU NEED
To assemble body:
- super glue or PLA glue - Assortment of M2 (for body) & M2.5 bolts (for mounting skid, links & shocks to chassis) - 8 - 10x3mm magnets (only required for van body) - you can use smaller if you model an insert to suit the smaller magnet - hit me up in the comments if you have issues and I should be able to add this to suit your size of magnet To build the entire vehicle:
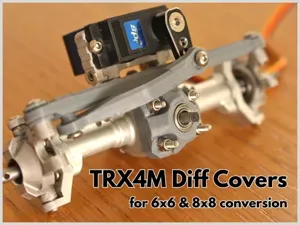
- 6 x 53mm shocks - shorter will work, longer will probably be fine but may have issues with drive shafts disconnecting depending on shock location - 10 x 53mm links & 2 x 48mm (or 46mm) links - to print the links, I have added a plate to each of the profiles HERE - 46mm is standard length front upper links from defender/bronco - 53mm is standard length front lower links from defender/bronco - Drive train & electronics - Complete axle assemblies (front, middle and rear) - either 3rd party that can supply the through-axle, or download axles housings HERE & build your own - drive shafts - 3 x front drive shafts from defender/bronco or high trail models - these will need to be modified, either swap the ends from the front rear to fit on to the diff pinion gear, or you can drill out the end to suit - Gearbox & motor - Electronics/battery
ASSEMBLY
Assembly guide is attached to this project as a PDF. If you have any issues please let me know in the comments.
SWITCHING MODULES
To switch between the van body and truck bed it's as easy as removing a few screws. See below image, just unscrew these 8 screws to remove the rear end and replace with the new module.
Remove these 4 screws on each side to swap rear modules
Want to replace the cab too? While the rear end is removed, simply undo the two screws on the rear of the cab and the two screws on the bumper to remove the whole cab. From here you can also remove the interior with a further two screws.
Rear cab screws Front cab screws Interior screws
A1 MINI DETAILS
Several parts have been revised to fit the A1 mini printer:
- Chassis and cab mounting plate have been slightly modified, each chassis rail is still printable in 1 piece - Van body and roof are each split in to two sections, clips have been added to align the body sections, roof sections are interlocking - Truck bed is split in to two, clips and screw in plates have been added to align the sections Slide clips on to join the body sections and use glue to secure
Slide interlocking roof sections together and glue
Slide clip on and glue in place, use two M2x4 screws to secure the two bed sections together using joining plate
Membership Allows you to sell any of my designs as physical 3d prints and to support me in creating more in the future - please read the membership terms for more information and don't hesitate to get in touch if your have any questions
Updates:
7 May 2025 - skid tolerances updated - previous version may cause slight binding of rear upper links where attached to skid
8 May 2025 - truck bed updated - recesses added for clearance to cab bolts
14 May 2025 - A1 mini profiles added
22 May 2025 - Recess added to cab mounting plate for added clearance when using stand up servo mount
Cab & chassis - Brim added on many parts to help avoid warping - Supports where necessary
A1 MINI - Cab & chassis Slight modifications to the chassis rails and cab mounting plate to fit the A1 mini print bed - additional clips added for joining, see description page
Van body
A1 MINI - Van body The van body and roof have been split in two to fit the A1 mini print bed - additional clips added for joining, see description page
Truck bed
A1 MINI - Truck bed The truck bed has been split in two to fit the A1 mini print bed - additional clips added for joining, see description page
Roll cage
Chassis & side skids for BYO skid Replace the chassis and side skids from the main files with these if you would prefer to supply your own centre skid, instead of printing the centre skid I've supplied - currently a prototype, please let me know if you have issues with fitment

.jpg&w=300)

Названия используются только для указания источника результата. Polyzon не аффилирован с перечисленными площадками.
Комментарии 0
Загружаем комментарии…