
Бесплатно 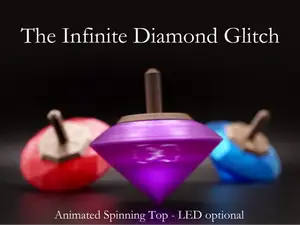
Diamond Zoetrope Illusion Top
MakerWorld
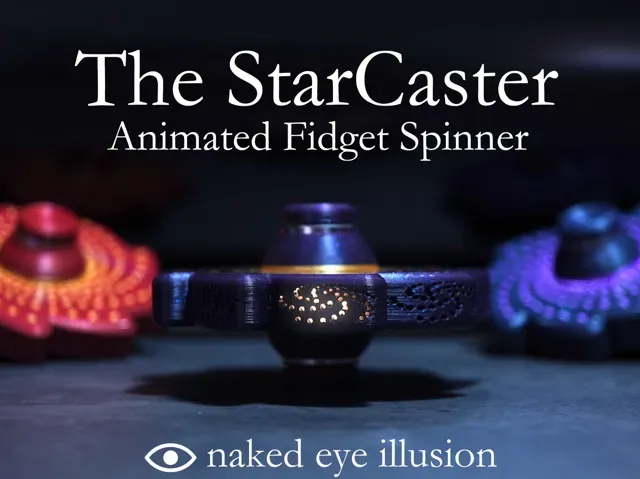
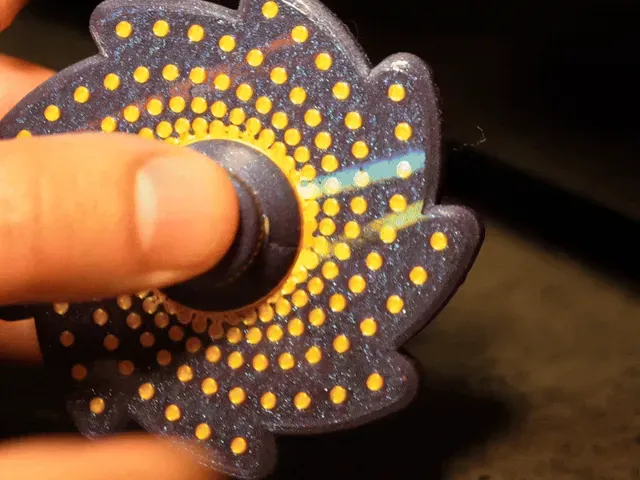
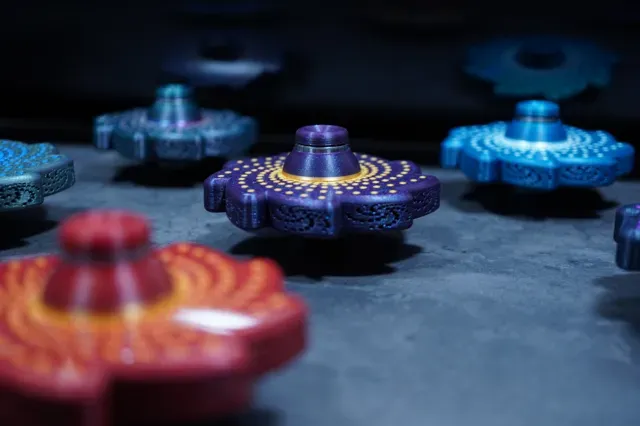
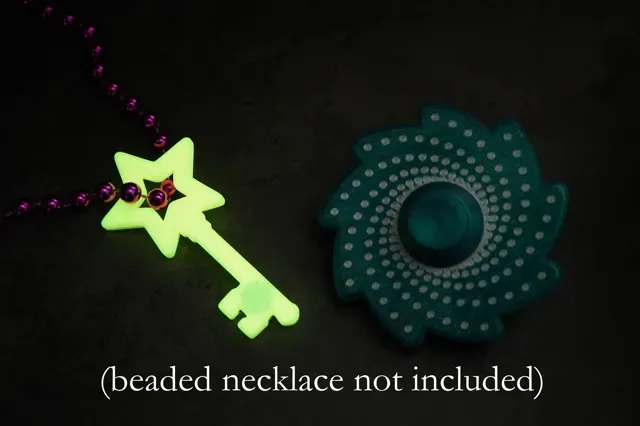
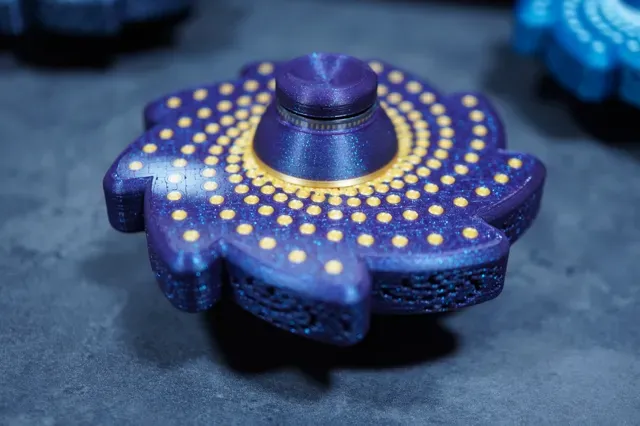
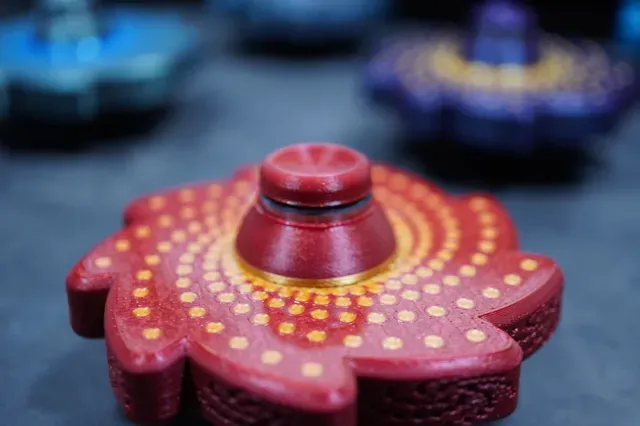
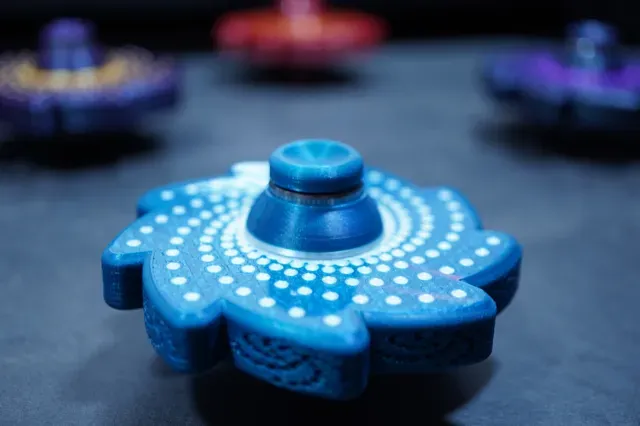
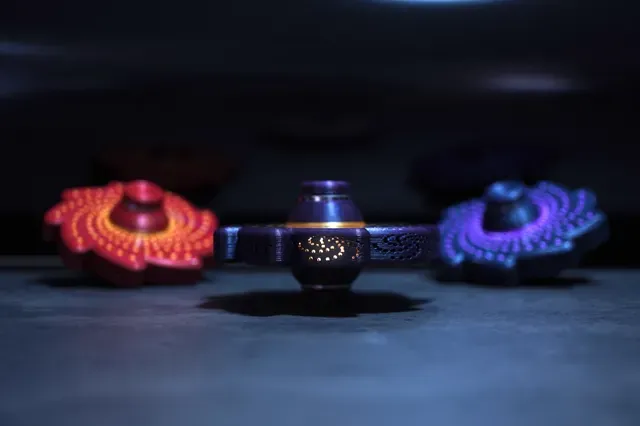
Behold the StarCaster, a magical galaxy-shaped fidget spinner hiding a 2nd (animated) galaxy within! Spark it to life with the magnetic Universe Key, give it a spin, and watch its inner galaxy awaken, swirling with a mesmerizing glow. No high-tech trickery. It's an optical physics illusion observable with the naked eye .
Boost Me Each Boost fuels more free designs - THANK YOU! Update: You can now experience the magic of this novel type of illusion without purchasing any parts . Check out my evolution of the concept, The Infinite Diamond Glitch . It's a quick make - the only non-printed part (an LED) is fully optional.
A New Invention?
Let me know if you find any prior art, but as far as I can tell, the StarCaster is the first pinhole zoetrope. It combines two classic optical techniques (zoetrope animation + pinhole focus) into a miniaturized form factor. More generally it could be called a negative zoetrope since the negative space doesn't have to be round pinholes.
How Does it Work?
Surrounding the edge of the fidget are 9 images of a galaxy, each formed out of a pattern of pinholes. Each image depicts the galaxy slightly rotated (in a 3D plane) compared to the prior image. The pinholes extend deep, creating tunnels to the light source in the middle. You can only see light from these pinhole tunnels when they are oriented properly between your eye and the light source. As the fidget spins, you see the 9 galaxy images light up sequentially in a loop, creating an animation.
The Design Process
Traditional Zoetrope The first challenge with any zoetrope is how to isolate the animation frames, much like how a classic movie projector has a shutter so you don’t see the film as it slides from one frame to the next. If you just spin a series of images, all you’ll see is a blur. What you need is to make sure the eye only sees the image when it is in the correct position.
In a traditional zoetrope, frame isolation is accomplished using vertical slits. The observer peers inside at a series of animation frames, but can only see each one when it is the proper position through a corresponding slit. This provides a general purpose way to display any short looping animation, though it is difficult to miniaturize since it requires peering into a device.
Phone-Viewable Zoetrope Other zoetrope fidget spinners have taken different approaches to solve this problem. In particular, many such fidgets exist without a built-in frame isolation mechanism. To the naked eye these fidgets appear as a blur, relying upon the refresh rate of a phone camera to isolate the animation frames. While I admire this innovative approach, which certainly has its own advantages (like color & detail), I wanted a fidget spinner that produced an animation when viewed casually.
Pinhole Zoetrope (sliced to show tunnels) To achieve naked-eye viewable animation in a fidget-sized device, my approach combines the slits and the animation frames of a classic zoetrope. Instead of having vertical slits, I used pinholes, and instead of having images inside the device, I arranged the pinholes themselves into the design. Inside the device is simply a diffused light source. The pinholes are elongated into tunnels to provide sharp focus, only lighting up when in the proper position between the light source and the observer.
The other challenge of combining a zoetrope with a fidget spinner is the speed – a fidget spinner is most entertaining when it achieves high rotation speeds, whereas a classic zoetrope spins more slowly. Most looping animations would be confusing to watch at high RPMs. To solve this, I slowed down the animation by using rotational symmetry. The animated galaxy I depicted has 6 arms, and with each full rotation of the fidget spinner, the galaxy only appears to make 1/6th of a full rotation. So even if the fidget is spinning 6 times per second, the animation only appears to rotate once per second. And since I crammed 9 frames of animation into each rotation of the spinner, a full rotation of the galaxy gets 54 frames (9 unique frames repeated across 6 symmetric arms). So the result isn’t only a comfortable speed, but it is also smooth.
Pinhole Galaxy Design Finally, it was important to me to not display something too simplistic such as a rotating 2D image. Anyone can draw a spiral on a piece of paper and spin the paper around to “animate” it. It’s tricker to depict a 3D (skewed) image of a galaxy that spins.
Prototypes It took a lot of tries to get this right. In my earlier prototypes, the holes were either too big or too small, and the result was either a blurry image or a faint flickery one with only a hint of animation. But I finally got it dialed in and, well, you can see for yourself.
I hope you enjoy the result, which is a bright, smoothly animated, 3D-ish image that is best viewed at a natural distance. When spinning, the fidget almost looks like a futuristic machine, generating its own galaxy inside.
Required Materials
The Bill of Materials section of this page has direct links. The quantities there are for 2 fidget spinners. This is because the bearings come in a 4-pack, and you’ll only need 2 per fidget. You might as well get 2 lights so you can make 2 complete fidgets, but adjust quantities as desired.
Here is what you’ll need for EACH fidget:
- 2 606zz Micro Steel Deep Groove Ball Bearings. Please note that this is 606zz, not 608zz (which is what many other fidget spinners use). I had to go with a smaller size to keep the overall fidget compact, since the geometry of the zoetrope necessitated that I use two bearings rather than a single central one.
It’s best to get all metal bearings, since counterintuitively you’ll need to remove the grease to get a good spin (more on that in a later section), and the metal ones can tolerate an acetone bath. I cracked open a lot of bearings, and most have a plastic internal structure holding the balls in place. This is rarely disclosed in product listings. Even some of Maker’s Supply’s bearings (such as 625zz) have plastic inside, but their 606zz’s I tested were ideal. Use the Bill of Materials link to make it easy on yourself.
You might be tempted to get premium ceramic bearings, but I recommend sticking with metal ones. In my testing, the LED’s magnetic activation required a strong magnetic field, which was only reliably achieved using steel bearings.
- 1 Y Shape LED Light with Magnetic Control Switch – Warm White. Just get the one from Maker’s Supply since the model is designed to accommodate it without glue. Specifically get the warm white one.
While the regular white one also looks good (though I prefer the classical Christmas light style of the warm one), in my testing it was significantly more difficult to activate magnetically at the distance required by the geometry of the fidget. The regular white one is also slightly larger and won’t fit the slot in the fidget without modification. So make it easy by getting the warm white one linked in the Bill of Materials.
If you purchase something similar from a 3rd party vendor, I cannot guarantee that it will fit or that the magnetic activation will be strong enough.
Bambu also sells a similar LED in a ring configuration. Besides requiring modification of the model to accommodate it, these lights are not ideal because they do not have a steady on mode – they always flash. So I’d advise against them.
To achieve different colors, you can print the light diffuser with non-white filaments. The only non-white LEDs I could find which fit the fidget’s form factor were single LEDs, and they were substantially dimmer.
- 1 10x2mm round neodymium magnet. Make sure it’s a strong one – some cheap generics are weaker. While the LED light comes with a magnet, it’s just 8x2mm, and in my testing it wasn’t strong enough to reliably activate the light through the body of the fidget. So the Universe Key part of the model is specifically designed for a 10x2mm magnet. Beyond this, you’ll likely need pliers, flush cutters and tweezers to assemble the model. You’ll also need acetone (and goggles) to degrease the bearings.
Printing
Use my 3mf file as a starting point for print settings. You can print without an AMS, but you'll have to set the cap & main body to a single filament.
Cap & Main Body
Print the cap first to quickly verify that the bearing and LED fits snugly without easily falling out. See the Assembly section (includes a video) for more details about inserting the bearings and LED.
The LED slot in the cap has more wiggle room since the widest points of the LED are the electrical contacts which have some flex. If the LED is too loose in the cap, however, you can cut small paper strips to help wedge it inside. Some recent batches of LEDs are slightly larger than “normal” and the electrical contacts get pushed out of place when the hole is too tight, making the light not function while it is in the cap. To address this and other fit issues, you can use the Customize button (top of this page) to nudge the dimensions of plug_slot_radius (for the LED) and bearing_hole_radius (for the bearing).
Most PLAs should work, but using a shimmer PLA for the main color really adds to the magical effect. Glitter PLA is not the same. Shimmer PLA (e.g. Bambu Galaxy and Polymaker Starlight) uses micro glass spheres to produce a much richer sparkle. I suggest printing on a smooth plate, or ideally, a glossy prismatic one, especially if you’re using a sparkly filament (the glossiness really makes the sparkles pop).
Buttons & Pegs
These components have the most sensitive tolerances which will vary by printer and filament. Make sure your filament is well calibrated. The pegs are printed on a raft to avoid the elephant foot effect. If, after calibrating your filament, the pegs do not fit snugly into the button head (and also into the bearings), you can use the Customize button (top of this page) to nudge the tolerances.
Light Diffuser
Use a light to medium color PLA (matte works but isn’t quite as good) for the light diffuser. Whitish ones will produce the brightest result and are the best choice when viewing in a normally lit room, but colored PLAs can be fun here, especially when viewing under dimmer lighting. The warm white LED does better with reddish/yellowish hues, but feel free to play around with it. The diffuser is a super quick print and is a fun way to customize the fidget to produce a strikingly colored animation.
You might be tempted to use a translucent PETG for the diffuser, but in my testing it resulted in the light being too concentrated in the center, so the side pinholes show up too dimly. No matter what you use, it’s important to have a diffuser for the image to light up evenly.
Universe Key
The print will pause so that you can insert the magnet. Carefully place it in the slot and make sure it does not protrude above the print surface before resuming the print.
StarCaster - standard tolerances See model description (the "Print" section) for a note about tolerances. If you don't have an AMS, set the main body and cap to a single filament.
Названия используются только для указания источника результата. Polyzon не аффилирован с перечисленными площадками.