
Бесплатно 
Mouse Trap Enlcosure
MakerWorld
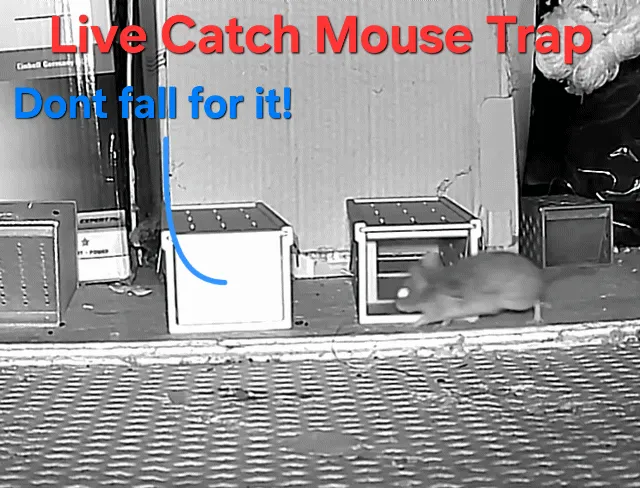

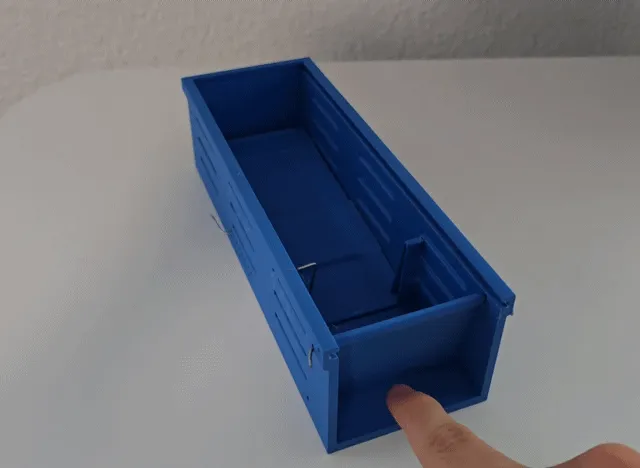
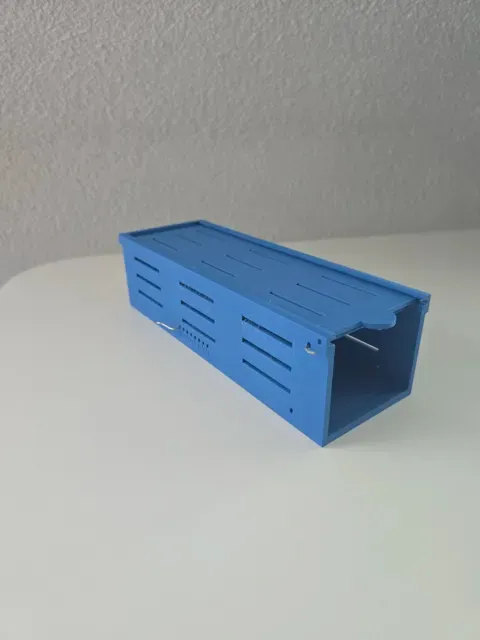
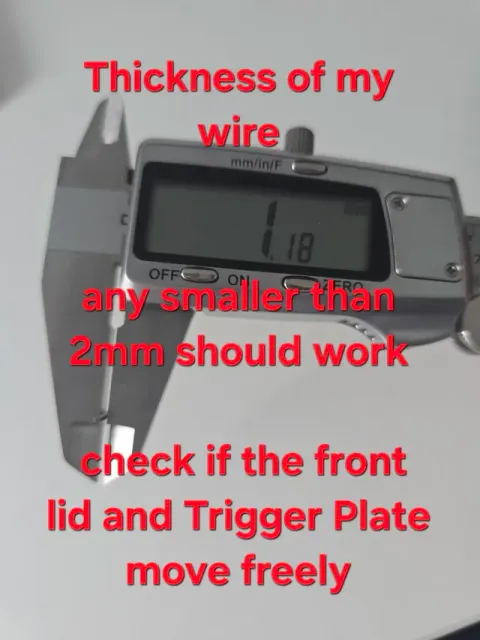
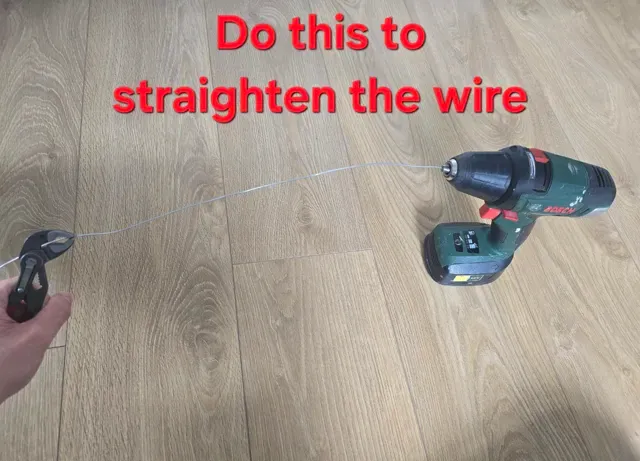
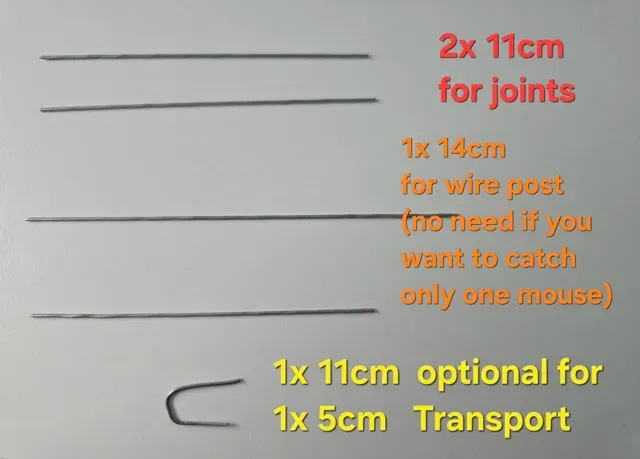
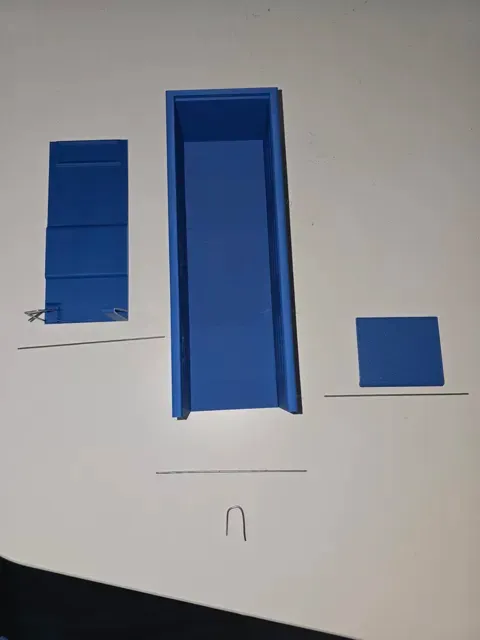
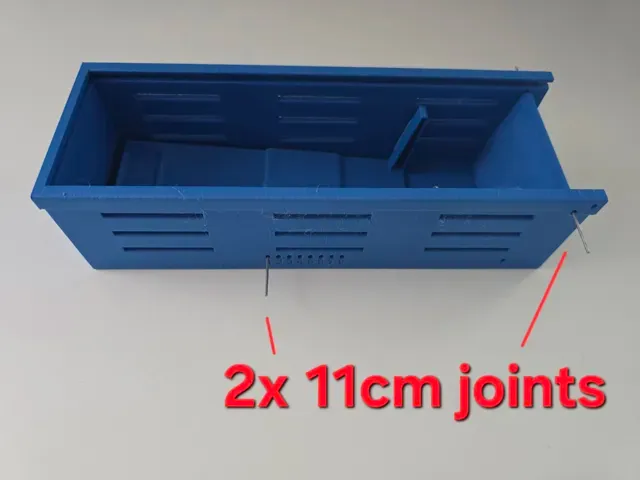
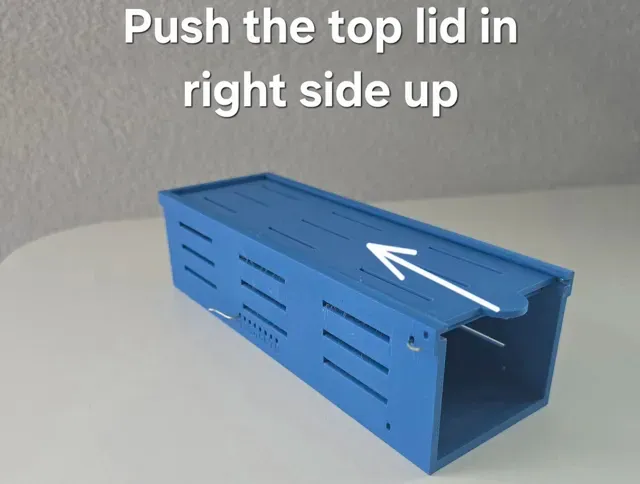
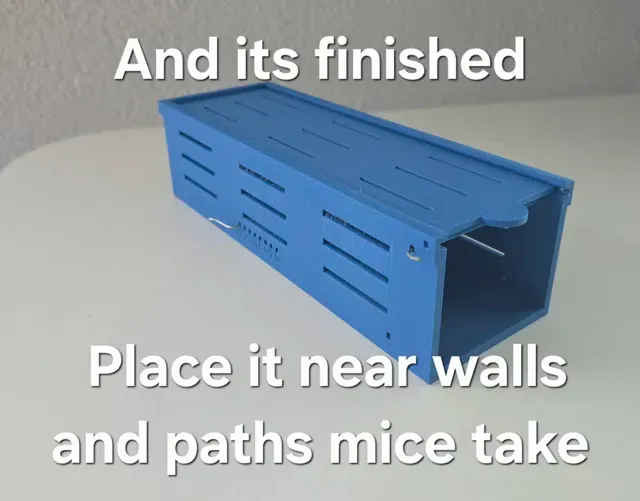
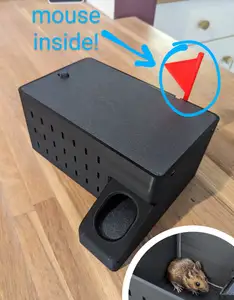
This is a robust, reusable live catch mousetrap that combines 3D printed parts with simple metal wires. After multiple design iterations, this is the most effective version. I caught around 8 mice in the past week in my attic and it's been completely mouse free for several days now.
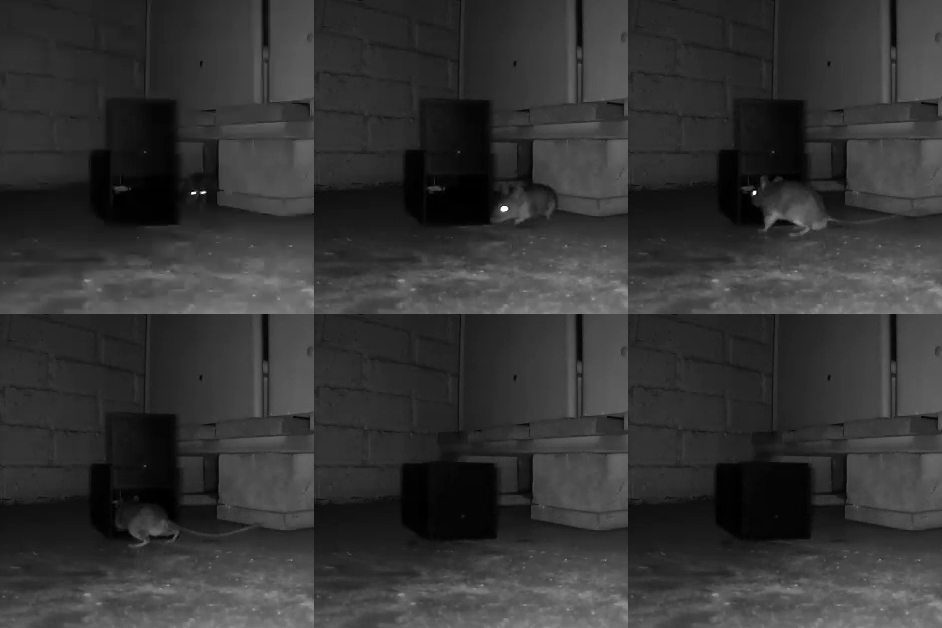
The trap uses a tipping platform as the trigger mechanism. When the mouse enters to reach the bait, the platform tilts under its weight and activates the door, safely trapping the mouse inside.
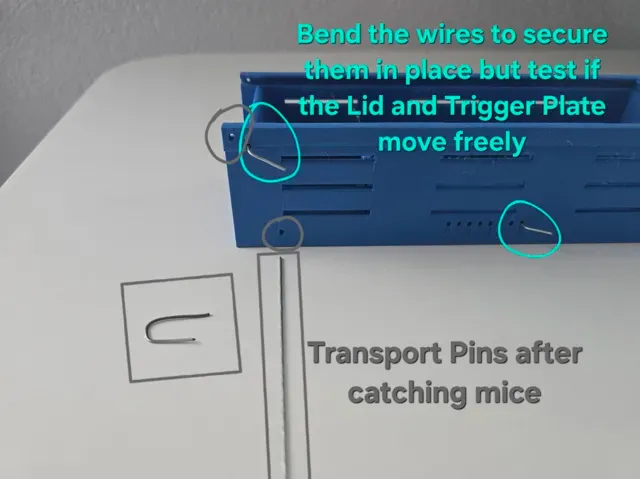
It’s also equipped with safety pin holes, allowing you to insert wire pins to lock the door shut during transport. This ensures the door stays securely closed, preventing escape and making it easy and safe to release the mouse elsewhere.
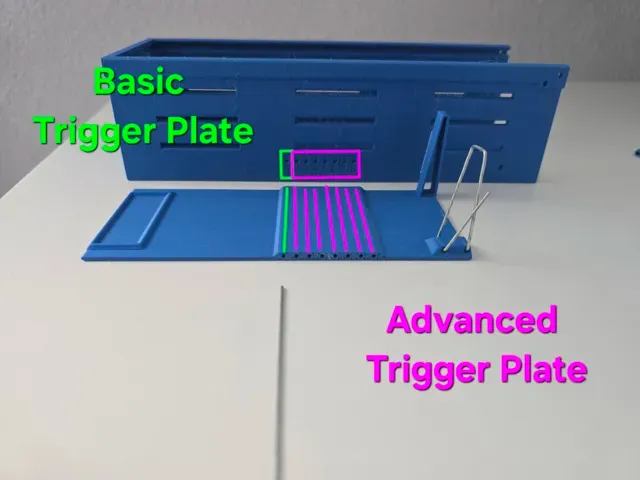
I've also designed an advanced trigger plate for users who want to fine tune the trap’s sensitivity. I wasn’t able to test this version myself (no mice left!), but it’s included for anyone who wants to optimize further. I personally used the basic trigger plate, which worked flawlessly as shown in the GIF.
Semi important Notes/tips
After every catch i cleaned the trap with desinfectant
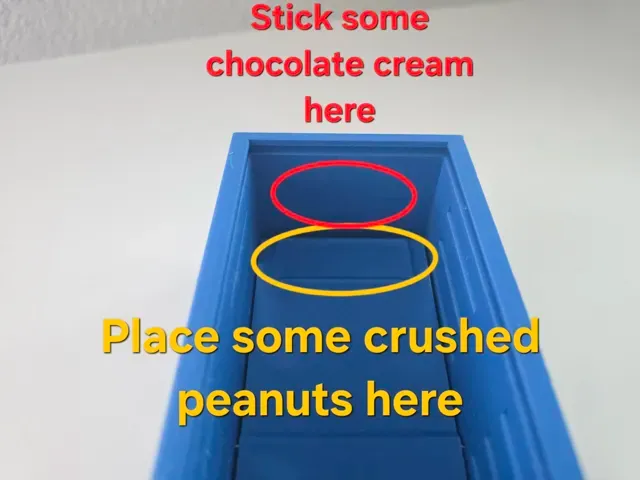
For Bait i used chocolate cream and crushed peanuts. The first few catches i also put a bit of cheese but after i released the mouse the cheese was still there.
Documentation
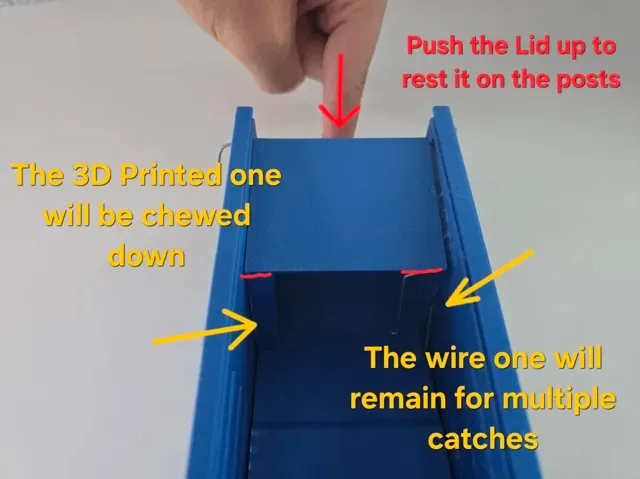
After catching a few mice some weak points in the design started to show. In this picture you can see that the top lid was chewed on and one mouse even came close to escaping. To fix this I modified the lid so that it now slides a few millimeters into the back wall. This way the mice can't get a good grip on the edge to chew it.
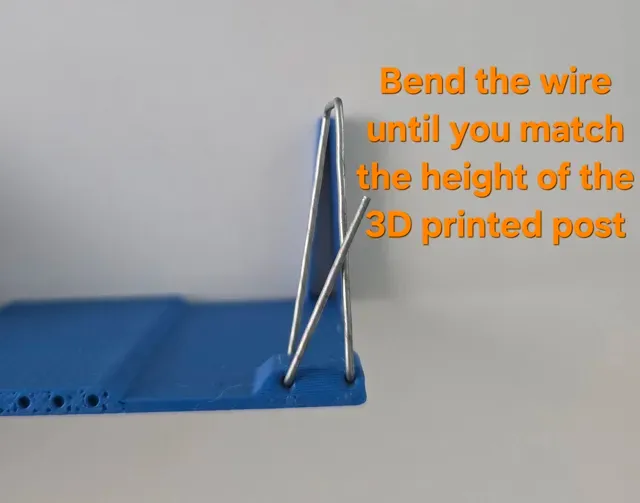
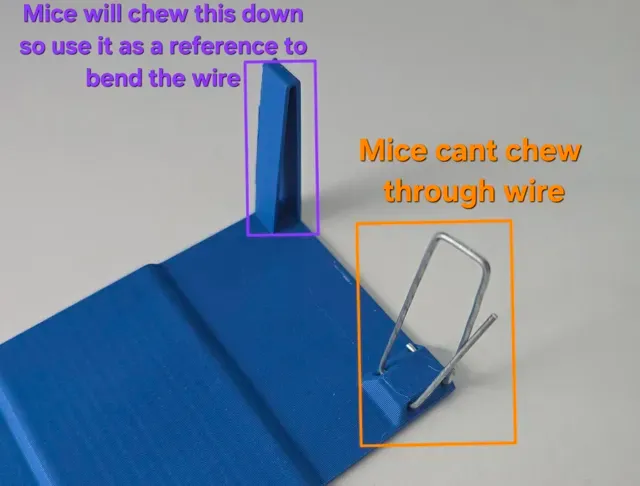
Furthermore in this picture you can see the posts were completely chewed down which made it necessary to print the entire trigger plate again. To solve this I added two holes on the other side so you can bend wires to match the same height as the original posts which the mice cannot chew through.
In the following picture you can see scratch marks from mice trying to escape.
0.6mm nozzle, 0.3mm layer, 2 walls, 15% infill trigger plate is placed sideways and has a brim also the z seam is placed on the backside
0.4mm nozzle 0.28mm layer, 3 walls, 15% infill trigger plate is placed sideways and has a brim also the z seam is placed on the backside




Названия используются только для указания источника результата. Polyzon не аффилирован с перечисленными площадками.