
Бесплатно 
Caliper Depth Base Attachment (Mitutoyo and others)
Printables
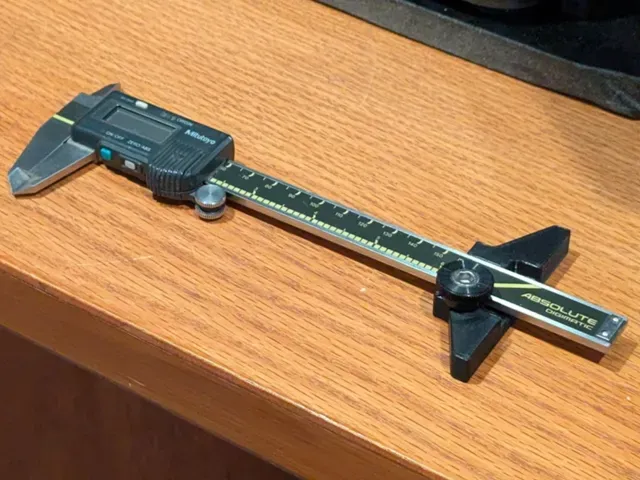
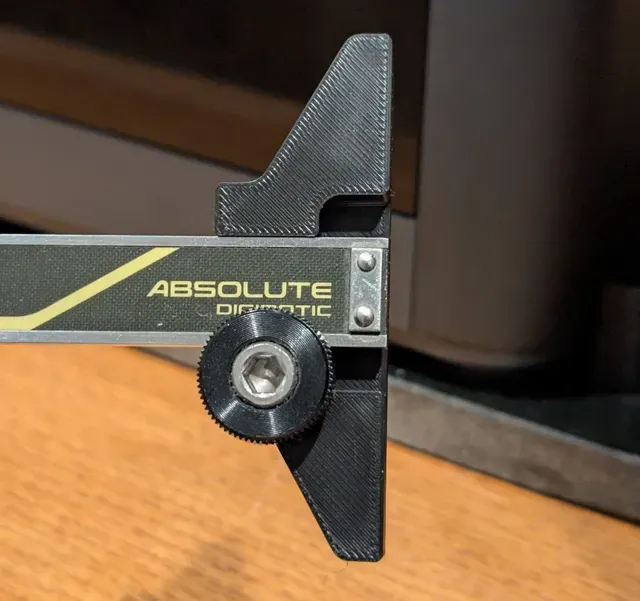
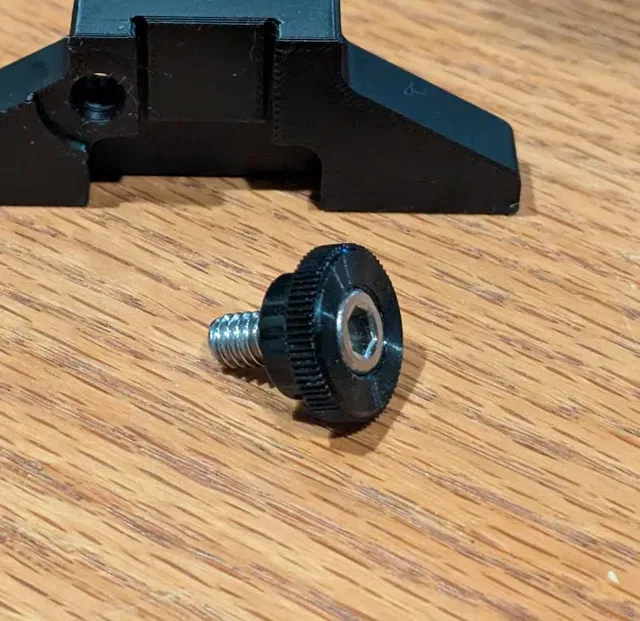
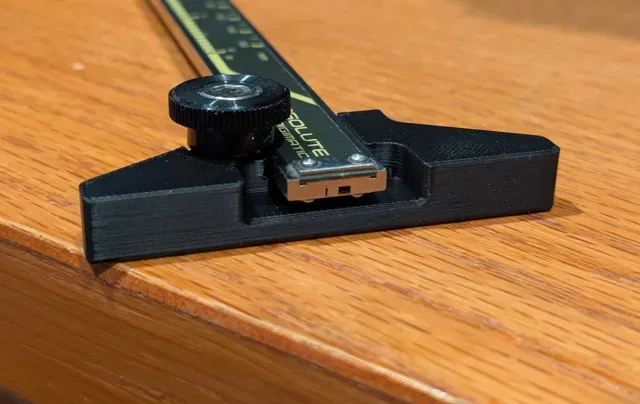
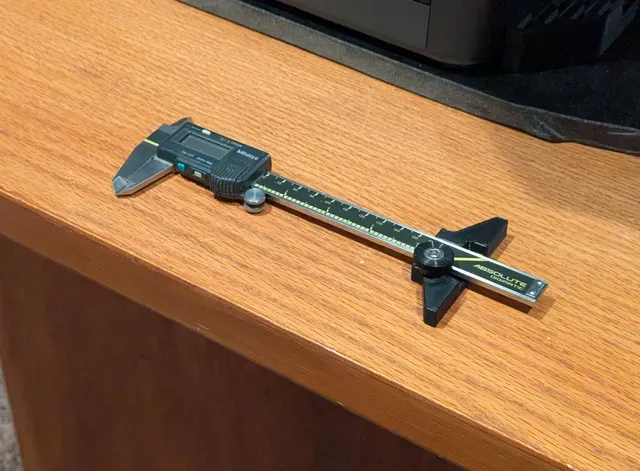
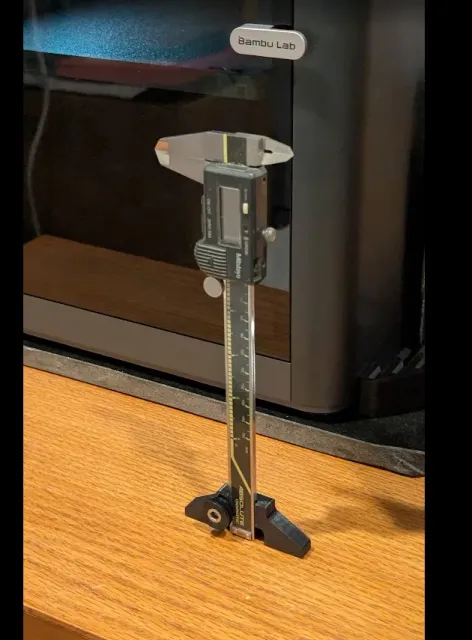
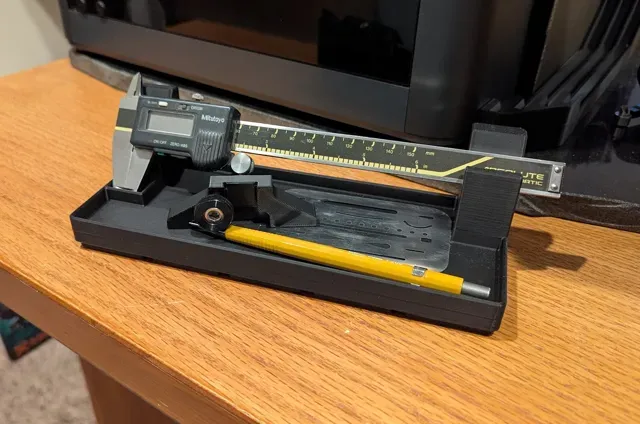
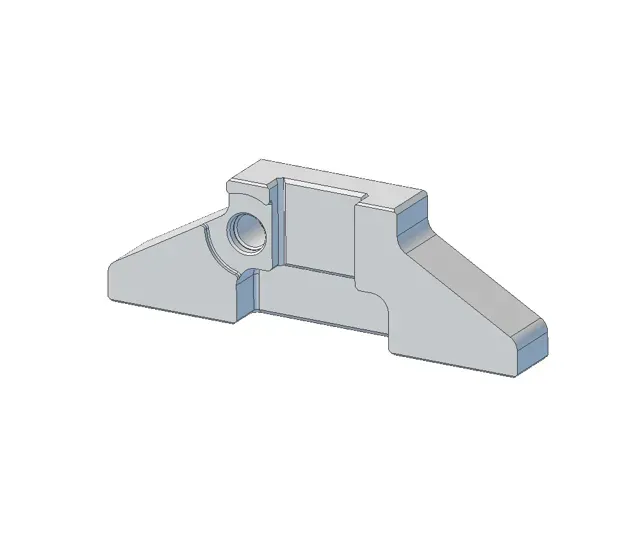
I wanted one of those depth base add-ons for my Mitutoyo digital caliper. However, because it was an accessory I didn't need that often, I didn't want to spend the money to get one. The design was dialed in perfectly after only a handful iterations.
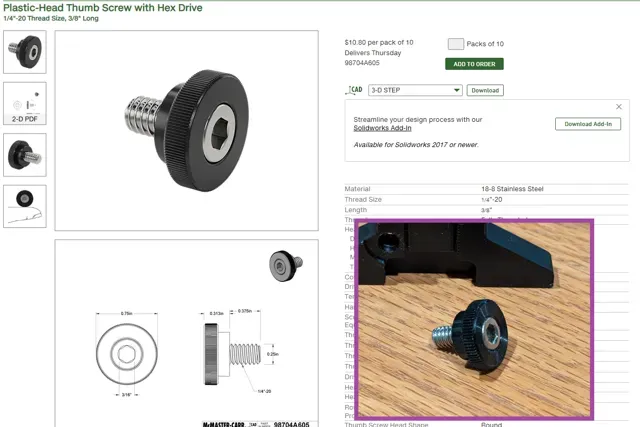
I mimicked the functionality of the Mitutoyo depth base, so that it operates exactly as intended. It does require a ¼-20 thumb screw to lock the base onto the caliper body (I recommend McMaster PN 98704A605 ). It's ridiculously easy to install and remove from the caliper and when it's on, it's easy to adjust. The plastic portion of the thumb screw bears on the caliper so you don't have to worry about damaging the precision surfaces.
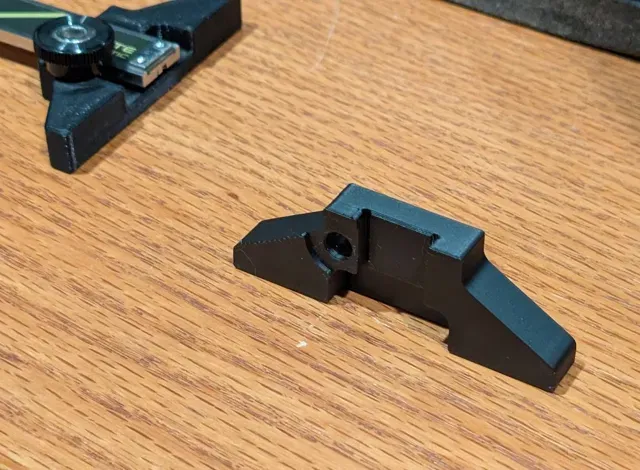
Since it has a small thread in it, you'll need a ¼-20 tap. A hand tap will do just fine. Tap the hole from the front - I designed a lead-in to help guide the tap to start cutting threads easily and squarely to the body of the depth base.
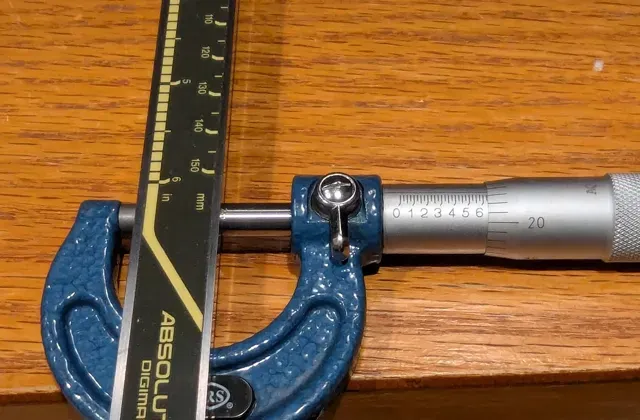
While the depth base is designed around the Mitutoyo caliper, it will possibly work on other calipers where the main scale part is about .625" wide (15.875 mm). (Maybe you're wondering right now how you're going to measure the width of the main scale of your calipers with the calipers! I used a micrometer and mine measured .6234", so it's possible. And if you're not sure… it's only a 20 minute print .)
Usage notes:
- If you're not sure how to use the depth base, make sure you look up a manual online for one of these, or a youtube video to learn how to set it up properly. - Also, even though my picture shows it standing vertically, that was just for show - don't stand yours up like that, it's not supposed to be used that way. It took me the better part of a minute to get it balanced like that just for the photo. - Because FDM 3D printing doesn't give the world's most crisp corners, it might be worth taking the time with a surface plate, some 220 grit sandpaper and something to hold it square to knock off the microscopically rounded corners so you get a perfectly flat, precision surface. As much as we love 3D printing, we acknowledge its limitations.
Revision history:
- Rev 5: original upload to makerworld (all the previous iterations were development) - Rev 6: provided some additional space for wider guide plates of some calipers (image below) - Rev 7: additional clearance to the guide plate to address chamfer tolerances in the design
REV 007, 0.2mm layer, 2 walls, 15% infill Confirmed to work with the 6", 8" and 12" calipers that meet the other parts of the main part description.
Названия используются только для указания источника результата. Polyzon не аффилирован с перечисленными площадками.
Комментарии