
Бесплатно 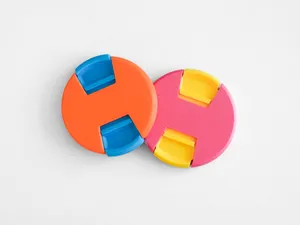
Parametric Lens Cap - 50 to 95mm
MakerWorld
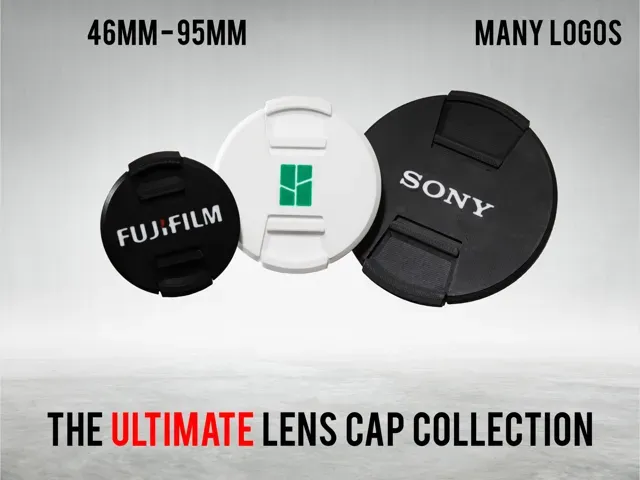
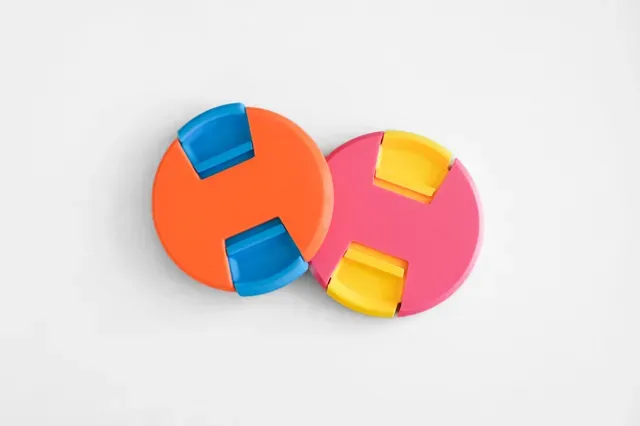
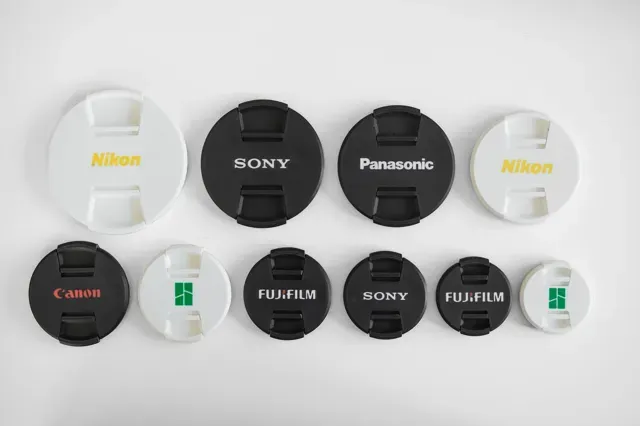
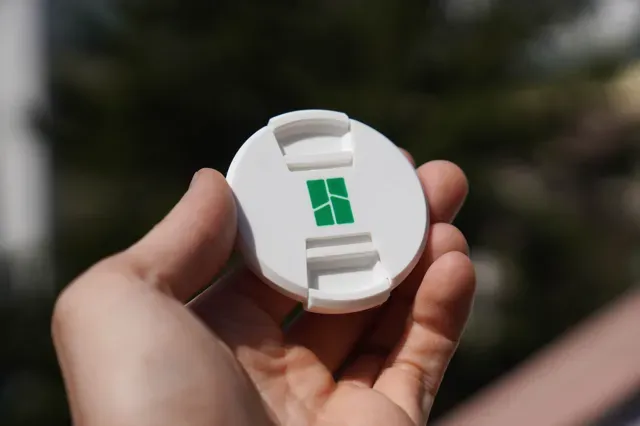
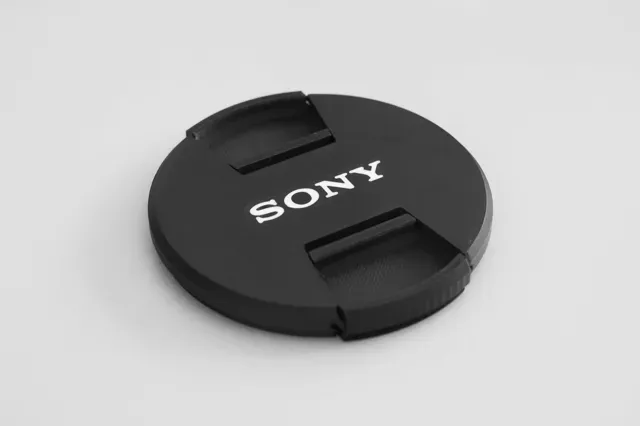
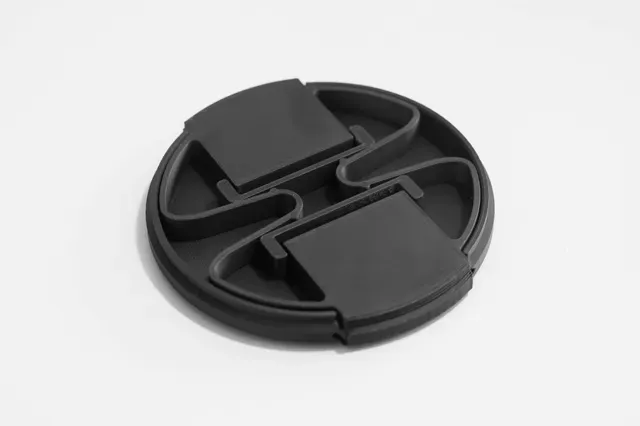
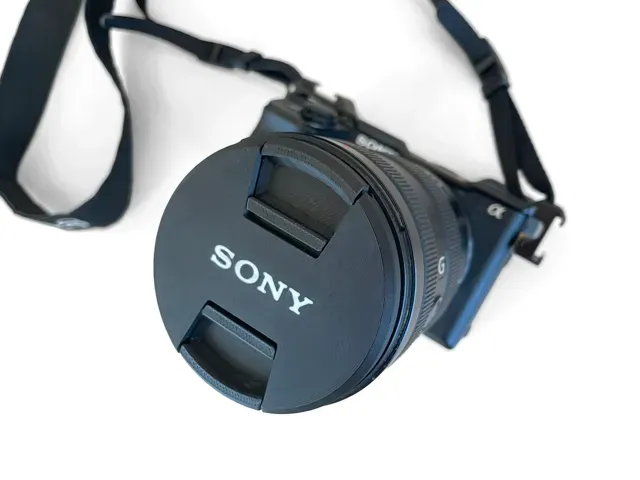
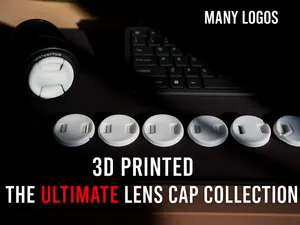
The Ultimate Lens Cap Collection!
Now also as a parametric version with the new MakerWorld feature:
One (blank) lens cap prints in roughly 35 minutes! Read instructions below.
Fits most common camera lenses. Just look for your filter diameter and choose the right size.
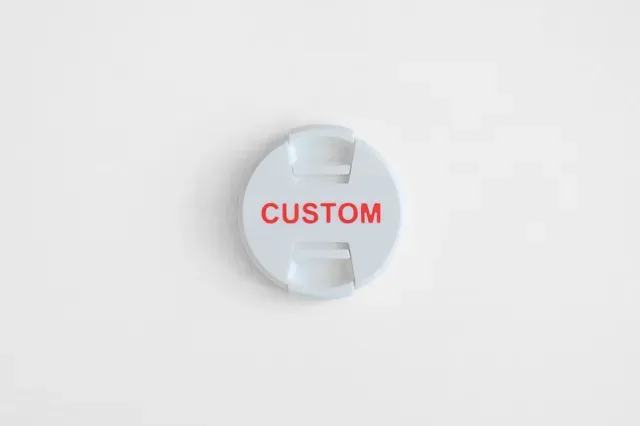
With logos of many common camera brands or add your own custom text. Combine different colors for unique styles.
Suitable for the following filter sizes:
46mm, 49mm, 52mm, 55mm, 58mm, 62mm, 67mm, 72mm, 77mm, 82mm, 82mm, 86mm, 95mm
(I was only able to test a few of these with my lenses, so please let me know if one needs adjusting.)
Materials:
I recommend printing in PET-G for durability and less risk of material fatigue, but PLA also seems to work fine.
Coloring Logos and Custom Text (AMS):
Simply use the coloring tool (Fill) to add color to the logos. The logos are minimally embossed so you can easily select them, but the embossing won't show on the print, only the colors.
For custom text:
Use the text tool on the blank cap. Set the Thickness to 0.05 and the Embedded depth to 0.6 . Choose the desired color for the text.
Printing:
Delete the variations of the lenses you don't need and print away. There is a slider insert + a lens cap for each size.
If you are printing from the STL file make sure to split the object first and adjust the orientation .
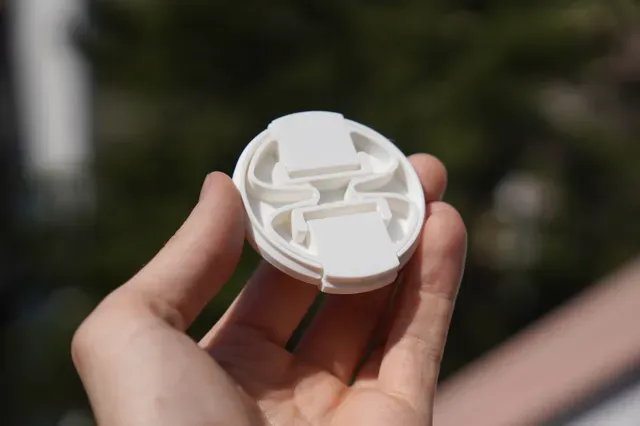
Assembly (see pictures):
Step 1:
Push the slider together while pressing one side into the cap.
Step 2:
Push the other side into the cap. With a bit of force it should click securely into the cap.
Step 1 Step 2
Enjoy!
Boost Me If this was useful to you, consider leaving me boost!
Cover Image Background Credits: https://www.freepik.com/free-photo/cement-wall-floor-copy-space_3224641.htm#fromView=search&page=2&position=4&uuid=d6432808-fa0f-44c8-8220-d2c7f968a12f&query=white+studio
Image by rawpixel.com on Freepik
A1 / P1S / X1 - 0.2mm layer, 2 walls, 15% infill
A1mini - 0.2mm layer, 2 walls, 15% infill
55mm curved
37mm, 0.6mm nozzle, 0.24mm layer, 2 walls, 15% infill I needed a 37mm lens cap so I scaled down from the 46mm profile. It took several tries to get the fit right but it works well. This is printed in PETG-CF. The print speed had to be slowed down considerably to prevent the print from lifting off the build plate.
0.2mm layer, 2 walls, 15% infill The 62mm slicer was upside down on the original A1 Mini print profile, so it failed to print as there were overhangs, so I flipped it. Included all the caps as well for ease of printing, even though I didn't change them.
Olympus - M.Zuiko 14-42mm lens cap - 0.16mm layer Was after a lens cap for the Olympus/OM System M.Zuiko 14-42mm F3.5-5.6 EZ (pancake zoom) lens. Used the makers profile and customised this (did notice someone else uploaded a 37mm profile but still did not fit)
Custom 37mm size for the Olympus/OM System M.Zuiko 14-42mm F3.5-5.6 EZ (pancake zoom) lens. Made thinner for a slimmer, lower-profile cap. 0.4mm nozzle, 0.16mm layer height, 2 walls, 15% infill.
Feel free to edit the font / text, as it is a separate object.
37mm Lens Cap for Sony Mavica (FD81 tested)


Названия используются только для указания источника результата. Polyzon не аффилирован с перечисленными площадками.
Комментарии