
Бесплатно 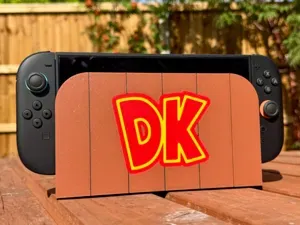
Nintendo Switch 2 Donkey Kong dock facia / plate
MakerWorld
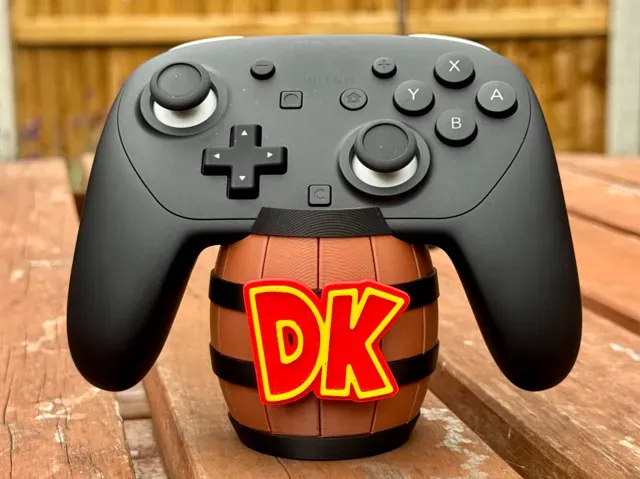
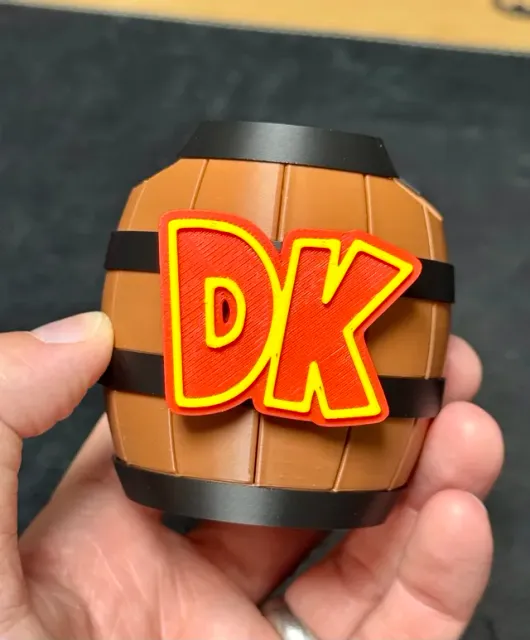
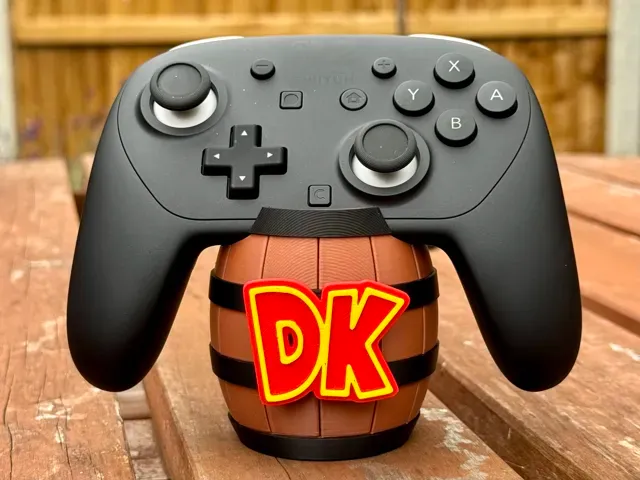
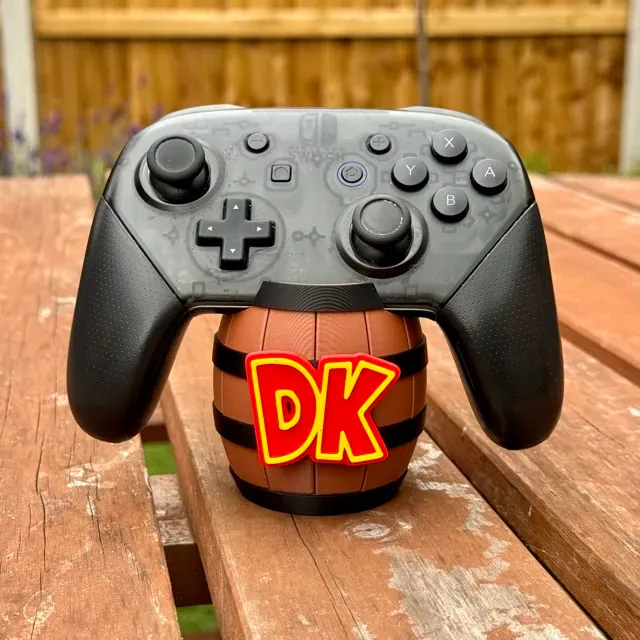
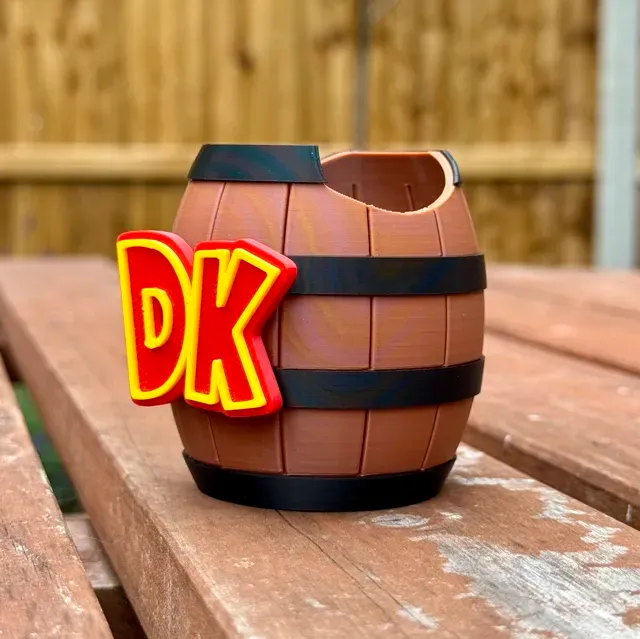
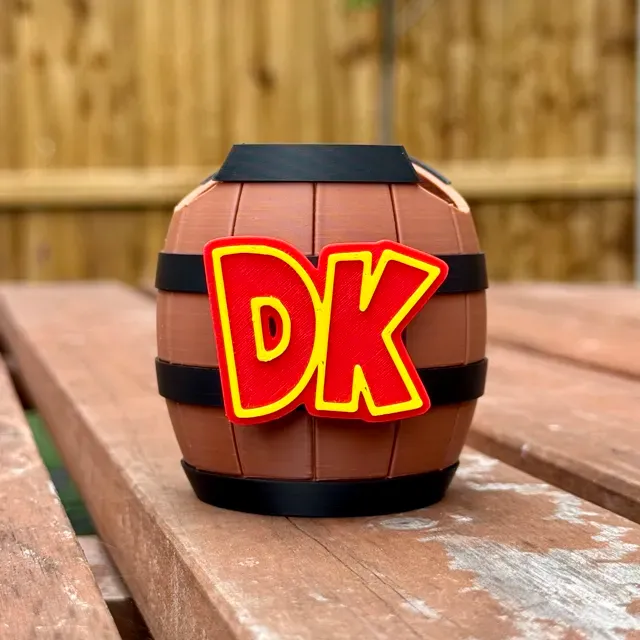
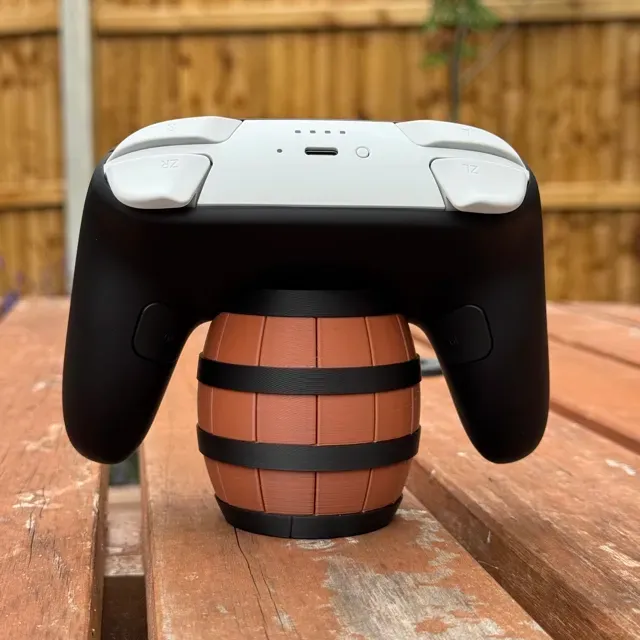
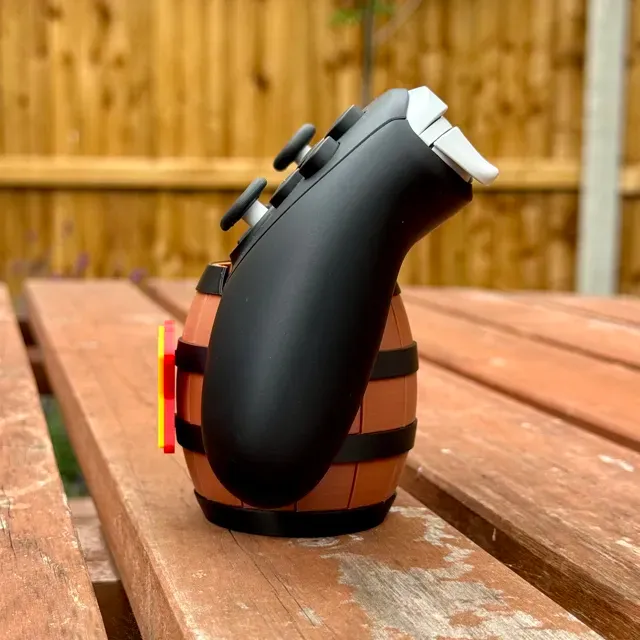
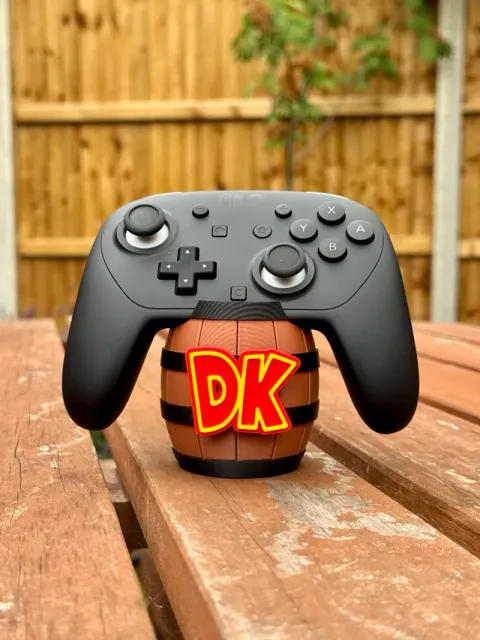
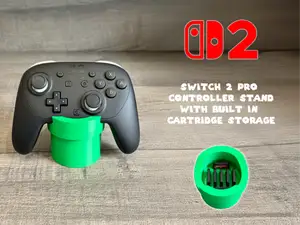
Nintendo Switch Pro Controller stand, modelled after the Donkey Kong barrel - No AMS needed
With Donkey Kong Bananza due to be released soon for the Switch 2, I wanted to offer a DK barrel controller stand.
This is a remix of the pencil holder by the brilliant @ mushu_maker , I started making this from scratch, but then found this model that had more detail than I'd got down to. Remixed this model by first resizing to allow the controller to fit (taking care of the Switch 2 Pro Controller dimensions), then exporting to Fusion, to add the relevant cut out in both the barrel and the top barrel ring, to allow the controller to sit correctly.
Boost Me If you like this print, then please consider a boost as a way of supporting me on here. Printing
The rings, barrel and DK logo are on separate plates, you'll need brown, black, red and yellow.
I would recommend printing the barrel first, then the rings, then the logo, to allow the glue to set on the top and bottom rings (detail below) before applying the logo.
For the DK logo, whilst it's easier with an AMS, you can instead insert a pause at layer 15.
To do this, once sliced, move the layer progress bar to 15, right click and choose “Add Pause” - When printing, start with red, then when the printer pauses, swap the filament to yellow and resume.
Assembly
This does require some glue, I would recommend superglue, please take care when using / seek help from an adult as appropriate.
First off, we need to apply the centre barrel rings, these are not glued, but they pretty much click into place. First off, lets fit the top ring. Ensure you have the ring matching the profile of the barrel, as the ends will turn out, so when fitting the top piece, the wider part of the ring will be facing down.
Line up the centre notch to match the centre line on the front of the barrel, put in place
Then push down until it's in the correct place. You will need to do this all around the circumference of the barrel. Repeat for the lower middle section too (I adjusted the central position of the top notch before gluing!)
With this done, we now need the glue. I started with the top ring.
I fitted the smaller piece first. Apply a small amount of glue on the barrel
Then carefully fit the front ring part into place, ensuring it's evenly placed.
Now repeat the same for the top back ring part, again taking care to place evenly.
We are now ready to glue on the logo!
Double check your placement of the middle rings, to ensure that the blocks line up centrally, as you could see above I had to tweak mine by just pushing the top ring up, then re-placing it (not glued, so no problem). Once happy, apply a small amount of glue to the notches.
Then line up the corresponding notches on the DK logo (they don't really clip in place, it's more than you can feel them for alignment), put in place and hold until set in place.
Allow the glue an appropriate amount of time to dry (depending on the glue used) and you are done!
0.2mm layer, 2 walls, 15% infill
Названия используются только для указания источника результата. Polyzon не аффилирован с перечисленными площадками.