
Бесплатно 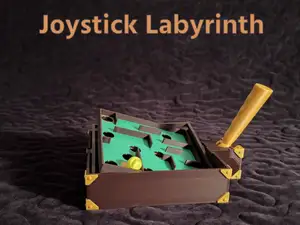
Joystick Labyrinth
MakerWorld
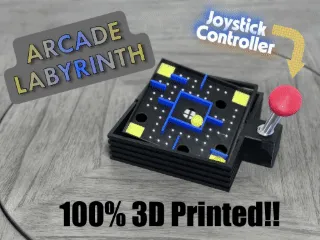
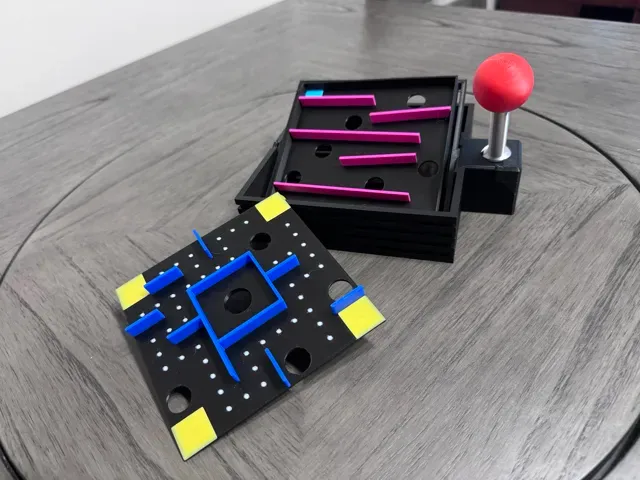
Boost Me 3D Printing is my passion. Boosts help me to keep coming up with more fun designs! A 100% 3D Printed Arcade Experience!
SCROLL DOWN FOR ASSEMBLY INSTRUCTIONS
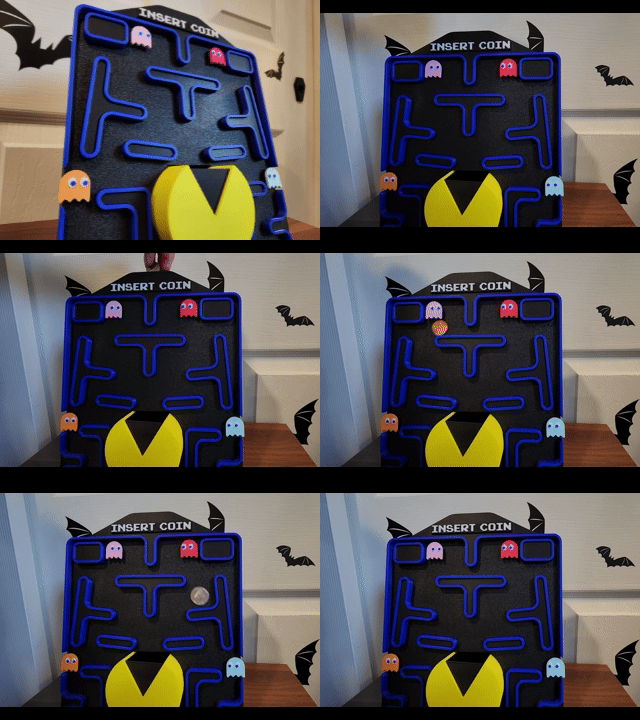
This is an updated version of my original “Joystick Labyrinth” design. Containing improvements to the structural integrity and simplifications to the design that improve the overall experience from the previous version. A retro aesthetic has been added to give it a true arcade feeling.
How to Play
Feel free to create your own rules, but I offer the following recommendations:
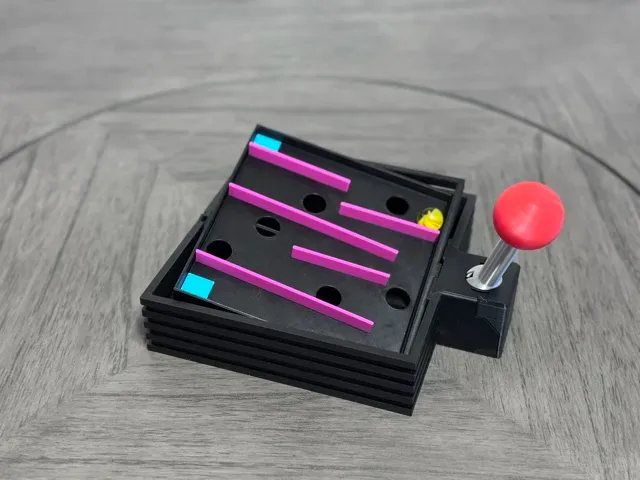
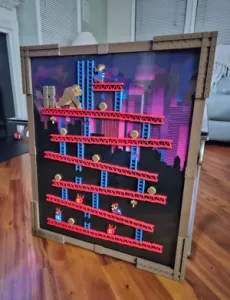
For the DK Plate , try to get from one blue square to the other without falling into any holes.
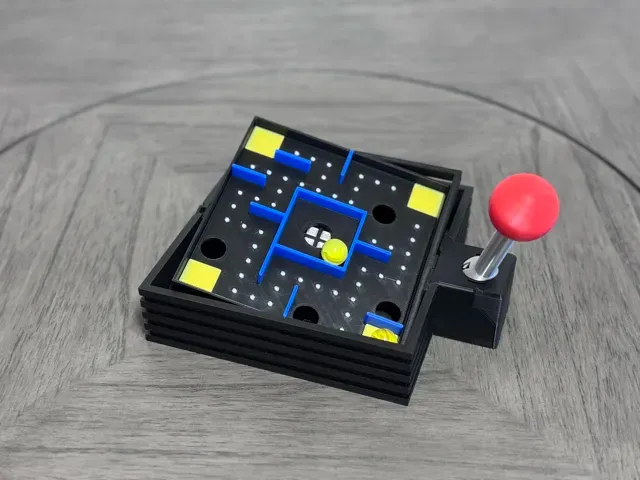
For the Pac Man Plate , use two marbles. One in the center, and one around the perimeter. Try to touch all four yellow squares as quickly as you can without either ball falling into the holes.
Customize Your Own Maze Plates!!
For those with a little design experience, challenge yourself to create your own custom plates! If you follow these guidelines, they should be compatible with this model:
-Create a 130x130mm square.
-Make the square 2mm thick.
-Add walls (about 2mm thick and 10mm tall)
-Cut out holes (about 15mm diameter if you don't want the marble to fall completely through)
ASSEMBLY INSTRUCTIONS
Parts List:
Start by inserting the Y-Shaft about halfway through the Actuation Box . Make sure the half-cylinder feature of the Y-Shaft is facing AWAY from the spherical socket of the Actuation Box .
The X and Y Frames print together as one piece. To simplify assembly, pop these to frames apart. They will be assembled back together later. For now, hold on to the X-Frame . This is the one without the crosshairs going through the middle.
Attach the X-Frame into the hole on the Actuation Box . The surface that was touching the build plate when printing should be facing DOWNWARD.
Slide everything you've assembled so far completely into the Labyrinth Base . Because the Y-Shaft was only partially inserted in a previous step, it should be able to sit in the half-cylinder groove of the Labyrinth Base . Once everything is seated fully, slide the Y-Shaft so its end is over the center of the Labyrinth Base as shown in the picture below. (Illustrated with the RED ARROW)
Next, assemble the Control Stick with the Control Ball and attach them to the rest of the assembly. As you slide it into place, make sure the tab at the bottom of the Control Stick slides into the slot on the Y-Shaft . As you click the Control Stick into place on the Actuation Box , make sure the pin from the X-Frame fits into the slot on the spherical portion of the Control Stick . You can then cover up the mechanisms with the Actuation Box Cover .
Now, fit the Follower onto the Y-Frame as shown. Make sure all directions/orientations match the images. The tab piece on the Follower should align with the hinge points on the Y-Frame as shown by the red rectangle. These two pieces can then be attached to the rest of the assembly by snapping the hinge points of the Y-Frame into the sockets on the X-Frame . Make sure that the Follower slides into the slot on the Y-Shaft below.
Now all that's left is to slide in a Maze Plate and start playing! Enjoy your fully 3D printed arcade experience!
0.2mm layer, 2 walls, 15% infill
A1 mini Compatible
Optimized for H2C, 2 plates 2 plates, Optimised for the H2C.



%2Fhttps%3A%2F%2Ffbi.cults3d.com%2Fuploaders%2F51124722%2Fillustration-file%2Fdb0d5a82-b108-4c61-9211-5ed8aad9da99%2FIMG_6225.jpg&w=300)
Названия используются только для указания источника результата. Polyzon не аффилирован с перечисленными площадками.