
Бесплатно 
Command Strip Hanger for Canvas Prints or IKEA RIBBA Frame
Printables
Overview
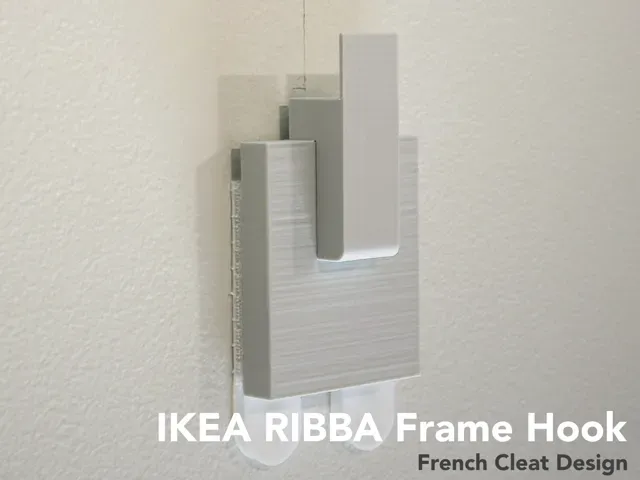
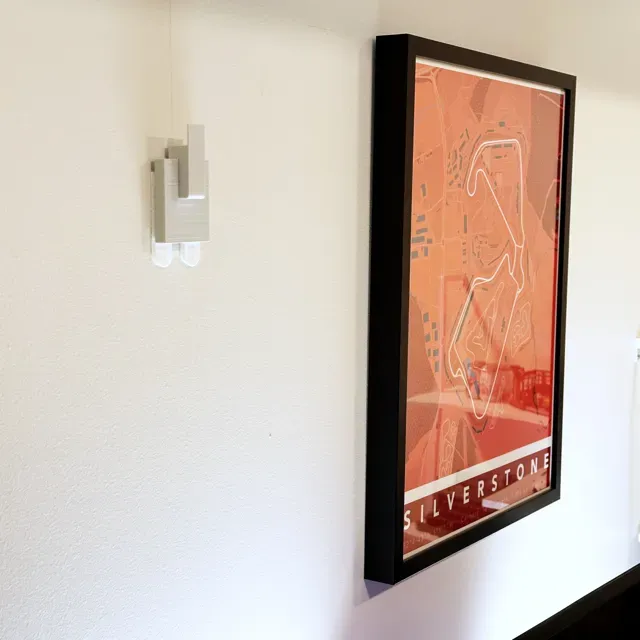
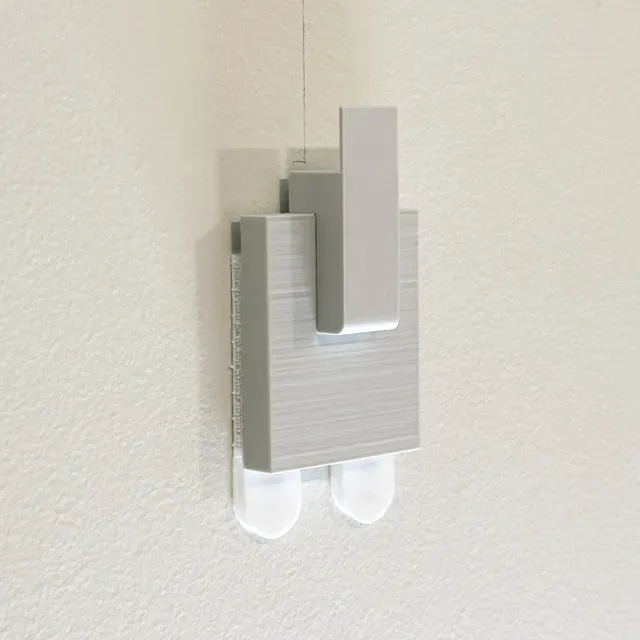
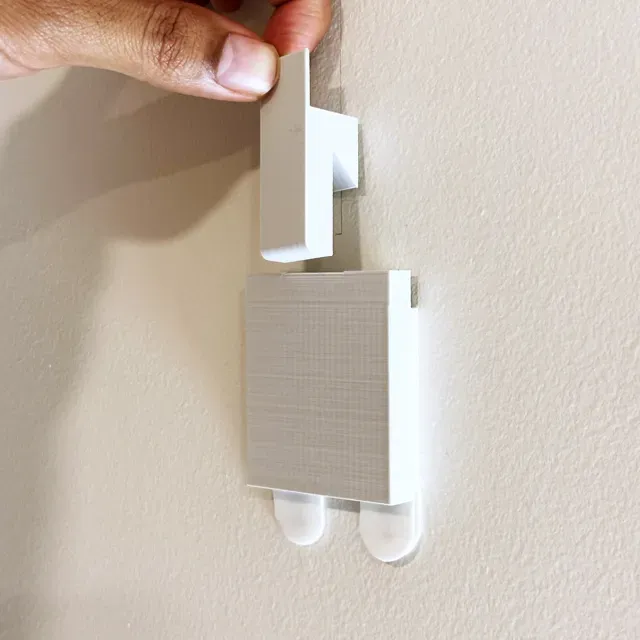
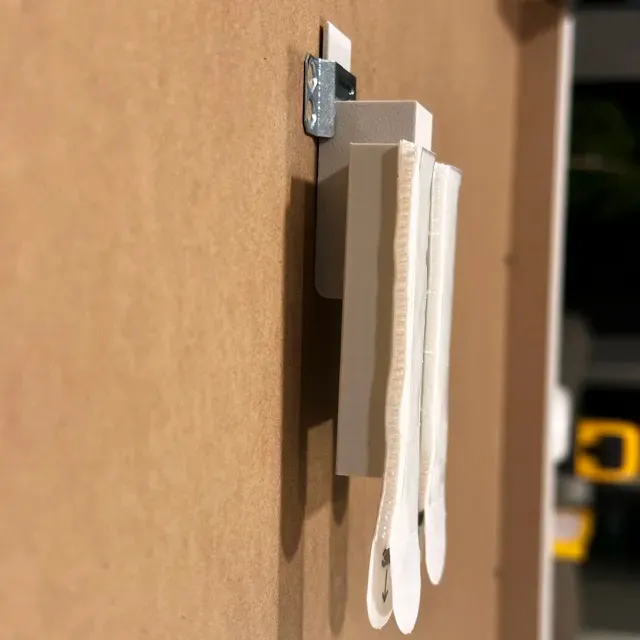
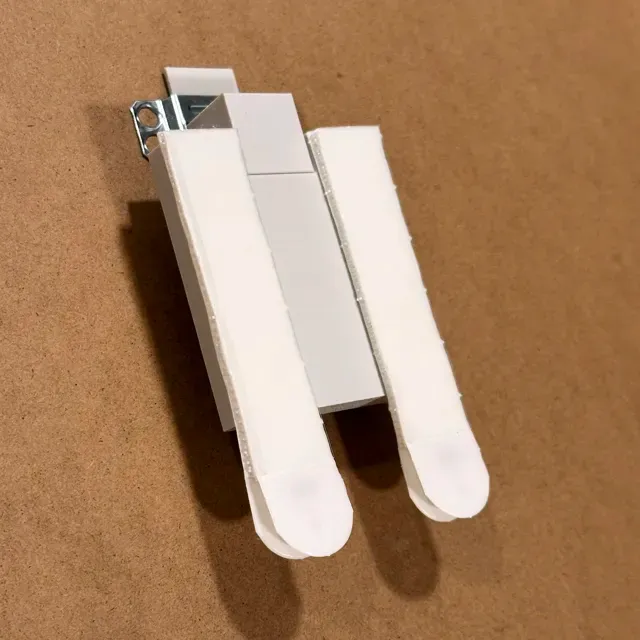
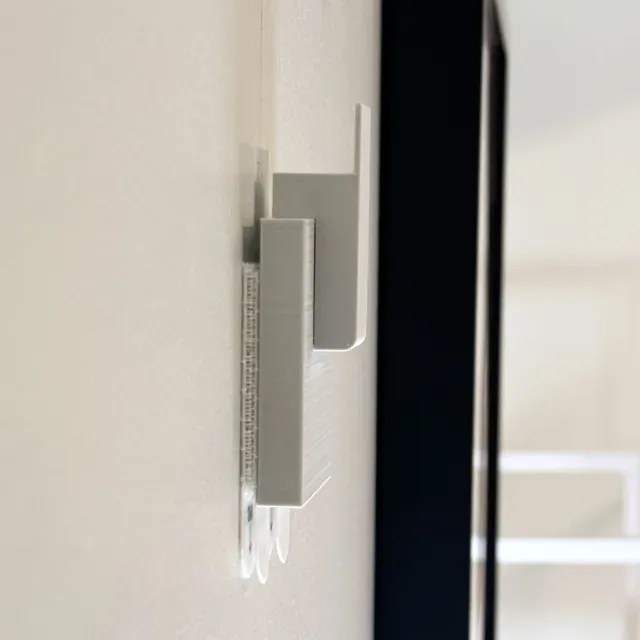
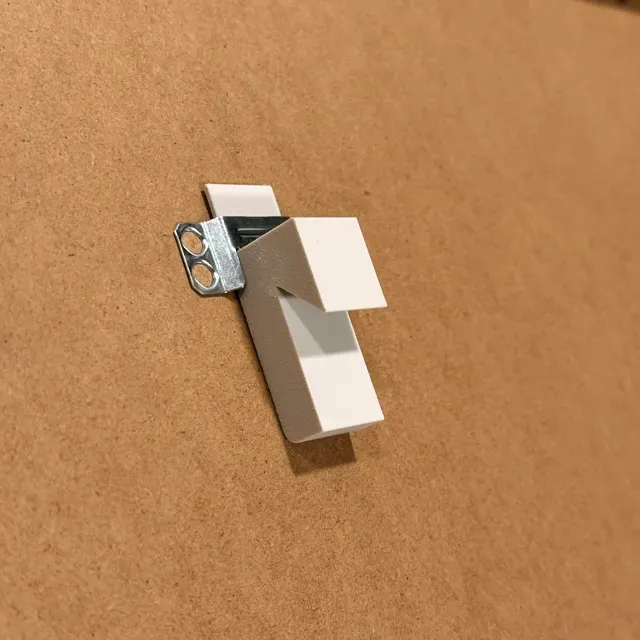
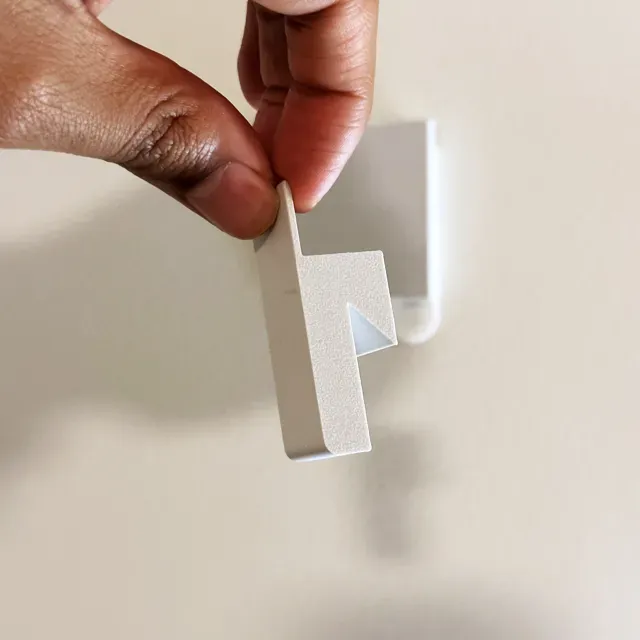
This is an easy to use mounting system for the IKEA RIBBA series of frames. The print comprises of two parts, but there is very little assembly or non-printed parts required. Additionally, the flat area of the print allows multiple adhesive hanging strips and can support the larger 16x20 inch frames. Hang your RIBBA frames perfectly the first time!
Boost Me Help support me and my designs. Thank you! Background
If you have ever tried to hang an IKEA RIBBA frame, you will know exactly why I designed this model. The frames have these standard mounting sawtooth hooks that are inset very deep within the frame. This makes it very hard to mount them as any nails or screws have to stick very far out of the wall. Since the frames are so deep, it is nearly impossible to see where the hook is as you go about hanging them in place.
This was the motivation for me to design a new type of mounting hook that would make it easy to mount the IKEA RIBBA frame in just a few minutes.
Assembly
Printed Parts
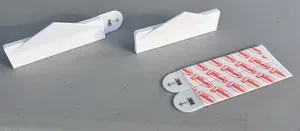
1x Frame Hook
1x Wall Cleat
Non-Printed Parts
2x 2.5 inch Adhesive hanging strips (aka Command Strips). Longer strips also work.
Ruler or Tape Measure
Pencil
( Optional ) Spirit Level
Instructions
- Find where you want the top of the frame to be placed and mark a horizontal line - Find where you want the center of the frame to be place and mark a vertical line - With the frame on a flat surface, measure the height from the top of your frame to the bottom of the sawtooth hook that comes attached to the frame. Record this measurement as “h” - Draw a vertical line starting at the marking in Step 2. The line's length should be the value of “h” with an additional 10cm (~4 in) added on. For example, if you measure “h” as 50 cm, the line would be 60cm long. At the bottom of this line, draw a second horizontal line - Attach the two adhesive strips to the Wall Cleat piece using manufacturer's instructions. They should be attached to the side that has the slot cut out - Attach the wall cleat to the wall, applying pressure to the adhesive strips. Align the top of the wall cleat to the second horizontal line (Step #4) and use the small notch in the top to align the cleat vertically. Apply pressure per manufacturer's instructions - Wait 30-60 minutes to allow proper adhesion - Place the frame hook into the top of the wall cleat - Take your frame and hold it on the wall 20-30 cm above where it will be finally placed. Slowly slide the frame down the wall until it catches on the frame hook Measurement Diagram
0.2mm layer, 3 walls, 15% gyroid infill - 3 walls for added strength - 15% gyroid infill







Названия используются только для указания источника результата. Polyzon не аффилирован с перечисленными площадками.