
Бесплатно 
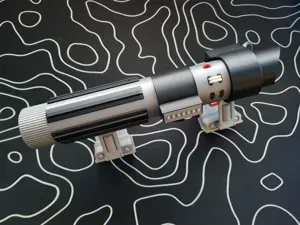
Star Wars Darth Vader's Lightsaber (hollow)
MakerWorld

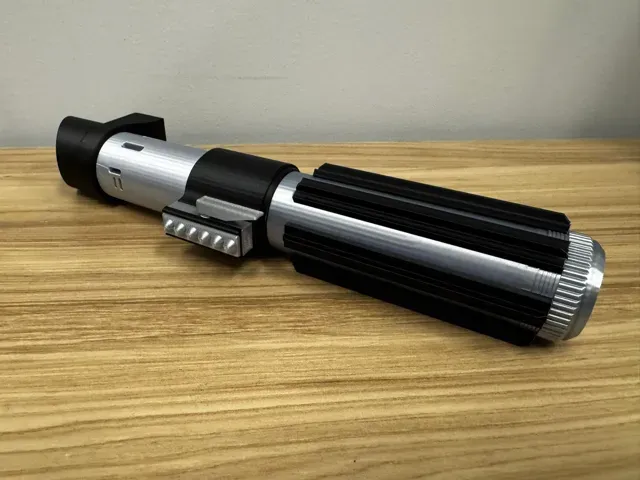
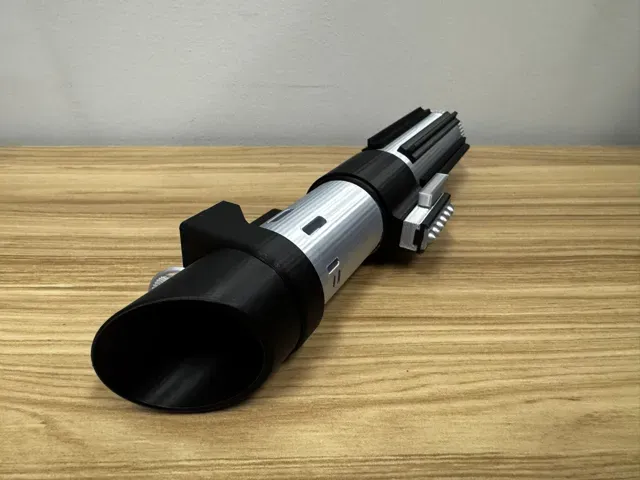


This is an optimized version of jarvizar model, who also remixed it from CaseStudyno8 to make it more compatible with BambuLab printers (according to his post ).
My remixed version was motivated by the fact that assembly was not straightforward and misalignment could easily occur (in fact, I failed on my first attempt to put together jarvizar's version).
The parts I modified and their corresponding changes are listed below:
- Darth_Vader_-_Pommel.- I slightly extended further (.20 mm) the inner top face of the pockets where the Pommel blocks are placed (first image). I also modified the inner block that connects the Pommel to the Midsection removing two of the three extrusions to make it poka-yoke-like and avoid misalignment (second image):
- Darth_Vader_-_Midsection.- I modified the inner pocket that connects the Pommel to the Midsection removing two of the three pockets to make it poka-yoke-like and avoid misalignment. I reduced the diameter as well to make a tighter fit (first image). I also modified the top block as in the Pommel to avoid misalignment errors (second image):
- Darth_Vader_-_Upper_Chamber.- I modified the inner pocket that connects the Midsection to the Upper chamber removing two of the three pockets to make it poka-yoke-like and avoid misalignment. I reduced the diameter as well to achieve a tighter fit (first image). I also included a top block as in the previous parts to avoid misalignment errors and facilitate assembly with the Emitter Shroud (second image):
- Darth_Vader_-_Emitter.- I added a pocket to make the assembly between the Emitter and the Emitter shroud easier and avoid misalignment. I reduced the inner diameter as well to achieve a tighter fit:
- Darth_Vader_-_Emitter_Shroud.- I added the corresponding extrusion to fit the Emitter and avoid misalignment (first image). I also created the corresponding pocket to easily assemble the Emitter shroud to the Upper chamber (first image). Finally, I extended the inner cylinder's top face because when I first printed it, there was no physical connection between the inner cylinder and the outer shell and both parts came apart. With this modification, the Emitter shroud stays as one single part and can be easily assembled (second image):
Left image: Original version; Right image: Modified version with extended inner cylinder - Darth_Vader_-_Power_Block.- I added an inner rail to make the positioning of the Power Casing easier and fix it in the right place. I used a tight clearance to allow for a tight fit, removing the need of using super glue:
- Darth_Vader_-_Power_Casing.- I added the corresponding extrusion to match the rail on the Power Block:
Ideally, all the parts should tight fit without the need of using super glue. However, I suggest using one or two droplets to reinforce the assembly.
Happy lightsabering/printing!
0.2mm layer, 2 walls, 15% infill





Названия используются только для указания источника результата. Polyzon не аффилирован с перечисленными площадками.
Комментарии