
Бесплатно 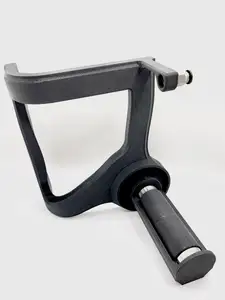
Bambu Labs X1 Carbon - P1S Side Mount Spool Holder light
MakerWorld
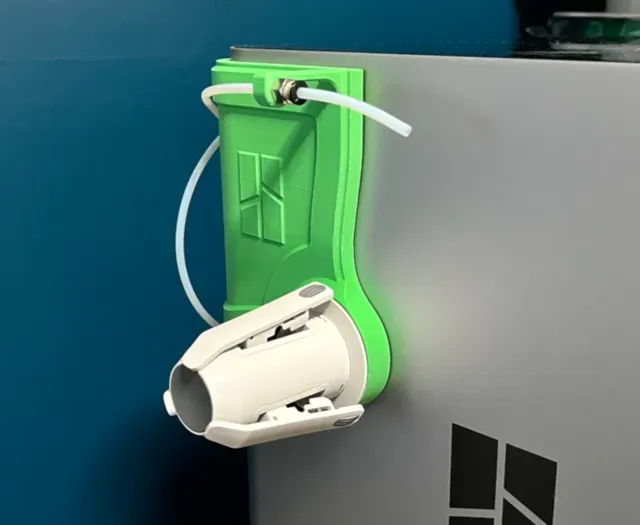
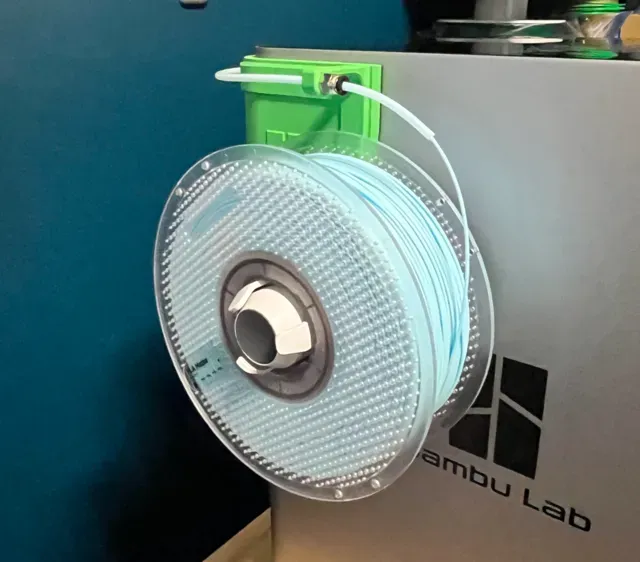
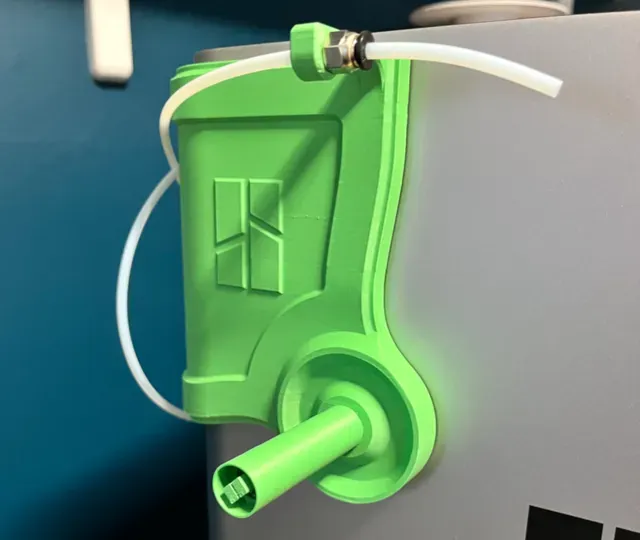
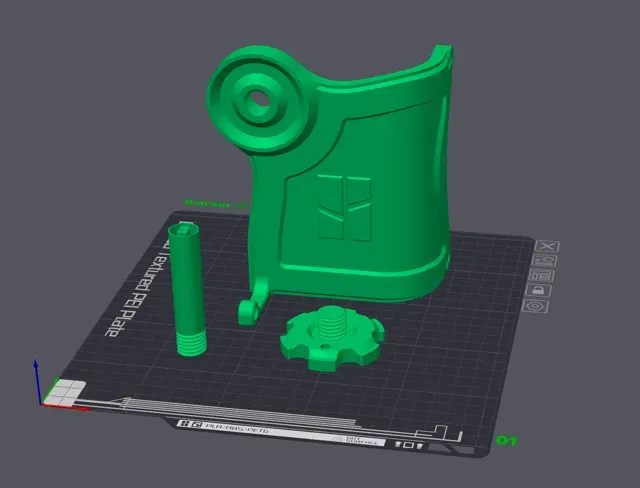
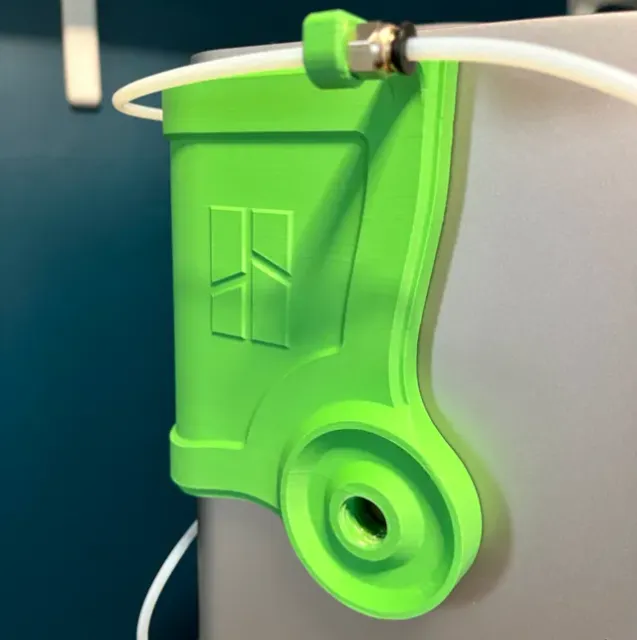
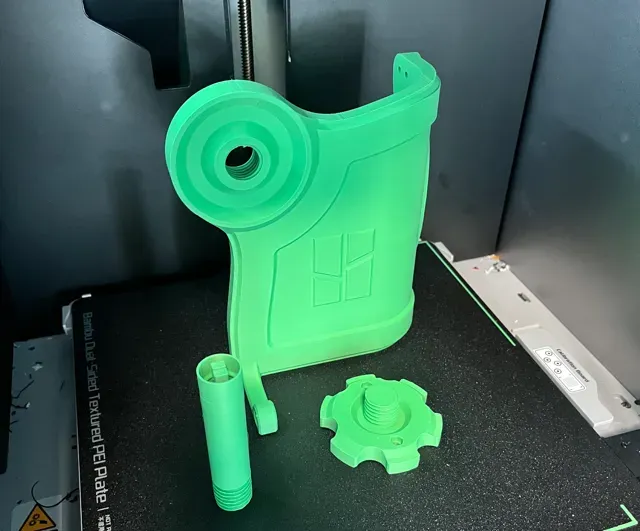
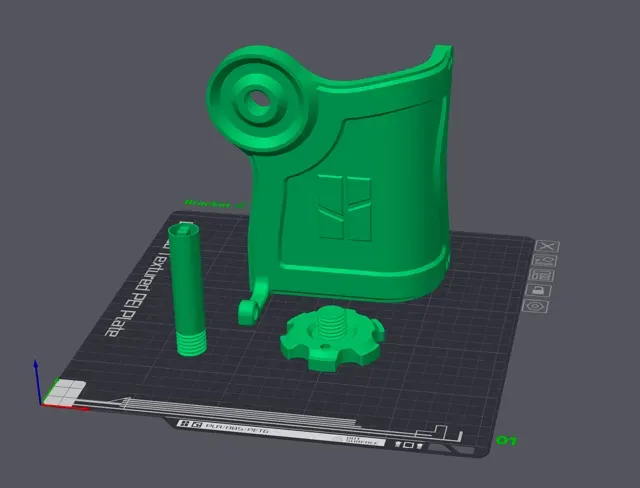
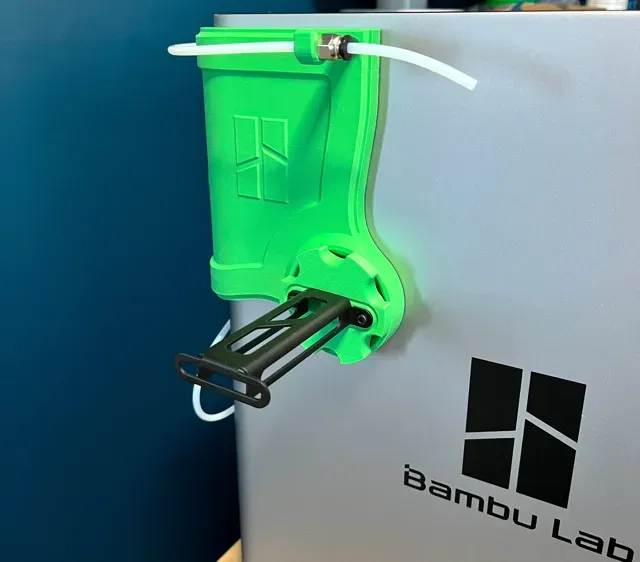
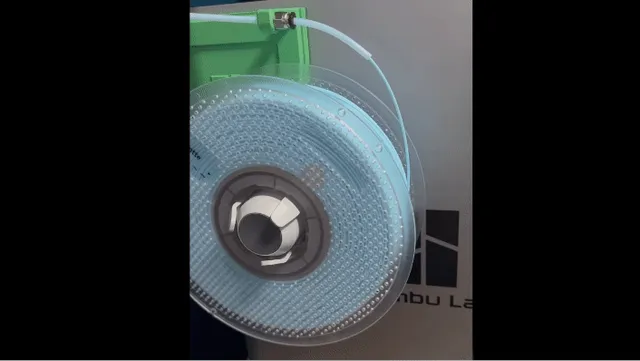
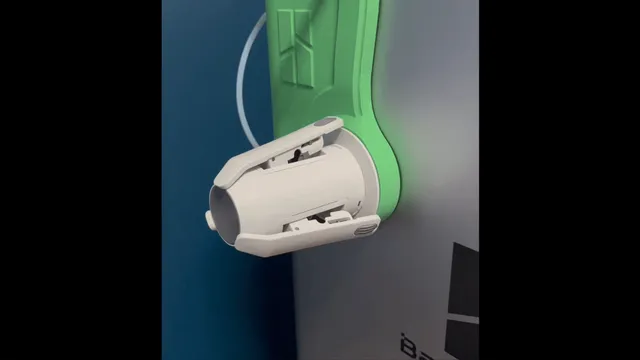
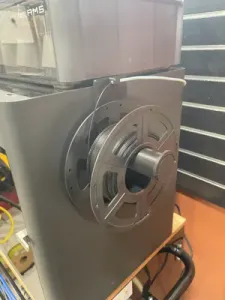
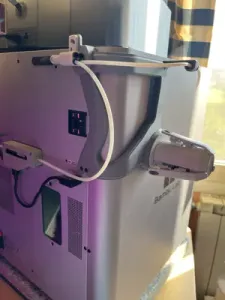
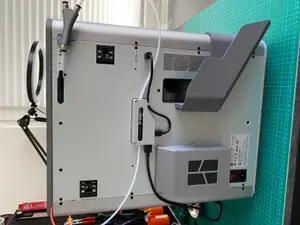
A simple side spool holder for the Bambu Lab X1 Carbon
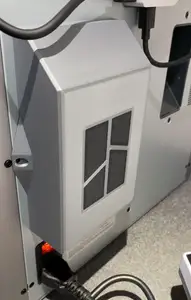
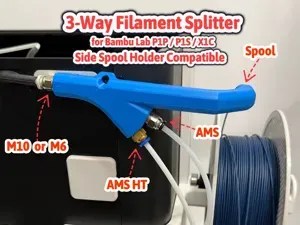
I've also created a small bracket to hold the Bambu 4-in-1 PTFE Adapter, which fits nicely on the side spool holder.
Find it here: https://makerworld.com/en/models/205887
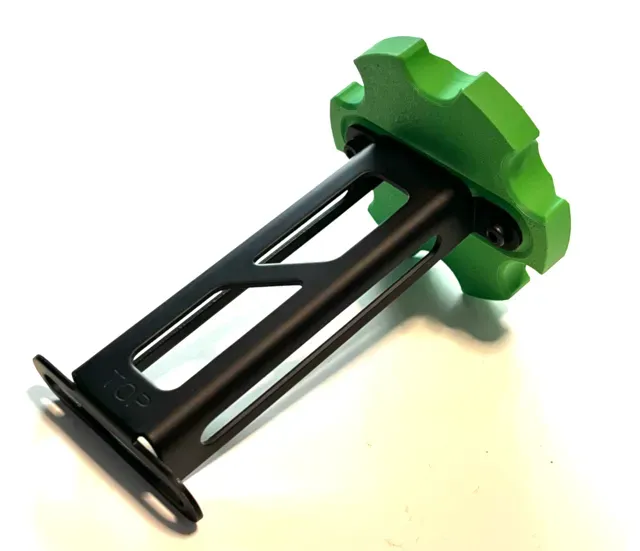
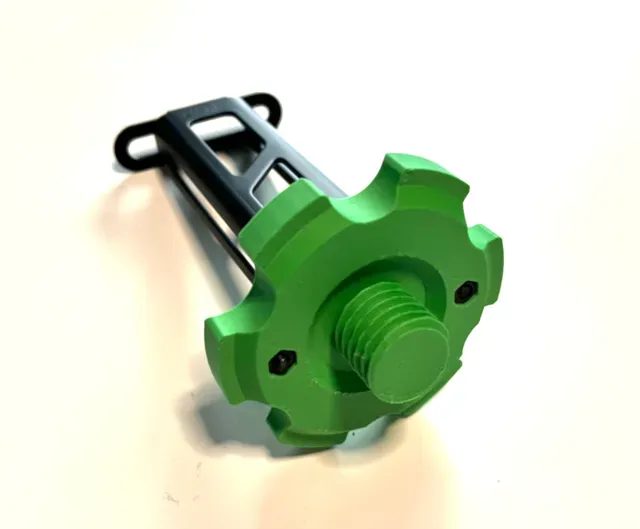
I've made two spindle holders for it. One fits the Bambu Labs Green AMS Spindle holder, and the second fits the basic spindle holder that comes with your X1 Carbon.
The spindle which holds the AMS Spool holder is nice as it incorporates a nice click mechanism to hold it on as well as it incorporates the auto rewind spring mechanism of the AMS spool holders. This works very well.
This is the one you need - ensure you get the Green one: https://ca.store.bambulab.com/products/ams-lite-rotary-spool-holder?variant=44244705378544
You can choose which spindle holder you like and simply screw it onto the main base.
This design uses a PC4-M10 fitting for the filament. This is what I bought: https://www.amazon.ca/gp/product/B07L8R4SMG
The spool holder screws onto the existing Bambu Lab screw locations and uses four M3x12mm Hex bolts.
If you use the basic spool holder attachment, it also uses two M3x12mm bolts and two M3 nuts.
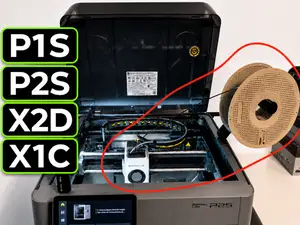
Update: jmaestrale has confirmed this works with the P1S as well.
Print settings:
The spool holder is designed to print without any supports!
I've printed this in PLA and it works well for my use.
The components are printed with different settings appropriate for their function.
Main Component: Infill: 15% Wall loops: 2
Layer Height: 0.2mm
AMS Spindle Holder: Infill: 40% Wall loops: 2
Layer Height: 0.2mm
Basic Spindle Holder: Infill: 40% Wall loops: 2
Layer Height: 0.2mm
Instructions:
Print one of the base model. Then print one of either the basic spool adapter or the AMS spool adapter. Screw in the spool adapter onto the base plate, then screw in the M10 fitting into the base plate and attach a length of filament tubing and attach to the intake on the back of the printer - note you will need to unplug the tubing from the AMS if you are using an AMS while printing from the side spool holder.
Membership Get a commercial license here!
PLA Profile Updated!
This version includes the following updates:
- Left hand threads for spindle holders - should avoid any chance of unscrewing while in use. - Better thread fit - Threads were a bit tight, this fixes that. - Sacrificial layer to help with screw hole ledge. - Smoothed edges on basic spindle holder. - Multiple build plates for easier printing the parts you need with different settings.
Print settings
The spool holder is designed to print without any supports!
The components are printed with different settings appropriate for their function.
Main Component: Infill: 15% Wall loops: 2
Layer Height: 0.2mm
AMS Spindle Holder: Infill: 40% Wall loops: 2
Layer Height: 0.2mm
Basic Spindle Holder: Infill: 40% Wall loops: 2
Layer Height: 0.2mm
AMS Waste Optimized PLA Profile The goal of this profile was to add AMS coloring for the main component plate (plate 4), and the basic spindle (plate 5) while minimizing the amount of used filament. I saved about 50 of the 100g when initially estimated for the original multi-color print and cut the print time down for the multi-color by about an hour. The main component (plate 4) took about 8.8 hours and the basic spindle (plate 5) took 40 minutes .
**Warning: Filament flushing volumes are set to a 0.30 multiplier instead of the stock 1.0 multiplier**
This setting may be transferred to your next project, if not desired, please ensure that the flushing volumes multiplier is set back to 1.00 (stock setting) in your next print.
- If you are worried about color bleed, feel free to up the multiplier in the flushing volumes (within the Filament section) to .35+
Additional Changes:
- Filament flushing multiplier = 0.30 instead of 1.00 - Seam Position = back
- 15% infill density for all printed objects (Plate 4 & 5)
- Gyroid infill pattern
- Prime Volume decreased to 30mm^3 from 45mm^3 = the stock setting
- Flush into objects' infill = enabled
- Added plates 4 & 5, which include the AMS coloring for the Bambu Lab Logo
- The original models from the designer exist on plates 1 through 3
The original designer recommended these print settings:
“ The components are printed with different settings appropriate for their function.” (@ryan.fransen)
Main Component (Plate 1 & 4):
Infill: 15%
Wall Loops 2
Layer Height: 0.2mm
AMS Spindle Holder (Plate 2):
Infill: 40%
Wall Loops 2
Layer Height: 0.2mm
Basic Spindle Holder (Plate 3 & 5):
Infill: 40%
Wall Loops 2
Layer Height: 0.2mm
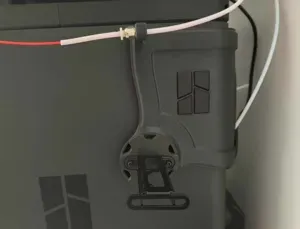
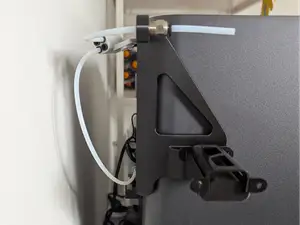
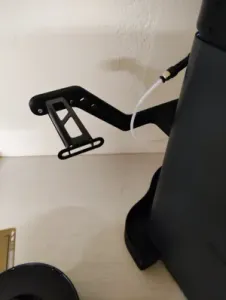
Heavy Duty Axis, Improved thread fit and compatible with "Holder ONE" I wanted to use this great side mount design with my “Holder ONE” https://makerworld.com/en/models/188682#profileId-207967 model, but the original axis was not compatible.
Heavy Duty, Improved tread fit and compatible with "Holder ONE"


Названия используются только для указания источника результата. Polyzon не аффилирован с перечисленными площадками.