
Бесплатно 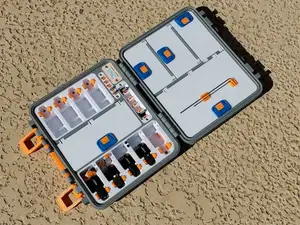
Bambu Labs X1 & P1 Spare Parts Case (Version 3.1)
MakerWorld
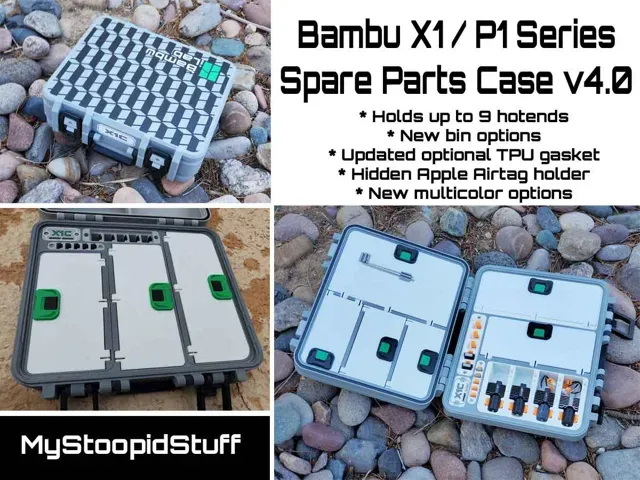
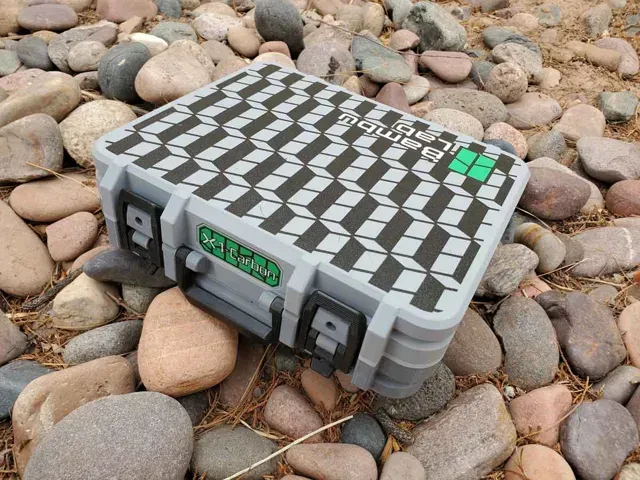
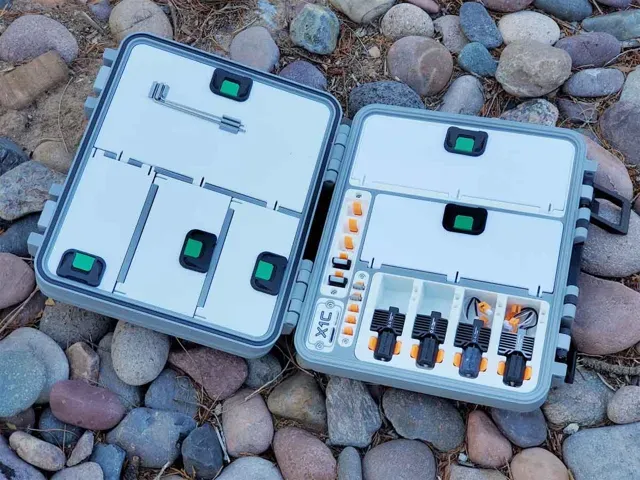
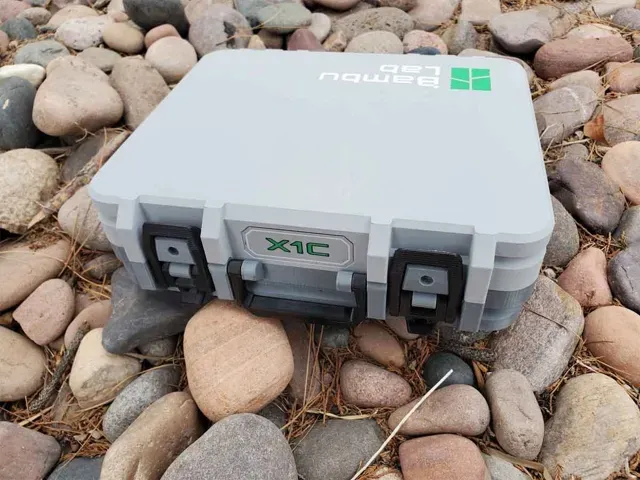
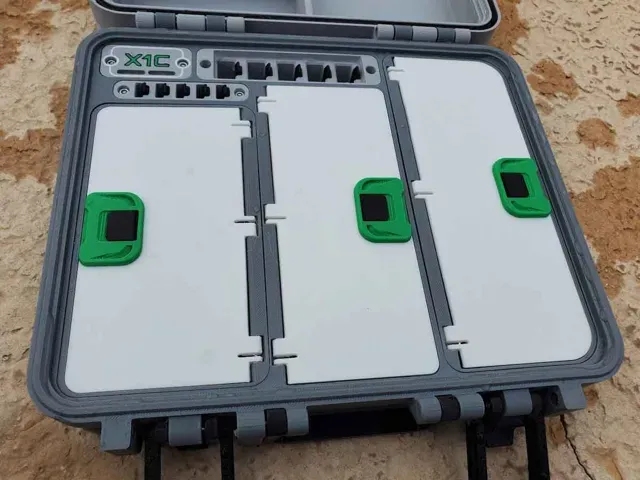
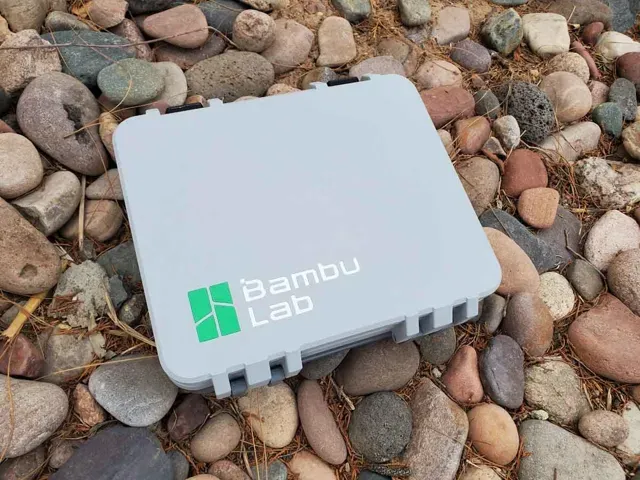
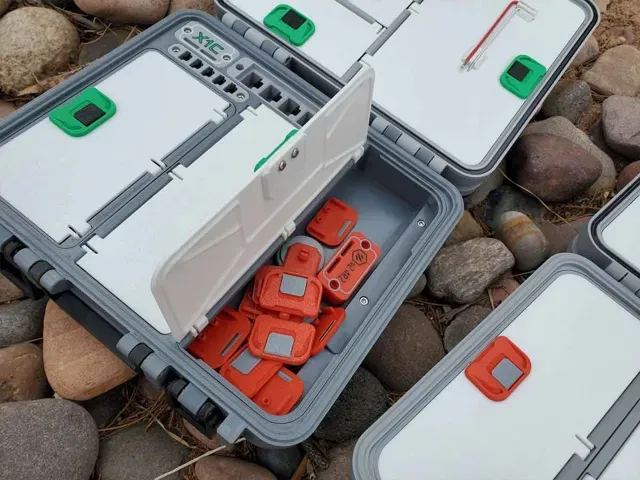
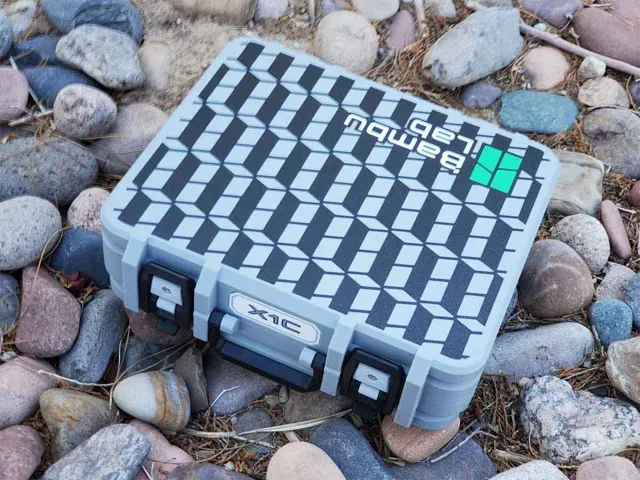
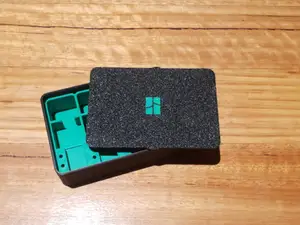
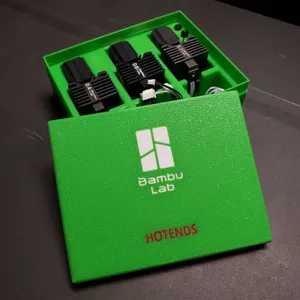
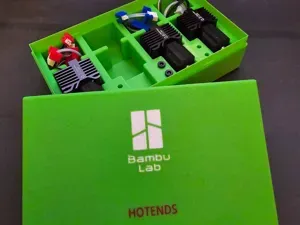
This is a spares case for the X1 and P1 series of Bambu printers, and is designed to hold all the stuff needed to maintain the printers in a convenient package .
The design has evolved with feedback from the community here, and the models here are version 4.0 of the design, with a number of updates and improvements. Getting this update done has been a ton of work, and with all the prototype cases I've printed, I now have way more cases than I have printers :D But I feel the changes are going to be worth the effort, and I hope you find the case useful. I check the comments often, and feedback is welcome, so please feel free to post any questions or feedback in the comments.
This update includes the following changes, compared to the prior version 3.1 design:
- Updated module design, which allows a better fit for the modules in the base of the case. - Redesigned hotend modules. These changes appear small, but the holders were fully redone and now have a tiny bit more room for wires. - New compartment modules with latching lids. Big thanks to Lexam for the idea for the bin module options, and for collaborating on and testing the prototype design! - New 4 color design option for the case shells (but the more basic design is also still available in the 3mf profile too). - Redesigned TPU gasket option. It is still not waterproof, but seems to be more water resistant in my testing. - A hidden pocket designed to hold an Apple Airtag.
Because this case has a number of options, the image below of the 3mf profile looks a bit complex. There are colored boxes around plates which have associated parts, and the image is meant to work with the description below it, to help identify which plates are needed for the various options. There are also several plates with parts that are common to all builds, and those are also described below.
The options shown in the pic above are:
- TOP LID WITHOUT A TPU GASKET - Use plates 01 or 21 (PLA), and plate 06 (and optionally 10) (PETG) - TOP LID WITH A TPU GASKET - Use plates 02 or 22 (PLA), plate 06 (and optionally 10) (PETG), and plate 7 (TPU) - BOTTOM BASE WITH GLUE BOTTLE HOLDERS - Use plates 03 or 24 (PLA) - BOTTOM BASE WITH A CENTER COMPARTMENT (no glue bottle holders) - Use plates 04 or 23 (PLA), and plate 9 (PETG) - note that a glue bottle will not quite fit in the center compartment. If you need to store glue bottles, the version with the two dedicated glue bottle slots is the best one to use. - PARTIAL HOTEND HOLDER MODULES (left and right) - these are the large modules which install in the bottom shell of the case, and hold partial hotends only (without fans or socks attached) - Use plates 12 (PLA), and plate 17 (PETG) - FULL HOTEND HOLDER MODULES (left and right) - these are the large modules which install in the bottom shell of the case, and hold full hotends only (with fans and socks attached) - Use plates 13 (PLA), and plate 18 (PETG) - FULL or PARTIAL (HYBRID) HOTEND HOLDER MODULES (left and right) - these are the large modules which install in the bottom shell of the case, and hold either full or partial hotends only (with or without fans attached, but they must have a sock ) - Use plates 14 (PLA), and plate 19 (PETG) - LARGE COMPARTMENT MODULES with LATCHING LIDS (left or right) - these are the large modules which install in the bottom shell of the case, and have a single compartment (instead of hotend holders) - Use plates 15 (PLA), and plate 20 (PETG)
Common Modules:
- PLATE 5 (PLA) - this plate contains the latch insert parts for the top and bottom shells of the case. I recommend printing them in the same color and material as the case lid and base, unless you prefer that they contrast with those parts. - PLATE 8 (PETG) - contains the latch parts, handle and an optional front label designed for use with Brother P-Touch 12mm labels. If you want to use a printed label with text, just delete the label from this plate and print one from plate 25 (explained below). This plate also has two options for the latches ("REG" and “SHORT”). The “SHORT” latch will make the case close tighter, and therefore may add some stress to the hinges and latches, but I prefer it, so added it as an option. If you find the case is very hard to latch, stop to avoid cracking something, and try the “REG” latch or post a comment so I can assist. - PLATE 25 (PLA or PETG) - This plate contains all the latches and labels (front and inside) for the case. One of the upper latch parts on this plate will be needed for each lidded bin used. The upper latches can be printed in PLA, PETG or a mix of both materials, since they have an integrated print in place hinge. The label options are multicolor and include options for X1C, X1E, P1P and P1S printers, as well as blank option which can be customized with your own text.
Note that the TPU gasket version will not make the case water tight, there are too many variables to that. I think the gasket helps though. But don't expect to dunk this case, and have everything stay dry.
If printing the gasket version of the base, I recommend that you test that your printer and buildplate can run TPU without issues first. I suggest using 95A or 98A TPU, since it is a bit stiffer and should feed better than the really “noodly” stuff.
To install the TPU gasket, the cap of a sharpie is the tool I use to press the TPU gasket into place. Start by pressing in the middle of the gasket along all 4 sides, then once it's set in position, press in the corners.
I printed my prototype cases in PLA and PETG. PETG is recommended to be used on the latches, clips and to a lesser degree, the compartment doors, since PLA may be a bit brittle for some of the tabs and printed springs which retain the various parts.
If you use the included 3mf profile (which I recommend), note that there are 7 materials, including TPU. The reason for so many materials is due to some of the multicolor options, so you may not need all of them.
Hardware List:
This will require some M3 hardware to assemble. Specifically, it requires the following screws:
- (8-14) M3 x 6mm BHCS (2 per lidded compartment) (now optional - see update below regarding snap together latch slides) - (2) M3 x 8mm SHCS (or FHCS) - (6) M3 x 10mm SHCS - (2) M3 x 14mm SHCS - (10) M3 x 20mm SHCS - (4) M3 x 25mm SHCS (or 2 M3x50mm SHCS for the hinges) - (2) M3 x 30mm SHCS - (2) 8x3mm cylinder magnets (for the optional large compartment door with the Allen key holder (PLATE 10))
BHCS = Button Head Cap Screws
SHCS = Socket Head Cap Screws
FHCS = Flat Head Cap Screws
Tips on building it:
I recommend using safety glasses since there are a few parts that must snap in place.
You will need some long Allen keys for the M3 SHCS screws. I use a cordless screwdriver with a long (100mm) ball end H2.5 bit, which really speeds up building these cases. I have built them with standard Allen keys though, and they also work.
Step 1: Assemble the hinges
The hinges require the following parts:
(4) M3 x 25mm SHCS (or 2 M3x50mm SHCS for the hinges)
A long ball end Allen key or long H2.5 driver bit will be very helpful for assembling the hinges (I use a 100mm H2.5 bit with a cordless screwdriver). If using a power screwdriver, go slow, otherwise the friction of the screw going into the plastic could cause the screw to melt the plastic and veer off course. If you have M3x50mm screws, you can use a shorter bit and just drive the screws in from the outside in one pass per side, which is bit easier.
Step 2: Install the handle
The handle requires the following parts:
(2) M3 x 20mm SHCS
The case handle installs on the bottom shell (base) of the case with two M3x20mm SHCS screws.
Step 3: Assemble the latches
The latches require the following parts:
(2) M3 x 20mm SHCS
(2) M3 x 30mm SHCS
(2) M3 x 8mm SHCS (or FHCS)
(2) M3 x 14mm SHCS
The images below show the steps to install the latch inserts, and assemble the latches. If the inserts are too tight, give them a light sanding, so they slide into the dovetail grooves in the case shells.
I don't expect this to be a problem, but if you find the latches are too tight, and the case will not close without forcing them, please stop, and either try the “REG” latches from plate 08, or post a comment and I will try to assist.
12-22-2025 I've also uploaded some longer latches you can try if you find the latches are too tight. They are included in the files > folder "ALTERNATE LONGER LATCHES - UNTESTED". There is a 0.6mm longer ("LONG") and 1mm longer ("X-LONG") U shaped latch part in that folder, along with a 3mf which includes both models. These parts are not tested, but are simply longer versions of the latch parts which I am using in my case, and may help if the latches are too tight. If you use them, please let me know if addition lengths are needed.
Designer Profile 0.2mm layer, 3 walls, 15% infill This profile includes both options for the top (with and without a TPU gasket), so remove any parts you do not wish to print. There are several plates included, which are multicolor.
This profile uses the following settings:
- 3 walls with 15% rectilinear infill with infill combination - Textured PEI plate - 0.2mm layer height - Inner Wall / Outer Wall / Inner Wall (wall order) - 100% infill on the latch parts and the labels - Arachne Wall Generator - Painted Manual Supports (normal) - Inside Brim on Plate 7 only All plates - EXCEPT for plate 7 use the textured build plate. Plate 7 is the TPU gasket and is set up for the “Engineering Plate” , however a smooth plate should also work. If you have not run TPU, verify that the plate you intend to use will work, and it may be a good idea to run a small test print in TPU with the plate (in an corner), to test that the TPU will release from the plate.
- Several plates have increased infill or wall density, to increase the strength of the parts (Plates 5, 6, 8, 10, 16, 20). - Plates 13 and 14 have painted manual supports. - Plate 7 requires TPU, and has gyroid infill. Please test that your build plate is compatible with TPU.
See the attached images for the AMS colors and materials used in this profile.
Changelog:
Update 12/3/2025: Updated 3mf profile to fix a problem with the 5x large full hotend module (plate 13). The current (updated) profile is “X1C_Bambu_ToolKit-v170-r63_v4-0_MW.3mf”.
Updated Snap together slide latches These are new snap together slide latches, which require no extra hardware.
There are two versions of these slide latches. One has a snap closed tab and the other has a tab which does not snap closed.
They can be printed with PLA, PETG or a combination of each. I recommend using PETG for the base, and PLA for the tabs, if using the snap tab version.
Названия используются только для указания источника результата. Polyzon не аффилирован с перечисленными площадками.