
Бесплатно 
Logitech G29 Formula Style Steering Wheel Mod F1 Sim Racing
Printables
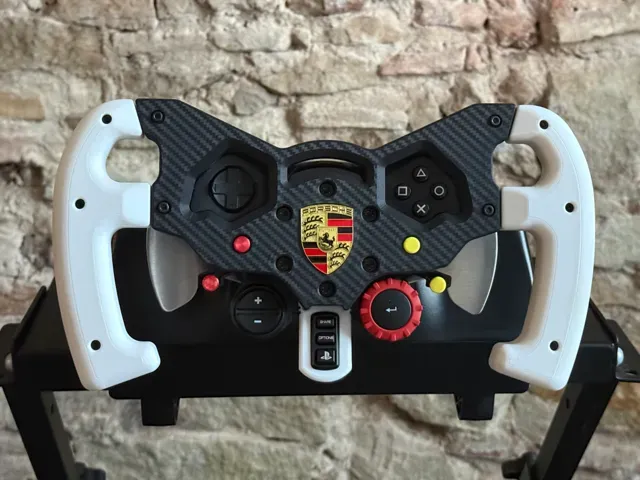
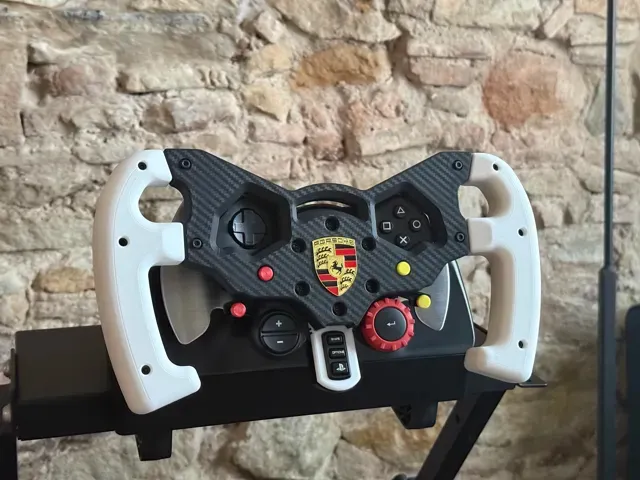
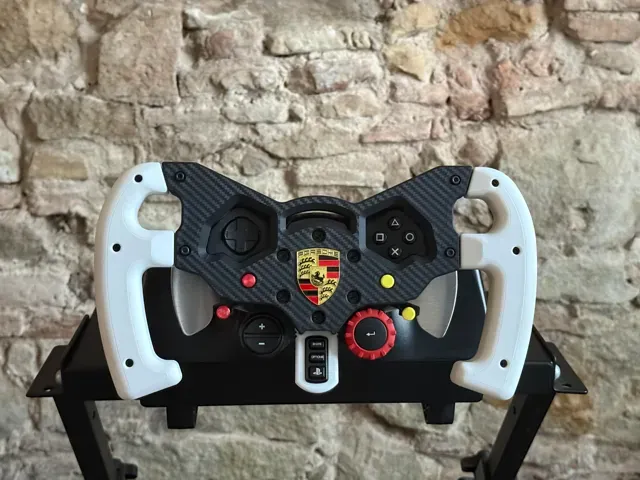
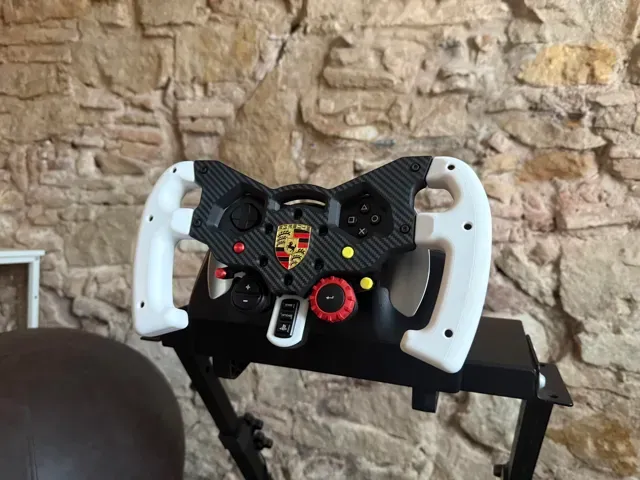
This model is a remix, fully remodeled from scratch, of the original steering wheel model . In the original post, you can find additional installation info.
✨ What’s improved
- Tighter fit around G29 / G920 / G923 buttons , no visible gaps - Cleaner look, more realistic aesthetics and ergonomics - Lower filament usage compared to the original model - Bolt-on handles (M3 bolts & nuts) — no glue required - Easier and more precise assembly thanks to integrated nut housings 🔁 Compatibility
The 3D prints can be used on any Logitech G29 , Logitech G920 and Logitech G923 . The only print that's specific to a Logitech variant, is the lower bezel , which at the moment is available only for the G29, or PS4/PS5 G923, but not for the Xbox models. If someone can provide measurements for the G920 I can design the bezel also for Xbox variants. But again, this is not a functional piece, it just ties up the visuals, but you can run the wheel without this piece without any problems at all.
If your steering wheel looks anything like this, this mod is compatible with your wheel.
This remix is also 100% compatible with your previous prints of the original model :
- Use old glued handles with this new steering wheel body - Use new bolt-on handles with an older steering wheel body (Perfect if you already printed parts and want to upgrade gradually) 🔩 Assembly
Hardware required (10× M3×12 mm bolts, 10× M3 nuts ) :
- Handles assembly: 6× M3×12 mm bolts + 6× M3 nuts - Mounting handles to the wheel: 4× M3×12 mm bolts + 4× M3 nuts Buttons & bezel:
- Bezel and L2–R2 buttons are held in place by the steering wheel itself. - L3–R3 buttons can be press-fit, but you may also reuse the original screws for a more secure installation. Since some of you had problems figuring out which buttons go where, here's the model with 50% opacity which should help you with the installation:
🏁 Logo
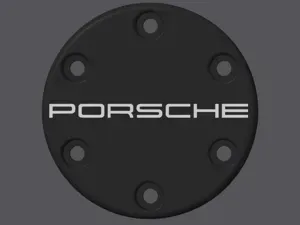
The Porsche logo shown in the photos is a 39 × 28 mm metal emblem (not 3D printed) that I sourced separately. It's actually the one used on real Porsche steering wheels, albeit the one I got was a replica. Unfortunately, it no longer seems to be available online, so I can’t reliably link to it.
Because of this, I’ve included multiple files so you can print the steering wheel with or without the logo inset , depending on your setup.
❗ Already printed the logo version?
If you already started printing the Porsche-logo version but don’t have the metal emblem, do not discard the supports for the logo inset .
You can keep the support piece and use it as a flush cap for the inset — personally, I think it looks even better than the completely flat surface of the no-logo version.
🎨 Using a different logo
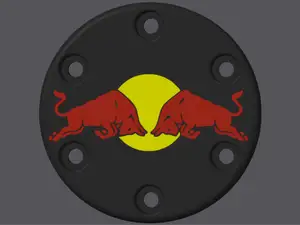
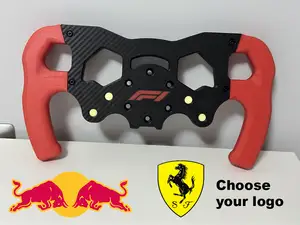
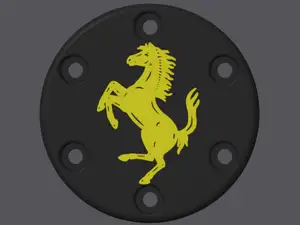
If you’d like to add your own logo :
- Use the “no-logo” print profile or .stl in Bambu Studio - Add your logo by inserting an SVG on the first layer of the steering wheel (There are many tutorials available showing how to do this step-by-step.) This gives you full freedom to customize the wheel with any brand or design you like.
Complete Assembly (G29) with handles, bezel and buttons
Wheel only, No Logo - Strength Profile Add your own logo by importing an SVG in Bambu Studio and placing it on the first layer. Follow a tutorial on youtube for more in-depth information.
Handles only (M3 Nuts & Bolts required) - Strength Profile The handles are compatible with the original steering while file which I redesigned, so you can print them by themselves if you already printed the steering wheel body. To assemble the handles, you need 6× M3×12 mm bolts + 6× M3 nuts, no glue required.
Wheel only, Porsche Logo inset - Strength Profile The emblem in the pictures is not 3D Printed. The supports will generate a block off plate for the Porsche logo that you can keep and glue back to the wheel while you wait for the emblem you bought to arrive.
Updated handles (Bolt from the back) - Fine Profile Updated handles, they bolt from the back so if you cover them in alcantara or leather, you can avoid having holes in the front. Make sure to place the nuts on the front part of the handle before covering them with alcantara, and once done fasten them from the back. Also, I've used a fine profile because if left unfinished the layer lines will not be as visible as in the previous print profile.
Logo - 0.2mm layer, 6 walls, 25% infill
Названия используются только для указания источника результата. Polyzon не аффилирован с перечисленными площадками.