
Бесплатно 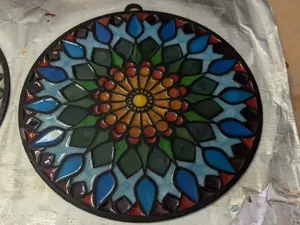
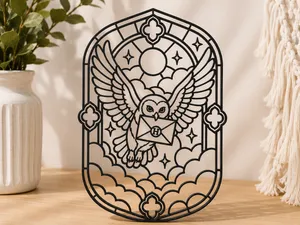
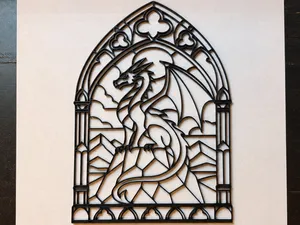
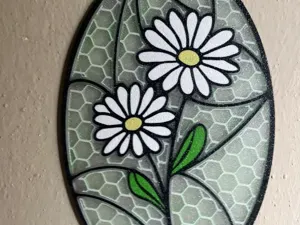
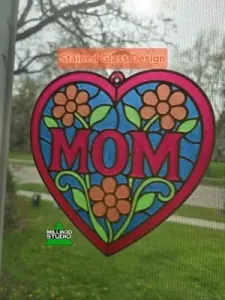
Cathedral Stained Glass - PETG Frame for Epoxy
MakerWorld
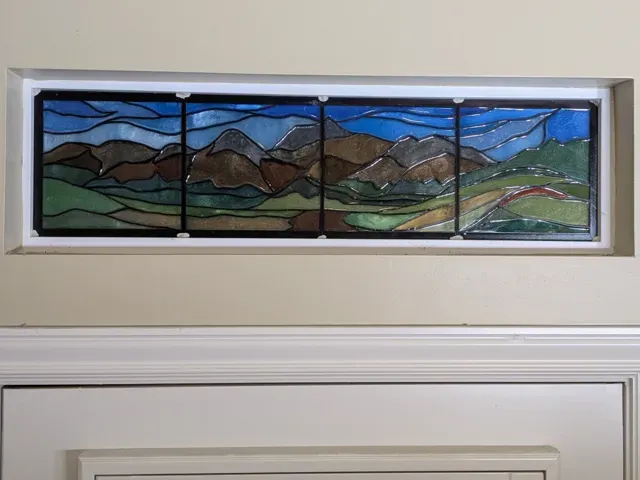
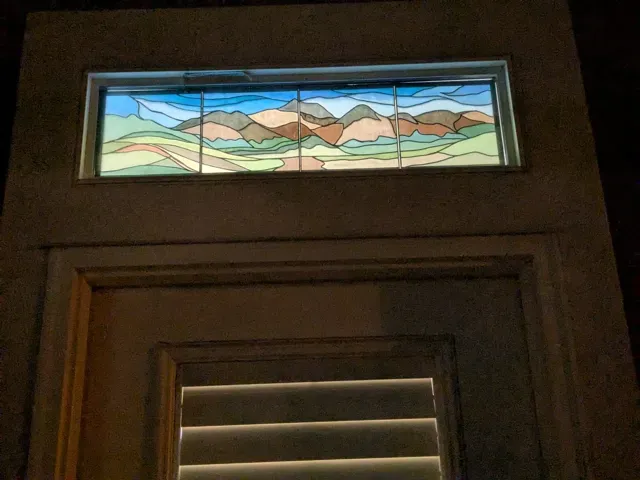
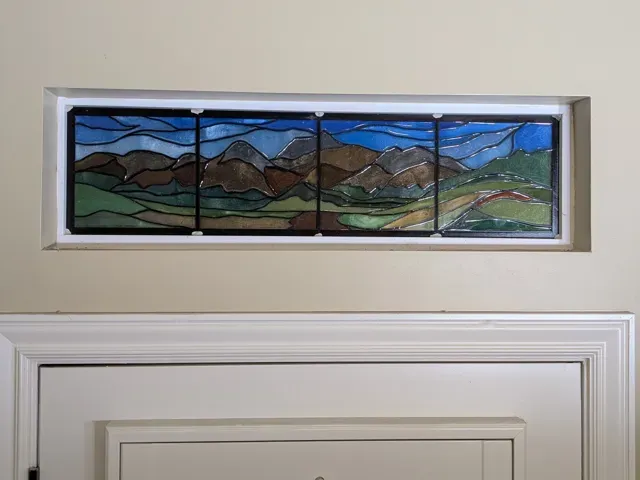
For a long while I dreamed of making a stained glass window… Then I learned how hard they were to make, and who needs that!
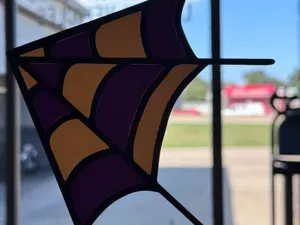
Then I got a 3d printer and starting making all sorts of stuff, and thought maybe it is time to re-awaken my hopes and dreams. I started with the transparent PETG filament and after I did my first set of prototypes I promptly gave up on my hopes and dreams again.. A pure filament version just didn't look good enough, it wasn't clear enough and no one was going to believe it was stained glass.
But then I thought about combining the magic of 3d printing with the dark arts of resin pouring (not an original thought I know). It took me a few test runs to get something I was happy with. I am going to share my process here in case you want to replicate it. It is just a simple 11 step process. :)
1. Draw up an image using a sharpie, you want pretty thick lines and a relatively simple pattern with a solid border. (You could use chatgpt or some other tool to create the image, but I think you will find it much more satisfying to do your own design).
2. Take a picture of the image, and then load it into the “Image to keychain” function in makerlab. You will use that to convert the image into a 3d design, make the white background into transparent and then export it to be 3mm thick.
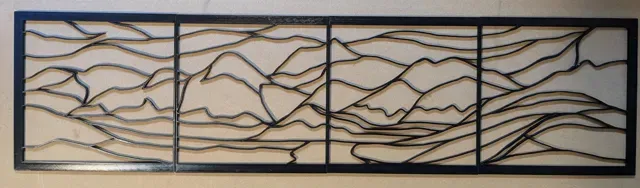
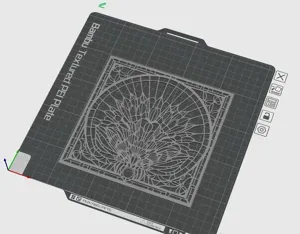
3. Print out the design, I would recommend black petg.
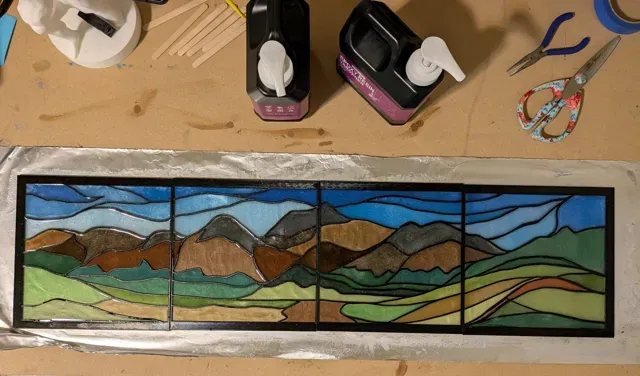
4. Get a nice flat board that you don't mind getting messy 5. Put some tinfoil down that fits the size of your stained glass window frame. (The tinfoil gives a nice clean flat surface) 6. Paint some mod podge so that it is thick on the tinfoil and is the same size as your window frame. (The mod podge keeps the frame held tightly to the tinfoil and prevents the resin from bleeding into the other cells.) Give it night to dry.
7. Get the epoxy materials: Epoxy mix, gloves, mixing cups, popsicle sticks, qtips, and needleless syringes for sucking up the resin and pushing it into the cells of your print.
8. Fill your cells with resin, and then give it 3-5 days to dry. (no touching to early or you will have fingerprints)
9. After several days of waiting (make sure that the resin is dry) and then peel off the tinfoil. The mod podge will make it stick so expect the tinfoil to come off sort of gummy.
10. Now you have a tough decision to make…. Either take hours with a wet cloth scrubbing off the remaining mod podge (not easy), or just let it fully dry and it will be almost completely clear. (I am all ears if someone has an easy way of removing the mod podge are a better material)
11. Your done.
Boost Me I hope this gave you some ideas, or you were able to use it for your own project.
0.2mm layer, 2 walls, 10% infill

%2Fhttps%3A%2F%2Ffbi.cults3d.com%2Fuploaders%2F35605566%2Fillustration-file%2F3d0ef707-17d1-4e3b-b055-a1127554a713%2FBatman-wall-decoration.jpg&w=300)
Названия используются только для указания источника результата. Polyzon не аффилирован с перечисленными площадками.