
Бесплатно 
Makita Router Plate – Katsu-Style Milling Sole
MakerWorld
Boost Me If you like what I have designed I would be supper appreciative if you could Boost my model. It really helps me and is a great way to show your support.
Thank you.
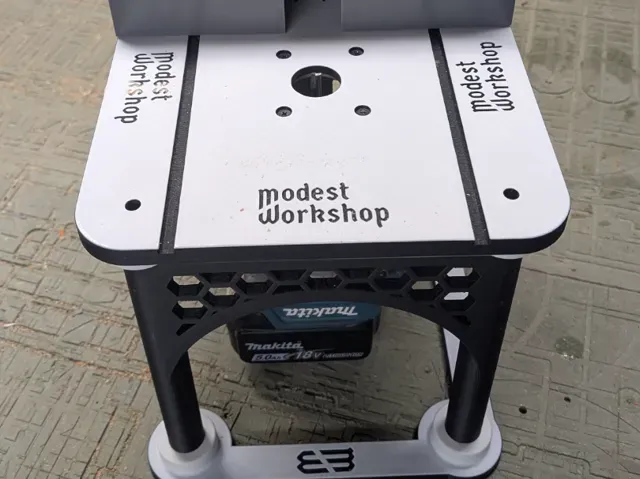
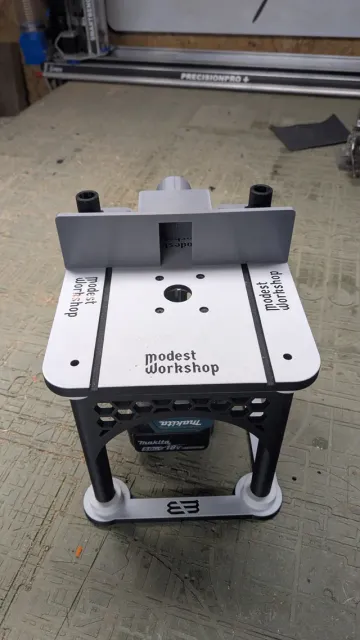
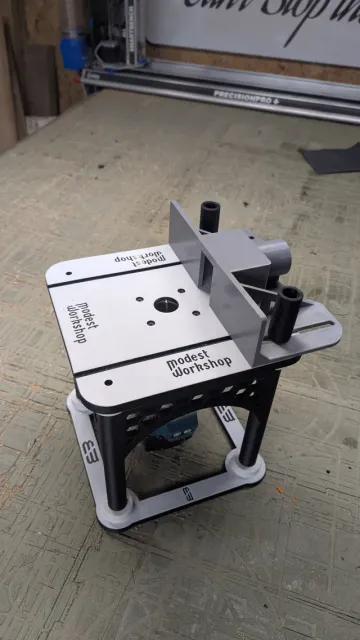
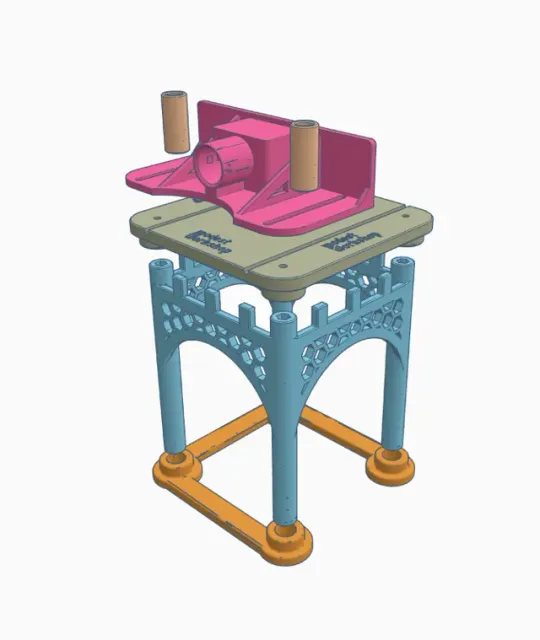
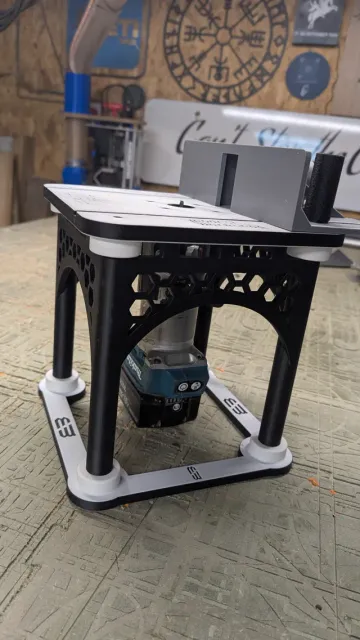
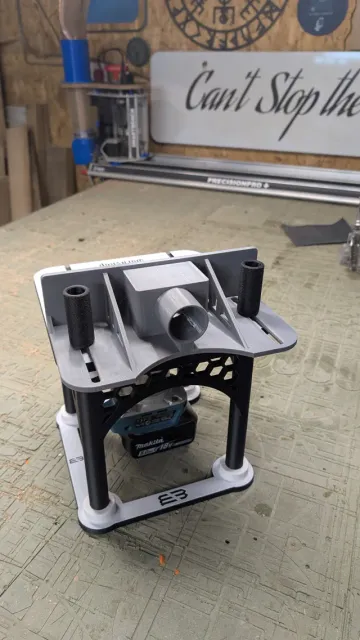
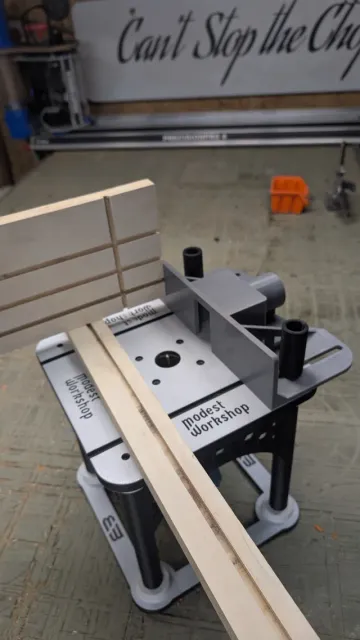
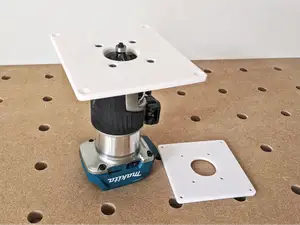
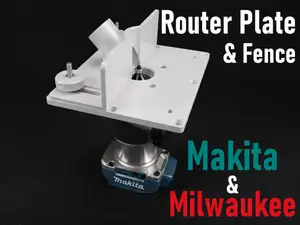
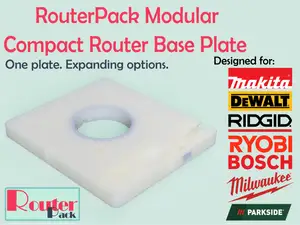
Router table adaptation for Makita, Katsu, Milwaukee, DeWalt, Ridgid, Hikoki palm routers. Main file for MK2 router has the Makita/Katsu table top. There are separate print profiles for the Milwaukee & DeWalt table tops.
When working with small parts it can be difficult to work safe even with a small hand held palm router.
I designed this as I cut a lot of parts out on my CNC and some times have great fun trying to remove tabs from small parts and chamfer edges at times, I have designed other router bases for better stability but a router table was by far the best way to go. I wanted something small, light, easy to store and small footprint. I decided to make this model all from 3d print as this would be a great community share model that will help anybody get into woodworking and hopefully inspire other to make something even better.
The real shame with this design is It will easily print on an A1, H2D, H2S but for P1S & X1C you will need for go through a couple more steps first.
the official Bambu Lab Wiki is below which will show you have to deactivate the filament cutter and exclusion zone on the bed for these printers.
Print volume limitations, and how to use the full build volume 256x256x256mm³ | Bambu Lab Wiki
I have used PLA for mine and it is nice and ridged. I have stopped the table sliding by using small stick on rubber feet which work well so far.
If you position the battery to side out of the open side it will make battery changes so much easier. All slicing for this model was performed in Bambu Studio so STL source files will not be sliced and will not have any dowels. * If you intend to work form these files and import into another software you will need to consider this *
Preparation.
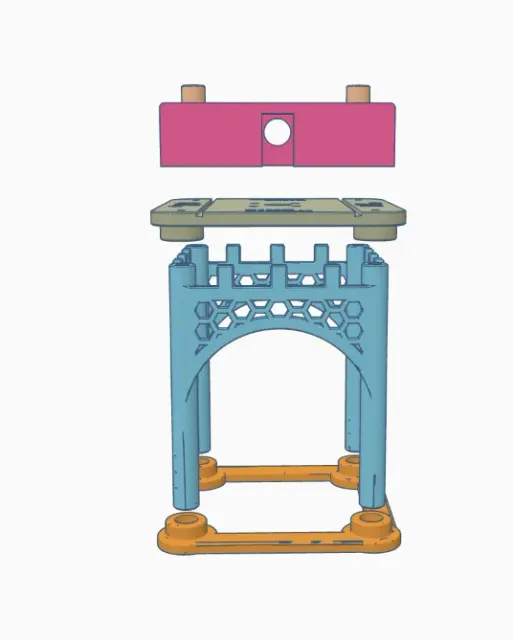
Before assembly I went around all the surfaces that touched the bed with a small file and a bit of sand paper and just eased the edges slightly which made assembly so much easier. I also aligned all the legs and made small pencil marks on the inside of each leg to remember which way round they need to be orientated for correct alignment before super gluing the leg ends on with the dowels fitted. I used CA glue with spray activator but I didn't spray the activator until the part was fully assembled as I am mad about correct alignment.
As the to the top and the base they are only knocked into place ad there was no glue necessary, Mine were a good snug fit without having to bash the model about. I have added in a 0.1mm tolerance which seemed to work really well.
Great new! I have also designed a larger version for the H series & A2L printers. Linked below for people whao are able and wish to have an even bigger router table.
Router table for H series printers. - Free 3D Print Model - MakerWorld
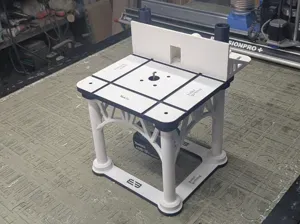
MK2 router table with adjustable fence. Makita/Katsu table MK2 router table has landed and there is loads of updated feature to this build. If you want the the full back ground on this build and it's origin description please read from the other (original) print profile.
Design changes.
Legs-
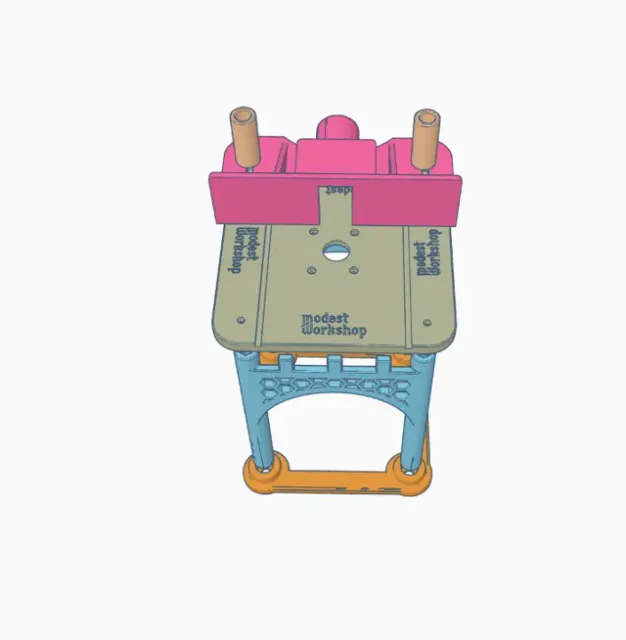
- Altered arcs to prevent previous abrupt stop when intersecting the round leg. - Chamfered all edges to eliminate deburring and give better feel. - Added honeycomb cut-outs to soften look of the support arches. - Reduced leg height by 20mm so the file will print in a single 256mm build volume and eliminate need for construction. - Reveals for M8 nuts to sit into the top of the legs for securing the fence. (you will need 4xM8 nuts)
Base plate-
- Chamfered all top edges apart from where the legs meet the base.
Top plate-
- Chamfered all leading edges for better feel and eliminate deburring. - Added rebates to the top surface for pegs to keep the fence square. - Added strengthening rails under the rebates to keep rigidity. - Removed circular section that could foul with clone router bodies.
Fence- ( complete new addition.
- Designed to reach slightly over centre of the top surface to meet possible bearing guided cutters. - M8 nuts housed in the top of all legs. Thought process was to add as much strength to the fixing location as possible plus put the nuts somewhere where they were full retained to prevent loss. The nuts will lock against the under side of the top plate. - The fence features a dust collection port with built in connection for a Festool extractor. TPU converted will be designed for connection of other generic vacuum hose connections. - Added to the fence are 6 locator pins that will run in the rebate of the top plate and keep the fence aligned at 90 degrees as the top plate. - Fuzzy skin turn handles for securing the fence. (you will require 2x M8 bolts approx. 25-30mm long thread) The real shame with this design is It will easily print on an A1, H2D, H2S but for P1S & X1C you will need for go through a couple more steps first.
the official Bambu Lab Wiki is below which will show you have to deactivate the filament cutter and exclusion zone on the bed for these printers.
Print volume limitations, and how to use the full build volume 256x256x256mm³ | Bambu Lab Wiki
I have used PLA for mine and it is nice and ridged. I have stopped the table sliding by using small stick on rubber feet which work well so far for the small projects and test I have completed.
If you position the battery to side out of the open side it will make battery changes so much easier. All slicing for this model was performed in Bambu Studio so STL source files will not be sliced and will not have any dowels. * If you intend to work form these files and import into another software you will need to consider this *
My print recipe for this model is.
one wall on first layer.
5 wall loops.
3 top layers.
4 bottom layers.
11% honey comb and cubic infill.
normal auto support (snug)
MK2 Makita 3709 table top Makita 3709 Table top. The measurements were taken from a random Makita router file I found online. Full disclosure I have no way of verifying in the holes are perfect for the 3709 router so I suggest printing the test piece I have added to plate 2. Honestly, I'm sure it will be absolutely fine but feel free to let me know if there is any adjustments to be made.
Before printing on P&X series printers please read the full description for instructions on how to disable the exclusion zone.
MK2 Top for MILWAUKEE router Milwaukee table top.
Requested by a user on Maker World. The measurements were taken from a random Milwaukee router file I found online. Full disclosure I have no way of verifying in the holes are perfect for the Milwaukee router so I have sliced up a test print with is printed with only 2 wall loops and less top/bottom layers so You can print that and check it against your router.
Please let me know if the holes need to be turned 90 degrees to meet up with the rebates for the side fence better.
Before printing on P&X series printers please read the full description for instructions on how to disable the exclusion zone.
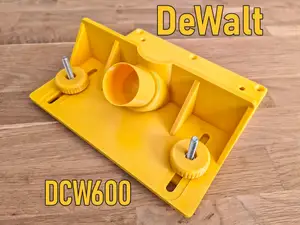
MK2 DeWalt table top. DeWalt table top. The measurements were taken from a random Dewalt router file I found online. Full disclosure I have no way of verifying in the holes are perfect for the DeWalt router so I suggest printing the model up to layer 35 and pausing the print to offer the router over the model. Alternatively you could use Bambu Studio to copy this model to another plate and slice it up so it is smaller and just print that part to be sure it fits perfectly. Honestly, I'm sure it will be absolutely fine but feel free to let me know if there is any adjustments to be made.
Before printing on P&X series printers please read the full description for instructions on how to disable the exclusion zone.
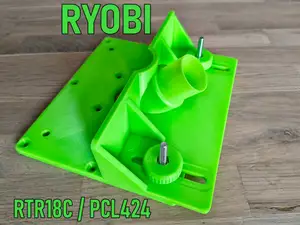
MK2 Ryobi table top PCL424B Ryobi PCL424B table top.
Requested by a user on Maker World. The measurements were taken from a random Ryobi router file I found online. Full disclosure I have no way of verifying in the holes are perfect for the Ryobi router
Before printing on P&X series printers please read the full description for instructions on how to disable the exclusion zone.
MK2 Ridgid table top. Ridged table top.
Requested by a user on Maker World. Test print has been approved for the R86044model router.
Before printing on P&X series printers please read the full description for instructions on how to disable the exclusion zone.
MK2 Hikoki & Einhell table top Hikoki M3608DA Table Top
Before printing on P&X series printers please read the full description for instructions on how to disable the exclusion zone.
MK2 top for INGCO router INGCO table top.
Requested by a user on Maker World. The measurements were provided and the source images are part of the print profile. Full disclosure I have no way of verifying in the holes are perfect for the this router so you could copy the table to a second plate and slice it into a small piece or print to layer 35 and then pause the printer and try to offer you router base over the print.
Before printing on P&X series printers please read the full description for instructions on how to disable the exclusion zone.


Названия используются только для указания источника результата. Polyzon не аффилирован с перечисленными площадками.
Комментарии