
Бесплатно 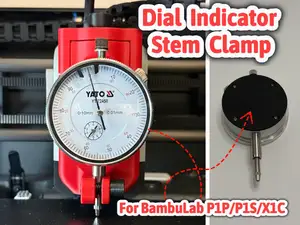
8mm Dial Indicator Mount For P1 / X1 Dial Gauge
MakerWorld
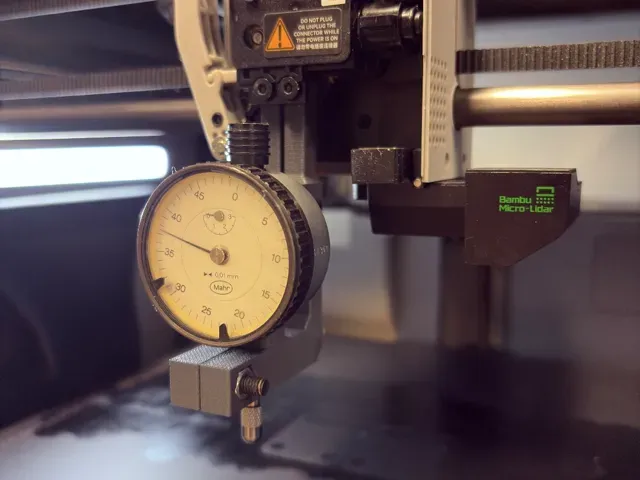
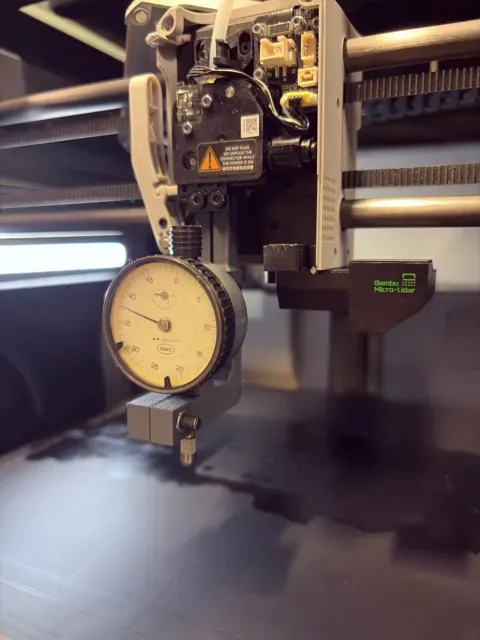
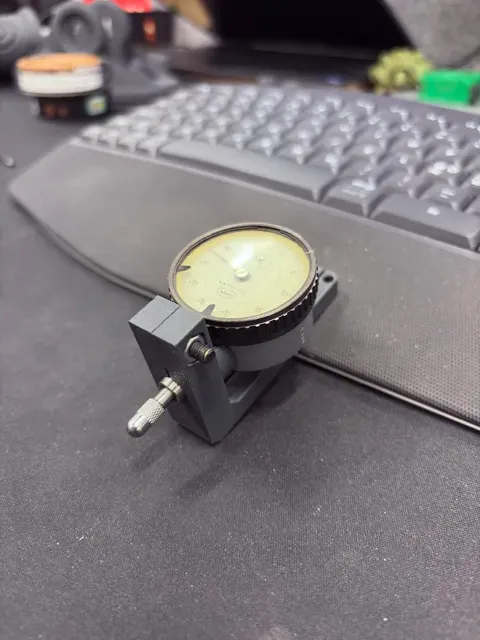
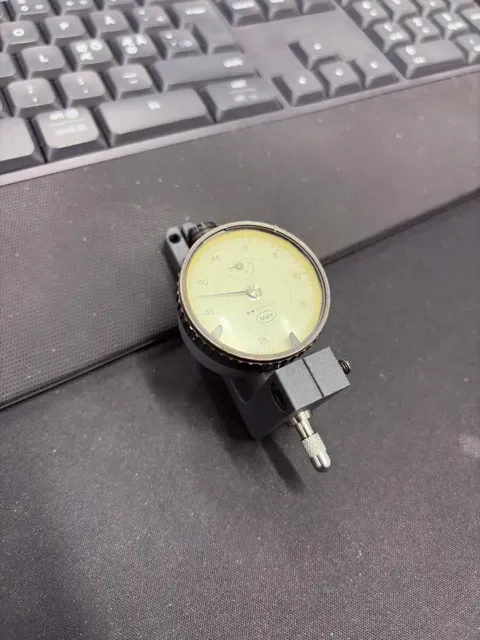
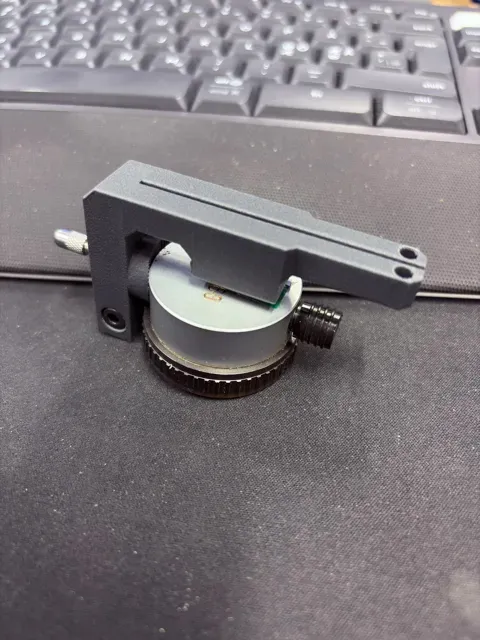
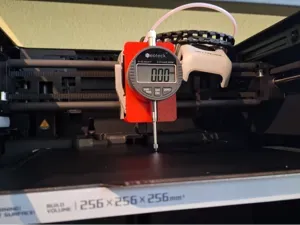
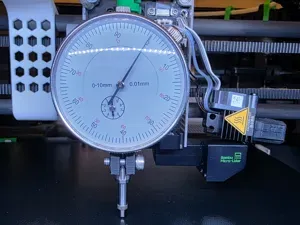
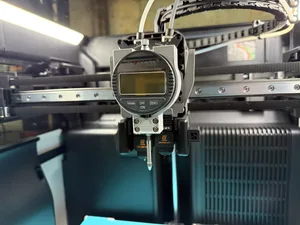
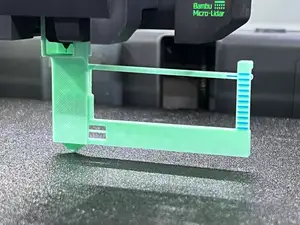
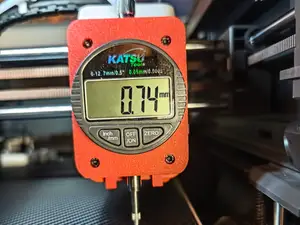
🔧 3D-Printed Adapter for Mahr Dial Indicator (8 mm Shaft)
This adapter is designed to mount a Mahr dial indicator with an 8 mm shaft directly onto your 3D printer’s extruder/carriage. It may also fit other indicators that use the same shaft diameter (such as some Mitutoyo models), but compatibility with other manufacturers is not guaranteed .
The adapter replaces your hot end and uses the same screws and mounting points , making installation simple and quick:
- 🔩 Snap the adapter into place - 🔧 Fasten it using your original hot-end screws - 📏 Insert your dial indicator and begin calibration This adapter has been tested on both the Bambu Lab X1C and the P1S .
🖨️ Print Recommendations
- Material: PLA (ideal since it’s not exposed to heat or heavy load) - Layer Height: 0.2 mm - Infill: 25% - Supports: Only if needed for the indicator shaft opening - Walls: 3 perimeters PLA provides excellent stiffness and dimensional precision for accurate measurements.
🔒 Optional Hardware (Recommended)
For extra rigidity and to fully secure the indicator in place, you can use:
- 1× M4×12 mm screw - 1× M4 nut This ensures the dial indicator shaft is firmly secured during calibration.
❗ Very Important Note
🛑 Use a bed plate that is completely FLAT. Do NOT use the PEI textured plate , as the texture will cause inconsistent contact points and lead to faulty or inaccurate measurements . A smooth, flat plate (such as the standard smooth PEI or a glass plate) is strongly recommended.
📐 My Bed Calibration Method
(This may not be the optimal or “correct” method, but it works well for me.)
- 🔌 Turn off the printer and replace your hot end with the adapter. - 🔄 Turn the printer back on and move the carriage to the center of the heatbed. - ⬆️ Manually raise the heatbed until it just touches the dial indicator slightly. - ⚪ Zero the dial indicator. - 🎯 Move the carriage to the first measurement point (the farthest back position) and adjust the bed knob underneath the heatbed until the reading is as close to 0 as possible. - ➡️ Continue moving to the remaining calibration points, adjusting each one until the readings are near zero, until your bed is fully leveled . This method offers a fast and effective way to check bed flatness and mechanical accuracy using the dial indicator.
📝 Additional Note
I do not include any bed screw adjustment tools with this design, as there are plenty available on MakerWorld.com .
⚠️ IMPORTANT – Disclaimer
I take no responsibility for any damage, misalignment, or improper use of this adapter with your 3D printer. All usage is entirely at your own risk . By downloading or using this design, you acknowledge and accept all associated risks.
MAHR Indicator
Minimalistic Adapter (May fit other brands)


Названия используются только для указания источника результата. Polyzon не аффилирован с перечисленными площадками.