
Бесплатно 
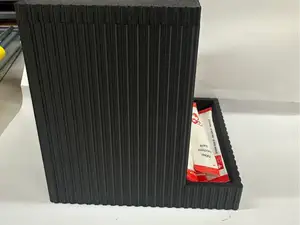
Pop-Up Storage Box | Press-to-Open Organizer
MakerWorld
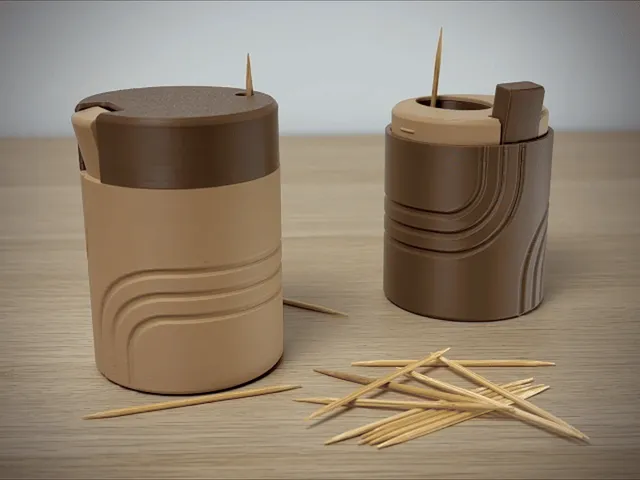
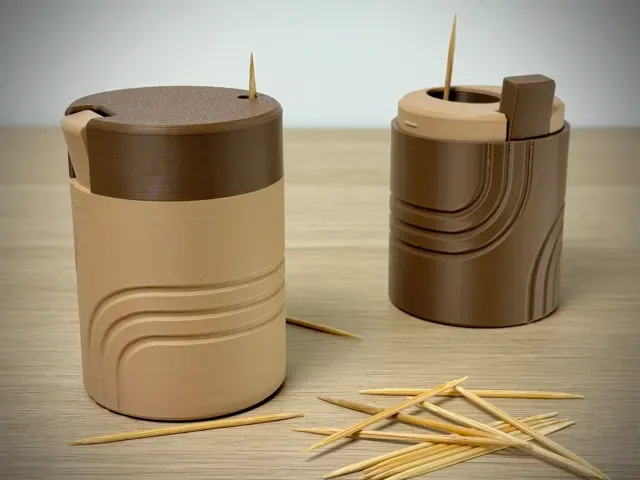
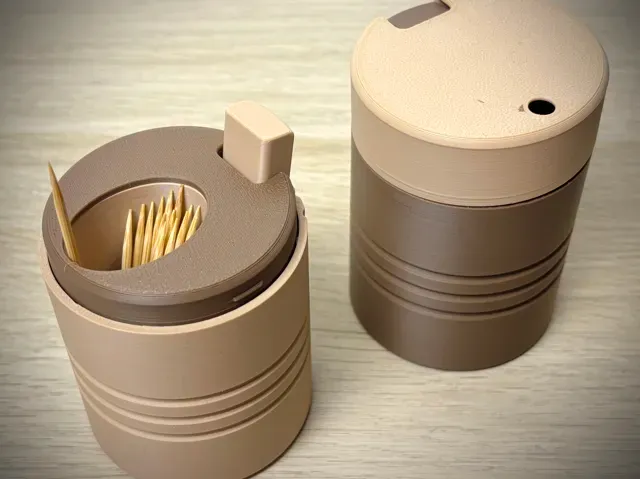
The Toothpick Dispenser offers a clean and simple way to access toothpicks. Press the button and one toothpick pops out every time —no digging, no searching, no touching multiple picks. ✨
- The dispenser has a 60 mm diameter and 83 mm height - Designed for standard 65 mm toothpicks , ensuring universal compatibility with common household sizes. - Requires one rubber band (1.4×28 mm) ; other sizes can be used as long as they provide sufficient force to return the mechanism to its original position. - Push mechanism dispenses one toothpick per press for clean and consistent use. - Recommended to print in PETG , but high-quality PLA will also work well. Assembly instruction step by step👉:
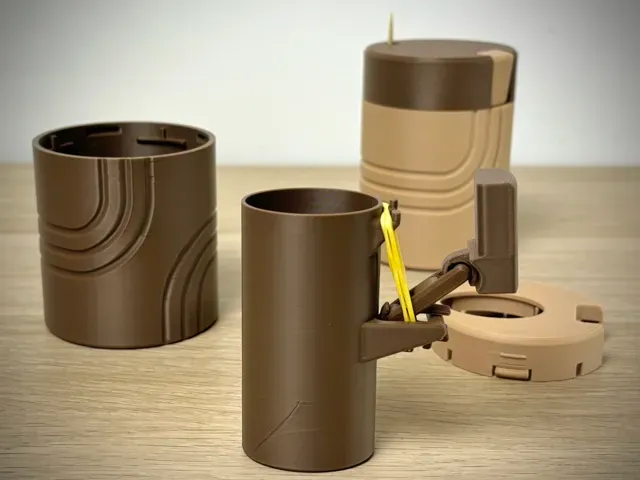
- Attach the rubber band (1.4×28 mm) to the 02_Lever. - Insert the 02_Lever into the rectangular opening in the 01_Cup. - Snap the end of the 02_Lever onto the pin on the 01_Cup — you should feel it click into place. - Hook the rubber band onto the tabs on the 01_Cup to create tension for the mechanism. - Attach the 03_Rod onto the 02_Lever , then place the 04_Button onto the 03_Rod. - At this point, the basic mechanism is assembled. - Insert the mechanism into the 06_Cover. - Close the 06_Cover using the 05_Plug. - This requires firm pressure and slight flexing of the 06_Cover so the 05_Plug can fully snap into place. - Make sure the small alignment grooves are positioned correctly. - If any hook breaks, consider printing in a stronger material (e.g., PETG) or glue the 05_Plug to the 06_Cover. - Place the 07_Lid on top — assembly is complete. Possible Issues & Solutions 🔧:
1. The toothpick doesn’t extend far enough
- Check if the 04_Button has enough clearance. There should be minimal friction between 04_Button and 06_Cover . - Ensure the rubber band provides enough force to lift the toothpick. - If needed, twist the rubber band into two loops or use an additional band to increase tension. - If none of the above helps, remove the lid and use the dispenser without the 06_Cover — it will still function correctly. 2. The lid holds too tightly
- Lightly sand the protrusions on 05_Plug to reduce their size. - This will create more clearance and allow the lid to fit properly without excessive force. 3. 04_Button breaking
- If the eye on 04_Button is breaking, change the print orientation in the slicer and turn on supports.
0.2mm layer, 2 walls, 15% infill
For A1 Mini (0.2mm layer, 2 walls, 15% infill)
A1 mini toothpick dispenser, all on1 plate,print by object all parts on one plate for the A1 mini
0.2mm layer, 2 walls, 15% infill One Color
P2S High Flow Hotend | 0.2mm layer, 2 walls, 7% infill Why this profile is the definitive version for functional mechanism printing? This profile is a zero-tolerance manufacturing optimization designed to guarantee the fastest, most reliable, and functionally precise assembly. It fundamentally streamlines the multi-part process into a single, high-efficiency print while implementing critical safety and flow protocols to ensure a smooth, jam-free dispensing mechanism.
5-Point Functional Enhancement System (P2S Ready)
- Layout Consolidation Protocol (Critical Efficiency Breakthrough): - The Upgrade: The entire multi-part set was consolidated onto a single, highly-optimized build plate . - Result: This strategic reduction eliminates plate swaps and drastically cuts down on manual preparation, resulting in a significant and measurable saving in overall print time and user effort . - Print-by-Object Strategy (Critical Safety Feature): - The Upgrade: The print sequence is set to "Print-by-Object" (Object Sequencing) . - Result: This is a critical reliability upgrade for printing multiple, small, separate functional components. It eliminates the risk of the print head colliding with already completed parts, ensuring a high-success-rate, fail-safe print . - Activated "Avoid Crossing Walls" (Anti-Binding Protocol): - The Upgrade: The "Avoid Crossing Walls" setting has been activated. - Result: This is paramount for dispenser mechanisms . It prevents filament traces from being deposited on the moving parts, eliminating micro-blobs and zits that would interfere with the mechanism's tight tolerances, guaranteeing a clean, jam-free dispensing function . - Structural Rigidity & Precision Shell Protocol: - The Upgrade: Outer shell extrusion widened to 0.45mm , and wall generator set to Arachne . - Result: The Arachne engine ensures the precise dimensional accuracy of the mechanism housing, while the 0.45mm extrusion strengthens the housing walls, enhancing durability against repeated use. - High-Velocity Clean-Flow Protocol: - The Upgrade: Profile tuned for the High Flow Hotend with specific speed and retraction adjustments. - Result: This ensures maximum material throughput while maintaining a clean-flow state to minimize stringing, which is essential for mechanism cleanliness and high-speed production.
Community Contribution & Value: This profile delivers a robust, high-speed solution, ensuring users can quickly and reliably print a perfectly functioning, single-step dispenser with minimal effort and maximum time savings.
Printer and Verification: This profile has been successfully verified with a Bambu Lab P2S printer .
One plate by object dual color, no poop AMS 0.2mm layer Modified for dual-color printing by Object to print everything on one plate with no filament poop.

%2Fhttps%3A%2F%2Ffbi.cults3d.com%2Fuploaders%2F39406367%2Fillustration-file%2F7e2bcc21-f96d-40c1-8358-0e52865b6f3e%2Fhlavni.png&w=300)

Названия используются только для указания источника результата. Polyzon не аффилирован с перечисленными площадками.