
Бесплатно 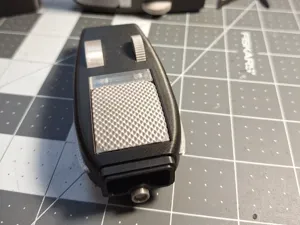
Star Trek TOS Phaser (Type1) EZ
MakerWorld
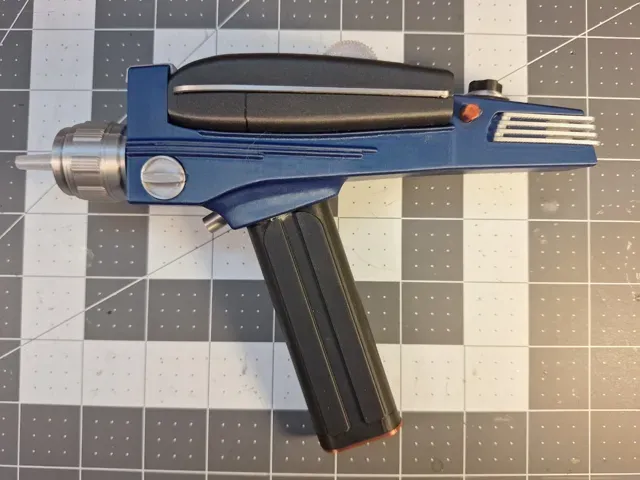
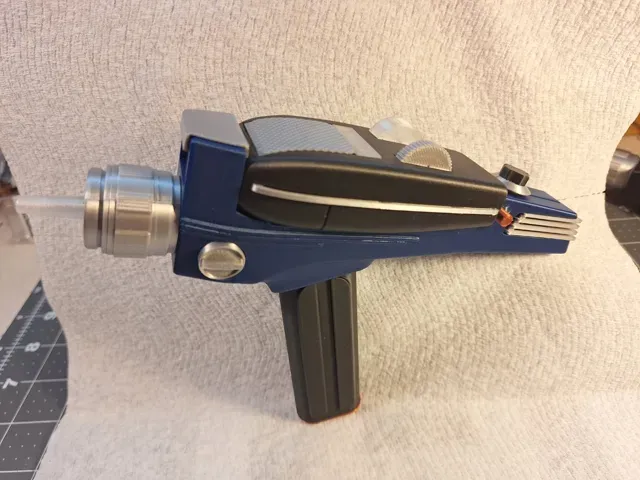
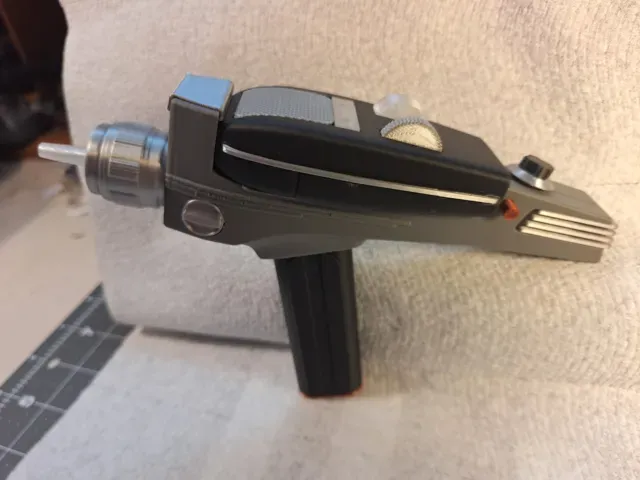
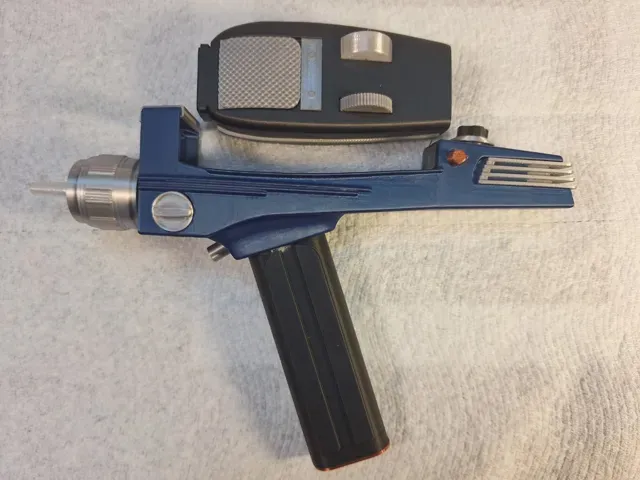
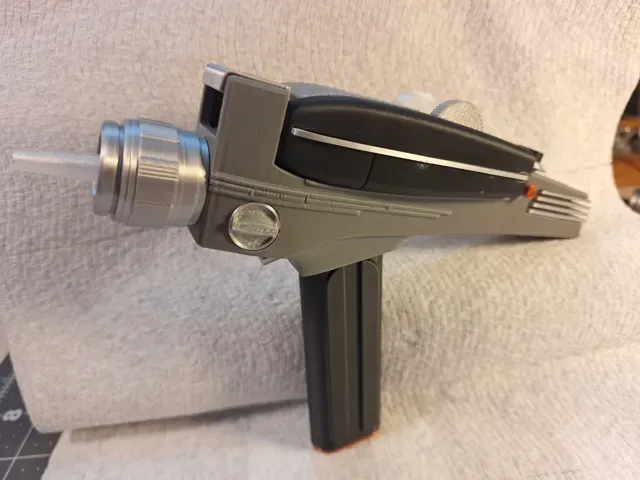
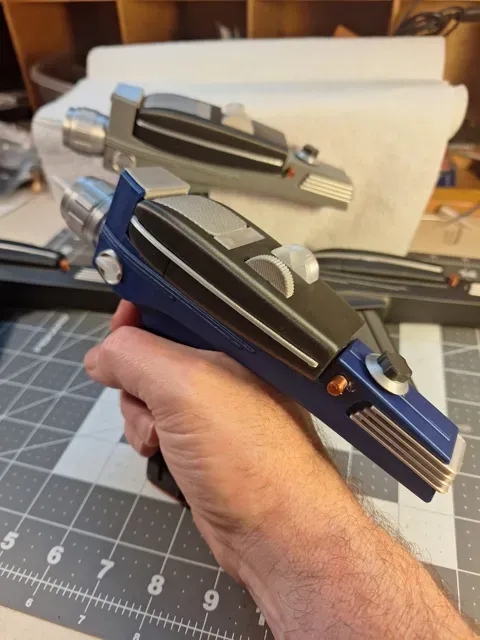
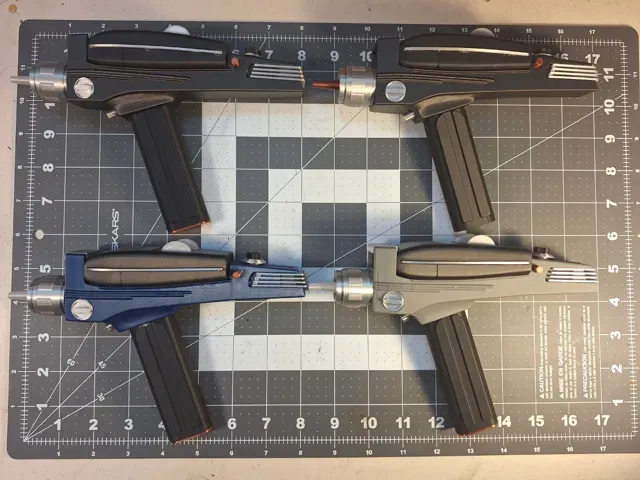
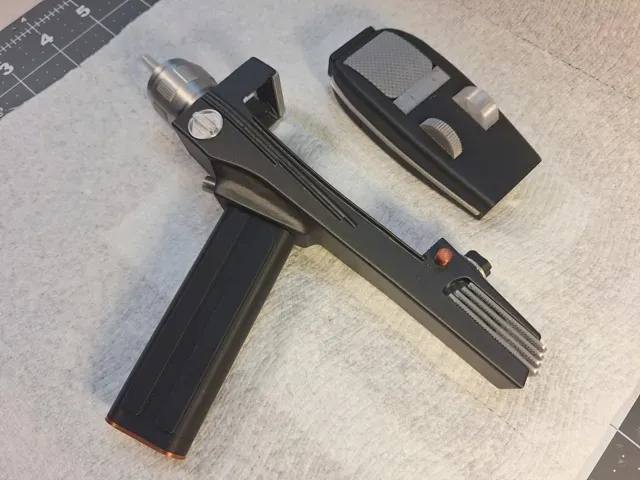
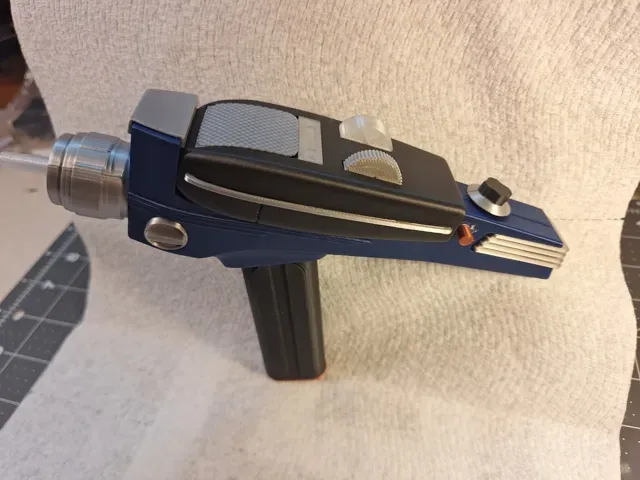
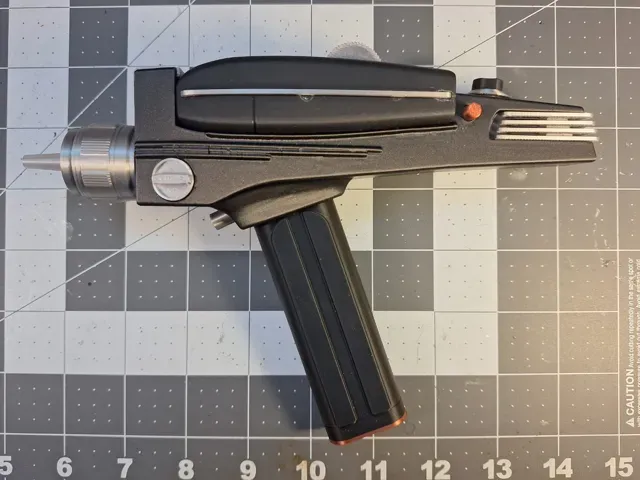
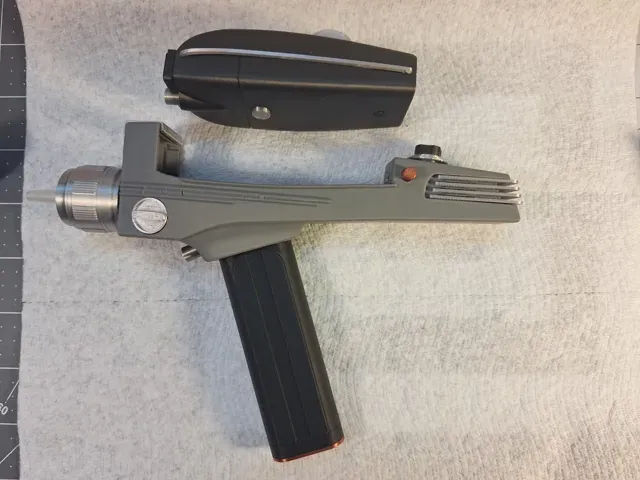
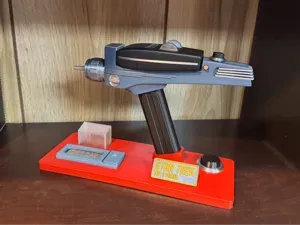
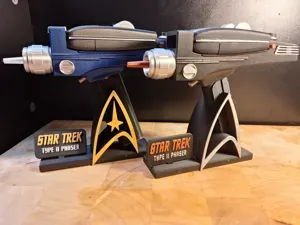
This started out as a remix of Mr Scott's remix of Shipbrook and UnimatrixReds Type 2. But I modified almost every part to make it easier to assemble and print. All the parts now snap together in just a few minutes without the need for glue.
Update Aug 2026
@cswilsonprints https://makerworld.com/en/@cswilsonprints Did a fantastic video on this phaser including a detailed step by step build of both the Type I and Type II Phasers. If you are going to print and build this model I highly recommend watching this video.
UPDATE Feb 2026: Stands Galore!
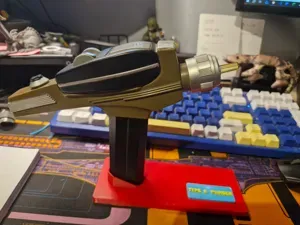
I designed a custom stand for this version of the phaser. It is here:
https://makerworld.com/en/models/2413446
AND TiNPUSHER has remixed another great stand for this version of the Type 2. It is available here:
https://makerworld.com/models/2318526
Major changes from Original model:
- The body is one piece so it doesn't need glue. This meant having to change how the inside parts go together. - The Type 1 mounts with 4 5mm magnets. And I tighten up the fit of the Type1 so it doesn't rattle when you wave it around a little. - Lots of other changes to make the all the parts press fit instead of glue. Printing:
- To match original prop use a dark gray for the body. But blue and black also look great. - Black for the PLA for the handle. - Sliver and copper (or gold) silk for the trim. - Ideally the emitter is transparent. But silver and copper looks good too. - For durability the trigger spring would be best if used PETG. But PLA works fine in my experience. If using PLA use the same as the body to make the fit easier. - A few parts look best on a smooth plate. The body has the front in contact with the build plate, and the cover that goes on the handle.
Build Notes:
- Designed to press fit together instead of using glue. So I made the tolerances really tight. Hopefully not too tight! Let me know if you can't make a peg fit with a little gentle pressure. That said a drop of superglue will make sure the parts never loosen up over time. - I included a PETG version of the trigger spring. I have found the PLA one is OK but may not be durable. - An extra power knob is included since they don't always print cleanly. You can pick the best of the two. - The Type I is not included and can be downloaded here: https://makerworld.com/en/models/1715696-star-trek-tos-phaser-type1-ez - Requires 4x5mm magnets to mount the Type I. OR you can put some thick tape (like electrical) on the back and the type one will pressure fit if you don't intent to remove it. Or you could glue it if you want a permanent connection. Part map:
Spring and Trigger:
Fins:
Assembly
- Use finger or tweezers to put trigger in place in the body. It goes in through the top and it is a loose fit. So hold it in place until you get the spring in place - Hold trigger in place and use finger to press trigger spring in place. Wiggle it back and forth with your finger and It should pressure fit tightly. - Use finger to push emitter collar into place from inside body. Also a tight fit - Put transparent emitter nozzle inside silver emitter. - Press emitter and nozzle onto collar. - Carefully press the gold cap onto the bottom of the black handle. - Push handle into body. It should go in either direction but there is an arrow that points forward and a circle for a drop of glue if it is a loose fit. - Stack the fins in order (they have numbers on them) - Carefully Push the fins on to the back of the body. The fin numbered 1 goes on the bottom. - Press the black and silver knob onto the top of the body. - Press the all silver knob into the large cavity on the side. Its a tight fit. Make sure it is in the rotation you want it before pressing it in. - Press the short gold pin into the side of the body. - Carefully press the silver clip onto the front of the cavity for the type 1. Carefully as it is easy to break. - Push 2x5mm magnets into the hole inside the Type 1 cavity. IMPORTANT! Make very sure the magnets are going the same direction in both the Type 1 and the Type 2. If you push them in wrong you'll probably have to reprint to fix it.
You will also need a TypeI for the whole model. My Type I EZ is here: https://makerworld.com/en/models/1715696-star-trek-tos-phaser-type1-ez
0.16mm layer, 2 walls, 15% infill
For A1-Mini. 0.16mm layer, 2 walls, 15% infill

%2Fhttps%3A%2F%2Ffbi.cults3d.com%2Fuploaders%2F4701378%2Fillustration-file%2F1471187902-2996-2600%2F1p.jpg&w=300)


Названия используются только для указания источника результата. Polyzon не аффилирован с перечисленными площадками.