
Бесплатно 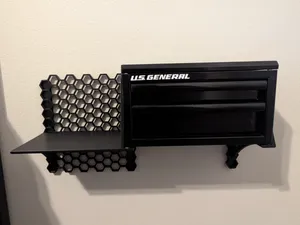
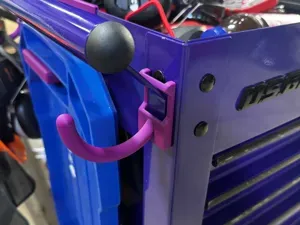
Mini Tool Box Floating Shelf (HSW Compatible)
MakerWorld
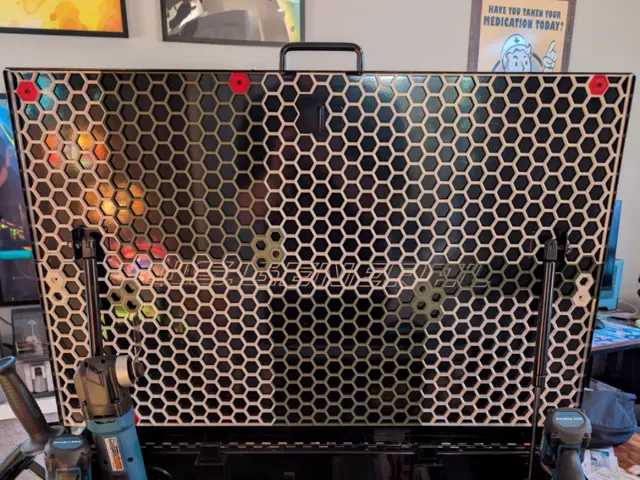
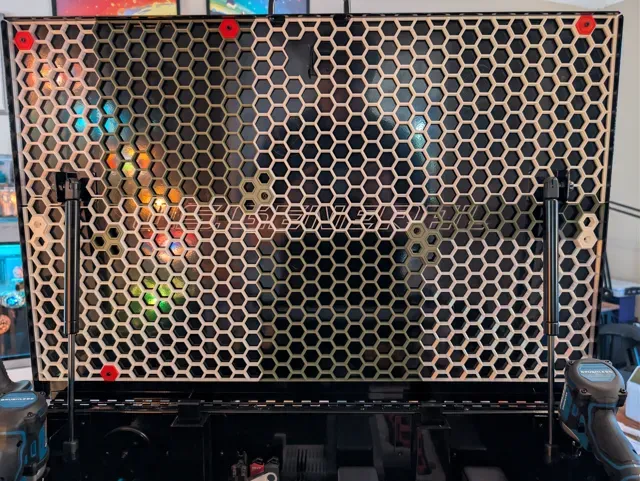
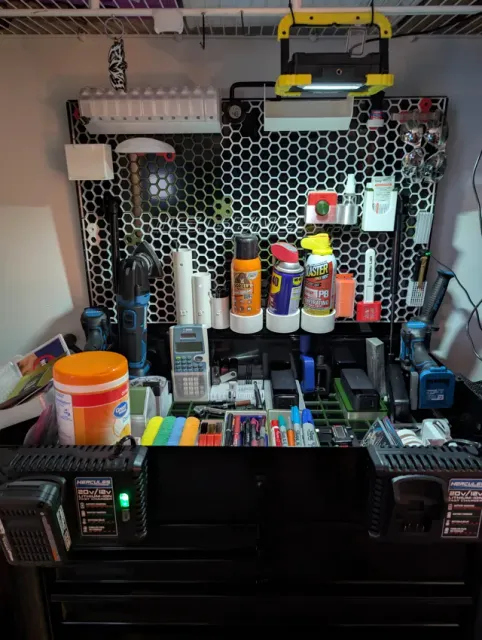
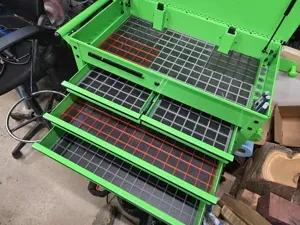
🐝 US General 30” 5-Drawer Mechanics Cart — Custom Honeycomb Storage Wall
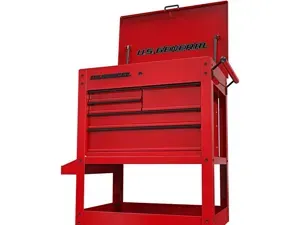
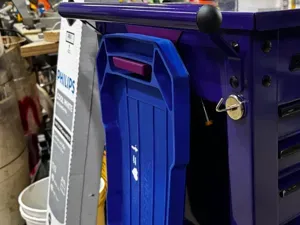
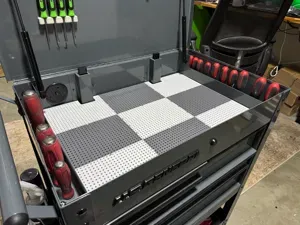
This is a precision-fit Honeycomb Storage Wall (HSW) designed specifically for the U.S. GENERAL 30 in., 5-Drawer Mechanics Cart.
Now you can HORDE more things… I mean—uhh—organize your things!
🔧 Key Features
- Exact-fit design for the U.S. GENERAL 30" 5-Drawer cart - Large 37 × 20 honeycomb grid for maximum modular storage - Custom clearance cutouts for: - Gas struts (lid pistons) - Locking bar mechanism - Tight, stable fit once installed - Converts unused lid space into a highly functional tool storage system 📏 Fit & Function Notes (Important)
- Designed to fit tightly inside the cart lid area from corner to corner . Any remaining gap will prevent proper installation. - After installation, the lid will not fully close into the locking position - The lid does close nearly completely and remains fully usable - All moving components (gas struts and locking bar) operate normally thanks to the built-in cutouts This is a deliberate design tradeoff: maximum storage capacity and rigidity in exchange for losing the final locking notch of the lid.
🛠 Installation Overview
Installation is simple and requires only basic hardware and commonly available HSW mounting inserts.
I used the following mounting inserts for my build: HSW Accessory Set – Attachment & Connector Parts https://makerworld.com/en/models/133125-hsw-accessory-set-attachment-connector-parts
Installation process:
- Print the mounting inserts from the link above (or any compatible HSW insert you prefer) - Press the insert(s) into the honeycomb wall - Position the wall inside the lid area - Drill through the lid using the insert(s) as guides - Secure the wall using small bolts I personally used M3 bolts , but any similar size will work — the bolts act only as simple through-fasteners.
Once installed, the wall is extremely solid and does not shift during use.
Note: Mounting inserts are not included with this model's files and must be obtained separately.
P2S, A1, and H2 Series Printers
P1 Series Friendly

Названия используются только для указания источника результата. Polyzon не аффилирован с перечисленными площадками.