
Бесплатно 
Interior Dog and Cat Door (Pet Door)
MakerWorld
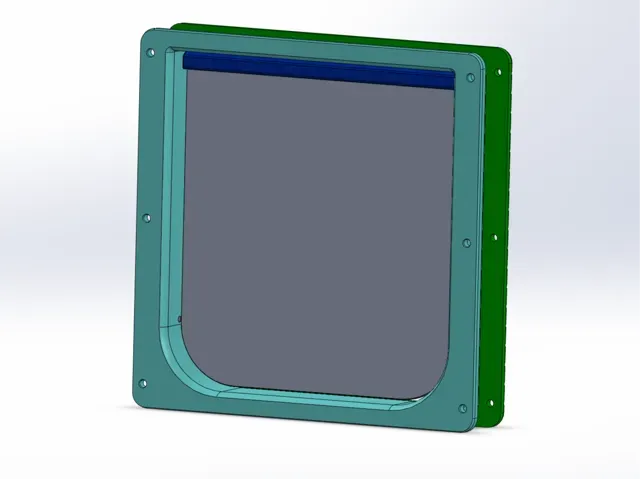
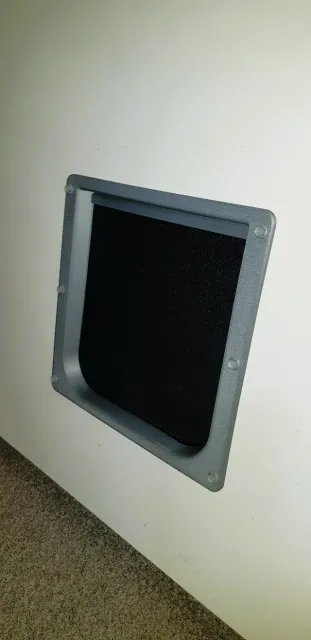
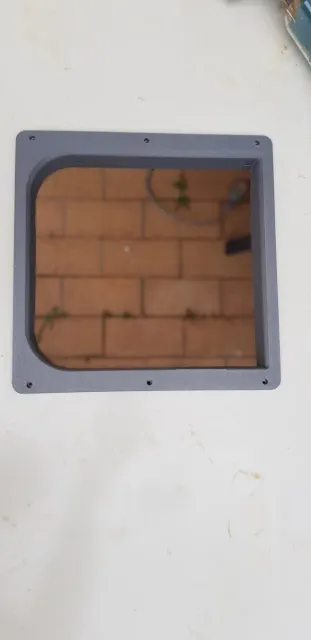
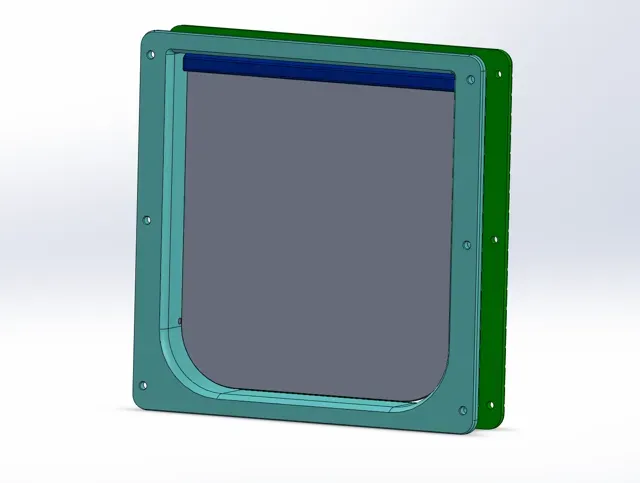
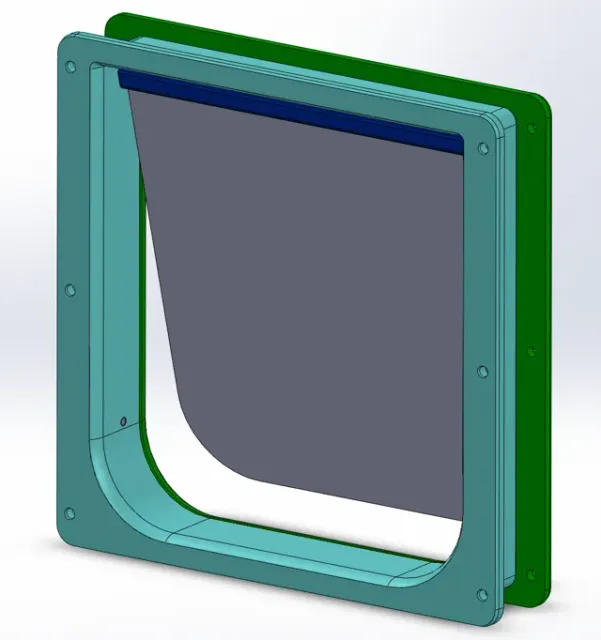
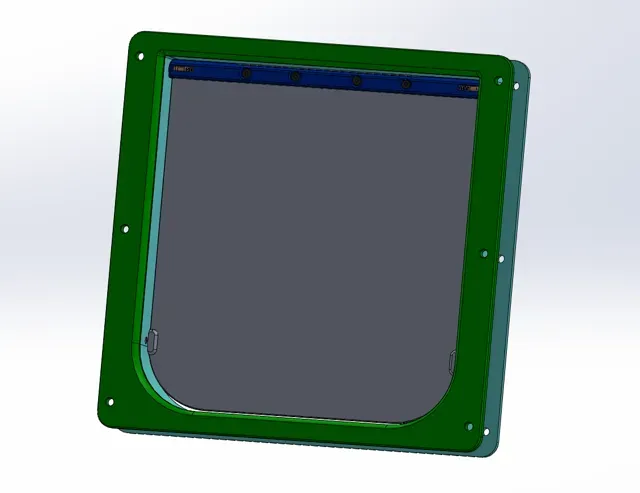
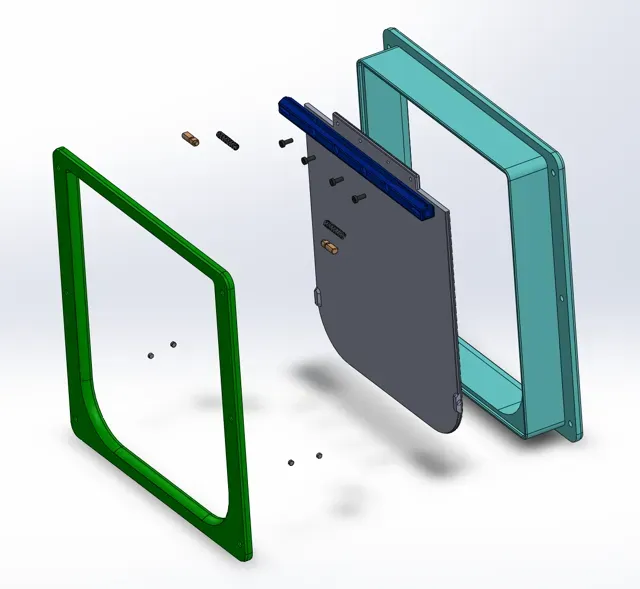
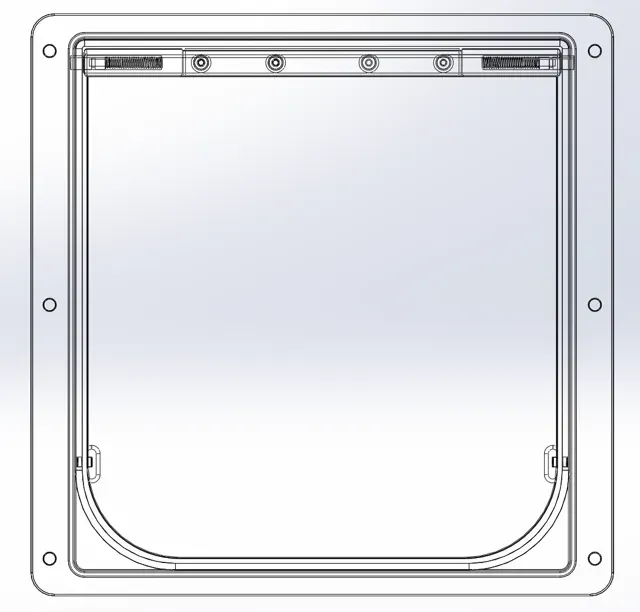
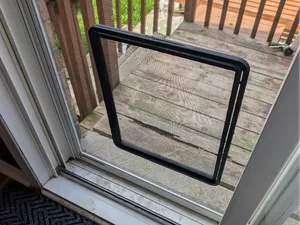
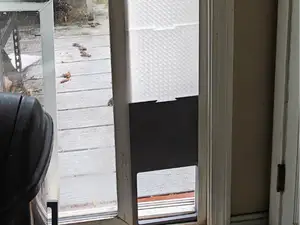
PET DOOR - SMALL DOG / CAT (INTERIOR DOOR)
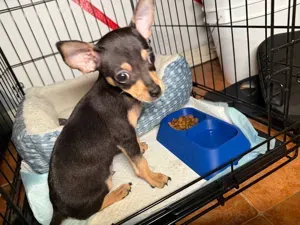
Having a small dog in the house, air-conditioning and an energy bill. The dog needs to come and go, but the air conditioning is on in the summer, so the door is closed. Why not put a small doggy door in so the dog can come and go with the main interior door closed to keep the cold air in - and save on energy costs at the same time.
We found we needed to train the small dog to use the door without the swinging door installed first and then installed the swing door after a few days after the dog had gained the confidence to use the swinging door.
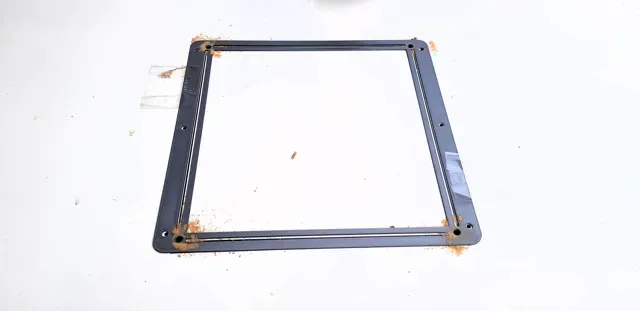
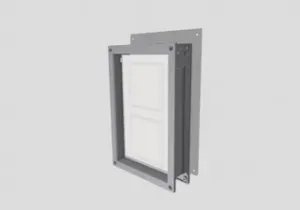
The design suites a 34mm thick interior door & includes long side, short side, door, hinge-hanger, hinge-plungers & installation template.
While the pockets for the D4x2 magnets are in the parts, we found that these weren't required for our installation.
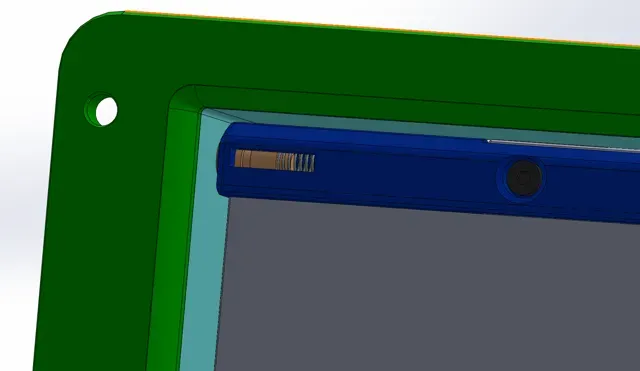
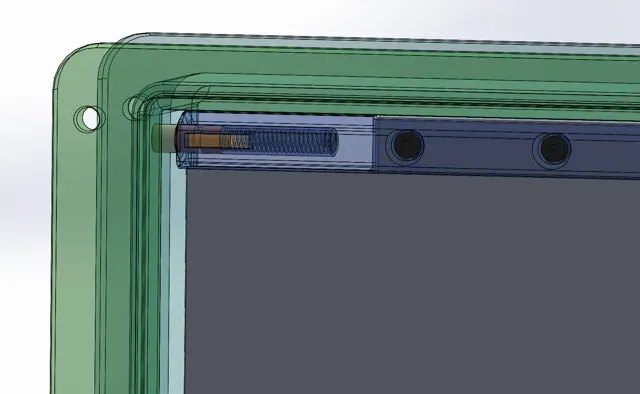
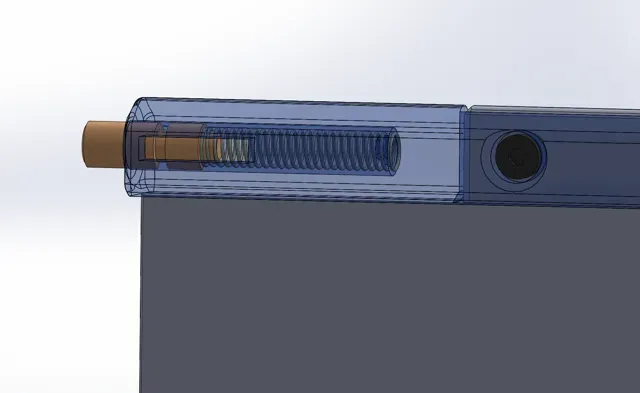
The swinging door is removable by using s small flat bladed screw driver to slide sideways - retracting the spring loaded plungers from the hinge.
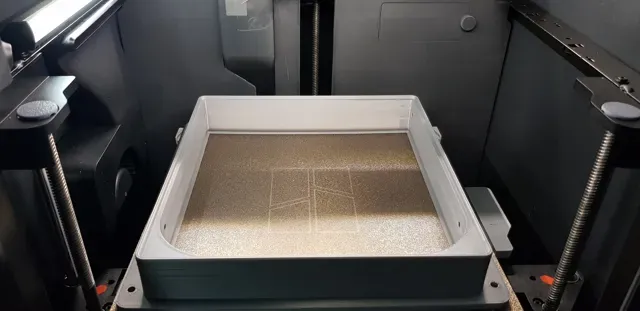
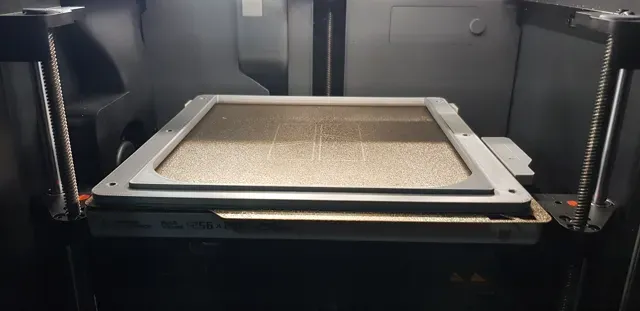
*** Note: For P1S, need to disable the filament cutter to be able to use the entire build plate. ***
Requires:
- Your choice of colour/filament (I used grey & black) - 2 x 0.5x5x25mm Compression Springs from the maker's beginner kit - 4 x BT3x8 SHCS Self Tapping Screws from maker's beginner kit - Your choice of screws to match your decor Optional:
- 4 x D4x2 Magnets from the maker's beginner kit - Superglue for magnets
*** Proceed at your own risk! ***
Quick installation instructions:
Required Tools:
- Tape measure - Power drill - Large enough drill for a start hole for jigsaw blade - Correct size drill to suit attaching screws - Jigsaw & blades Swinging Door Assembly
- Ensure parts are cleaned up - Slide door into hanger/hinge from the flat side. The angle side should be towards the outside. - Secure door into hinge using 4 x screws - Slide springs onto the plunger, then slide the plunger into the hanger/hinge part, twisting to help the spring ride onto the boss that grips the spring. Do this for the other side - Hanging door assembled
Installation Steps
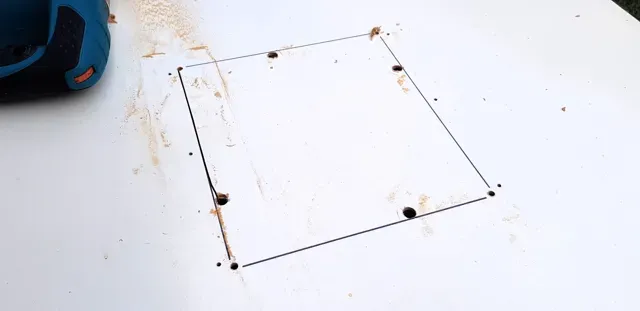
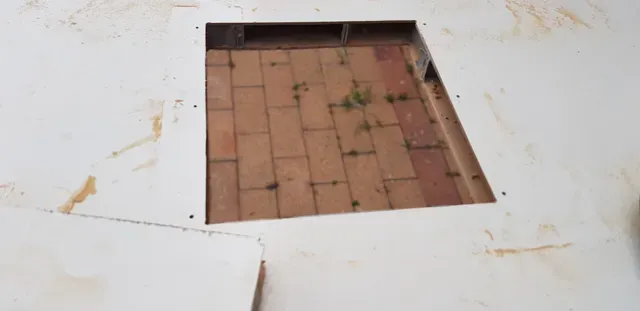
- Measure door thickness, make sure of door thickness - Print parts and cleanup prints - Assemble door components - Test assemble to ensure correct printing & fitment - Mark top/bottom of door - Remove door - Measure desired position of door - Stick on template in desired position. measure and double check position. (Also, check its at the bottom of the door, not top!!) - Mark cutout lines & hole centers - Drill start hole for jigsaw blade - Use jigsaw to cut opening - Check fitment from both side using long side component, ensuring curved side is toward bottom of door. - Drill attachment holes using correct size drill to suit - Remount door - Check function of door - Slide in long side component and attach with screws loosely to hold in position - Attach short side in position on opposing side with screws - Tighten attachment screws on both sides - Insert door by pushing in spring loaded plungers, sliding into position until the plungers locate and spring into position - Test swing of door - Enjoy
0.2mm layer, 2 walls, 10% infill PLA print profile
- For P & X Series printers, these will require the full print bed. This may require the cutter to be disabled via the locking component part which can be found on makerworld. Full bed is required for the long side, short side & template prints. (Plates 1,2 & 5)




Названия используются только для указания источника результата. Polyzon не аффилирован с перечисленными площадками.