
Бесплатно 
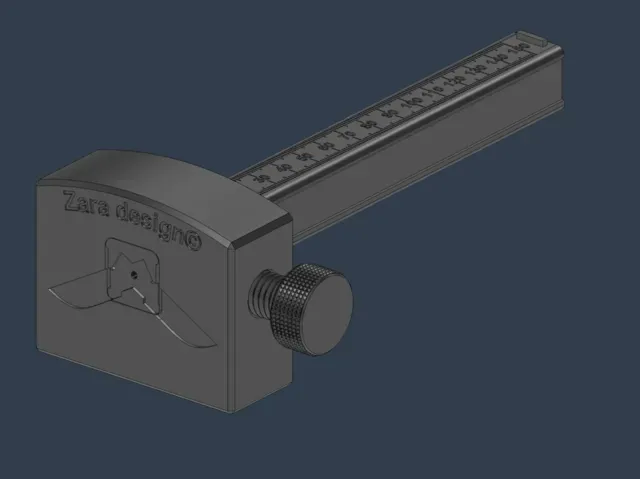
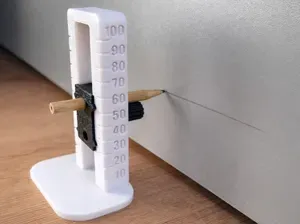
Solid Woodworking Marking Gauge
Printables
Boost Me I am busy publishing a number of designs, some small, some more ambitious. This one is utilitarian but my take on a very traditional woodworking hand tool.
If you like my design, please add a comment below, post your print pictures and if you find it in your heart, like / boost / share.
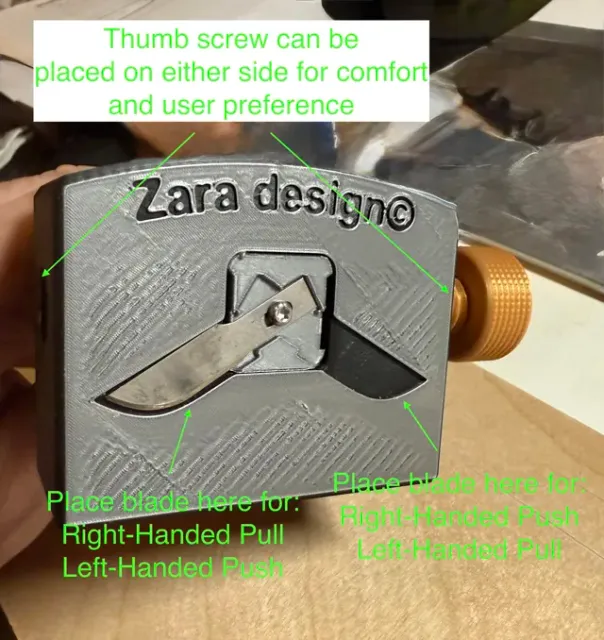
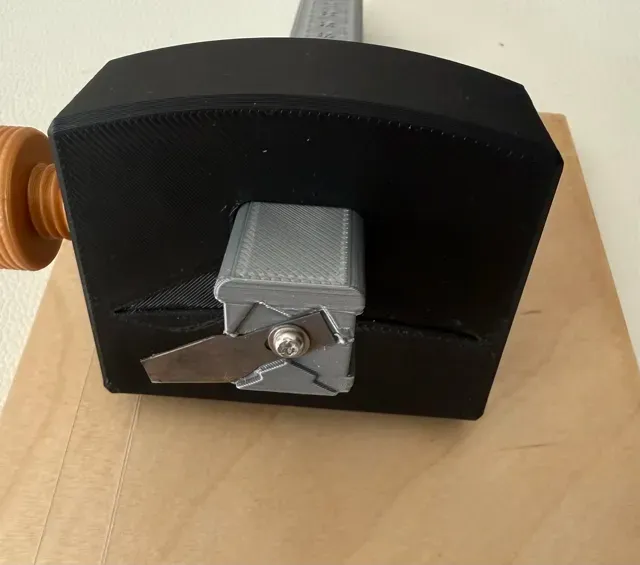
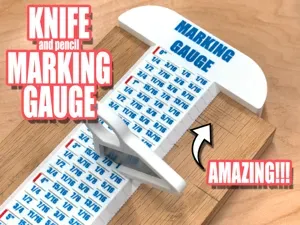
Also, check out my other designs and follow to get notified on my future uploads. I am releasing my one of a kind ambidextrous marking knife design that uses standard X-acto blades. The cutout on the fence (the body) will accept the most common blade types, such as #10, #11, #12 and possibly #16.
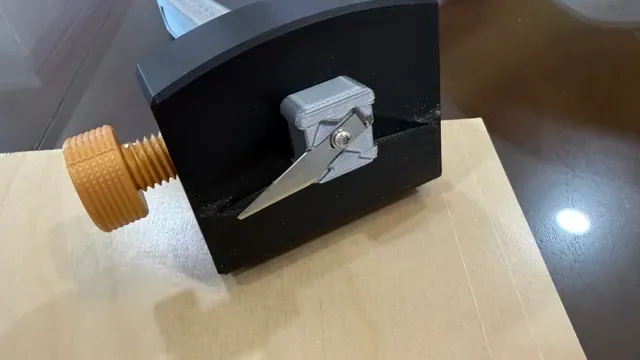
Honestly, my favorite is #10 (curved cutting surface) but a used #11 works great. I seem to have a number of #11's with broken tips and they get a second life in this tool. I posted a picture with a #11 with broken tip and it works great.
The blades can be mounted in two different orientations which makes this marking knife ambidextrous and it can be used to “push” or “pull” during marking.
When the stem is fully retracted, the blade sits safely inside an indented region so both the blade and your fingers are protected.
The blade is mounted with M2.5 cap head screw. I recommend M2.5x12mm but anything 8mm to 15 mm would work. I realize this is not the most common thread size but unfortunately the X-acto blades have a hole in the base that will not accept anything larger.
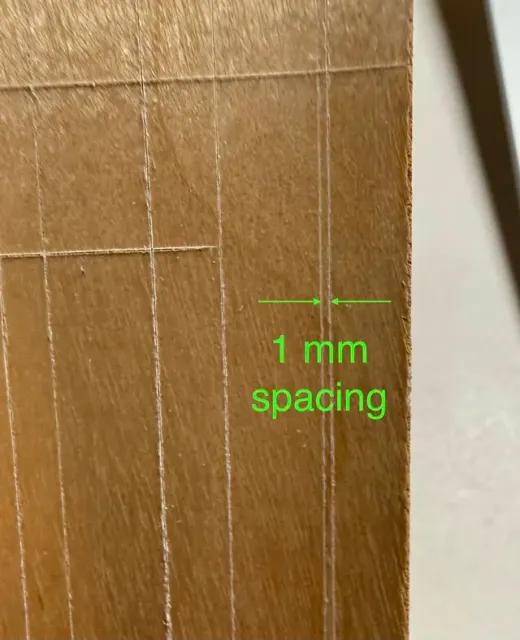
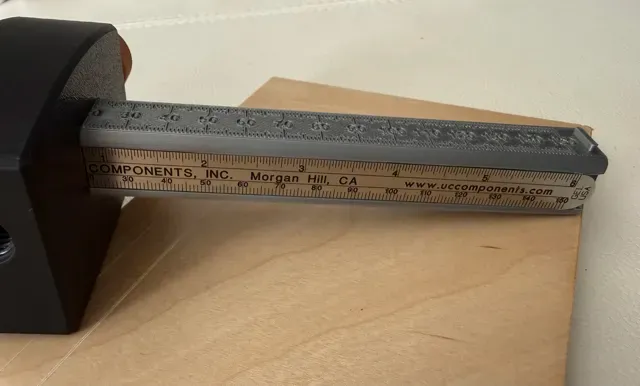
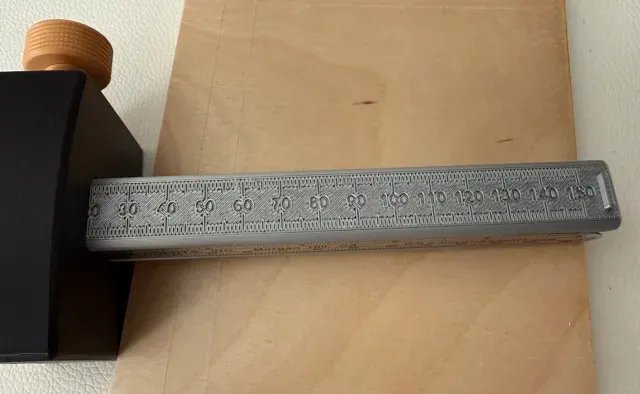
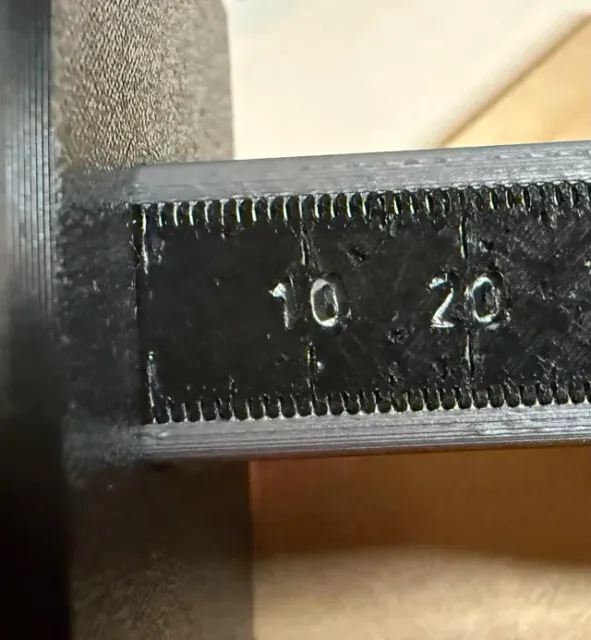
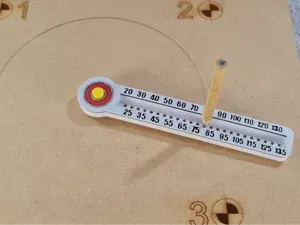
The stem has a built in 150 mm ruler embossed on top with 1 mm increment markings. The ruler is calibrated to X-acto blades which are 0.5 mm thick.
I printed this with a couple of different print profiles on my BambuLab P2S and found the ruler to be accurate to better than 1/64", possibly as good as 1/128". Basically, it's good enough for almost any woodworking project.
The knurled thumb screw can go on either side of the fence depending on your comfort level and use preference. Also, whether you're right-handed or left-handed. I am right handed and I prefer the thumb screw on the far side (the left side if you're looking at the fence from the front). But you do you and pick whichever side you want. The thumbscrew will take a little persuasion to get started. Place it in the thread straight and press hard while turning. Once the first tooth of the thread catches on it should thread easily while not being too loose.
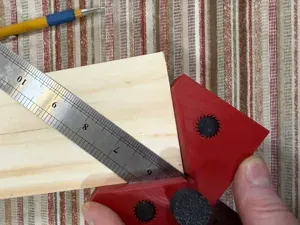
There are also two indented sections on both sides of the stem so you can glue or tape with double sided tape a metal ruler. I recommend one of these:
https://www.amazon.com/gp/product/B09FF7DPJM/
https://www.amazon.com/gp/product/B0DPKQSYK4/
Finally, the stem is shaped asymmetrically so it will go in only one orientation and it has a stop in the end so it will not accidentally come out of the fence.
0.2mm layer, 3 walls, 15% infill


Названия используются только для указания источника результата. Polyzon не аффилирован с перечисленными площадками.