
Бесплатно 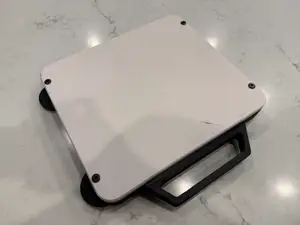
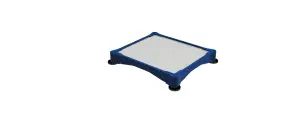
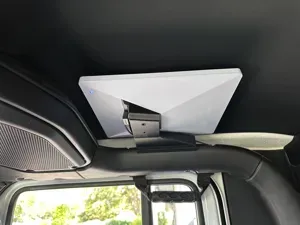
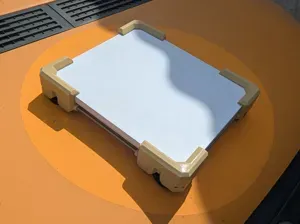
Starlink Mini Flat Mount REV 3
MakerWorld
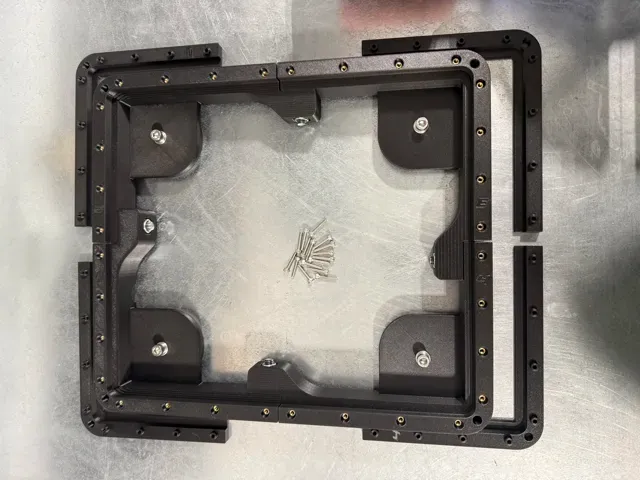
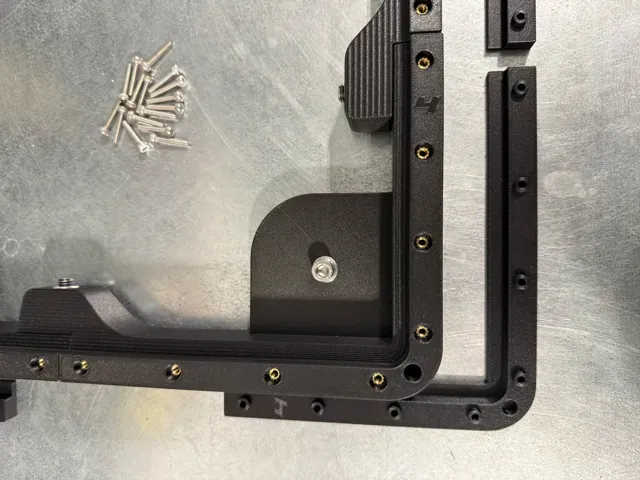
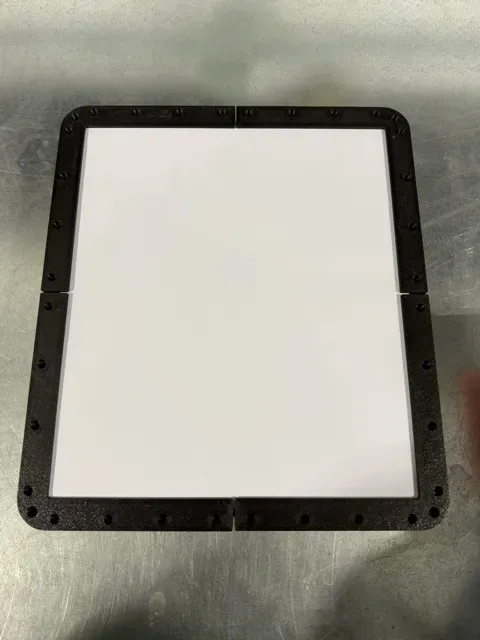
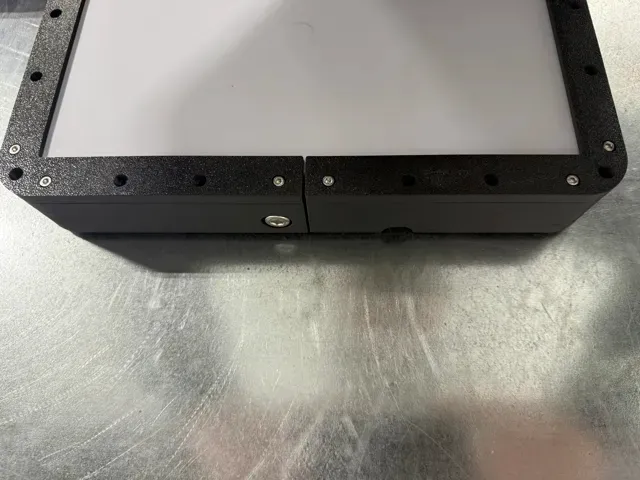
Starlink Mini Dishy Flat Mount – REV 2
This is the updated and refined version of my original REV 1 mount, which you can still find here:
Starlink Mini Flat Mount REV 1 - Free 3D Print Model - MakerWorld
What’s New in REV 2
REV 2 includes several improvements based on real‑world use and feedback:
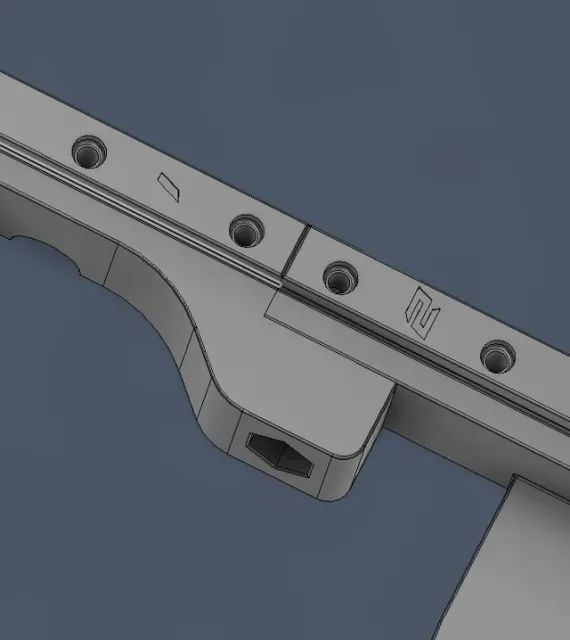
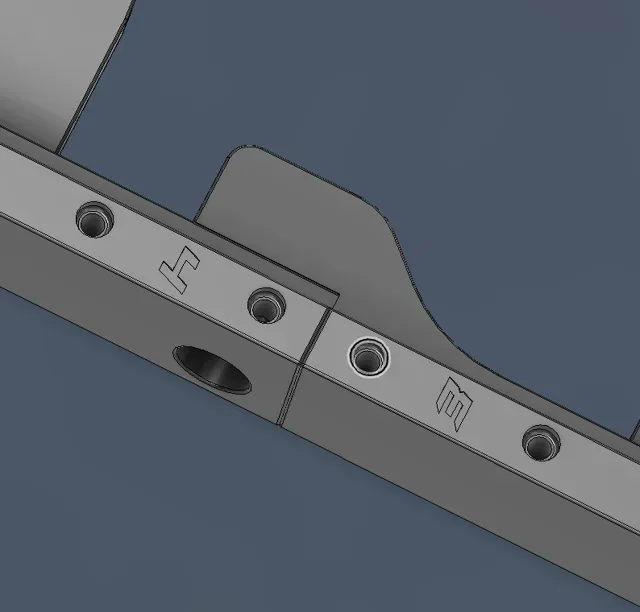
- Numbered pieces for easier reprinting and replacement - Reinforced bolt locations for increased strength - Adjusted tolerances so the dish seats more comfortably - Smaller cable cutout for easier printing - Included .f3d (Fusion 360) source file so you can add custom text to the LH lower piece—great for labeling dishes identifiers or adding Wi‑Fi details - Must be edited in Fusion 360 - Emboss depth is 0.01mm. This works well if printing text in contrasting color - Change emboss depth to 0.5mm if printing in same color as mount Description
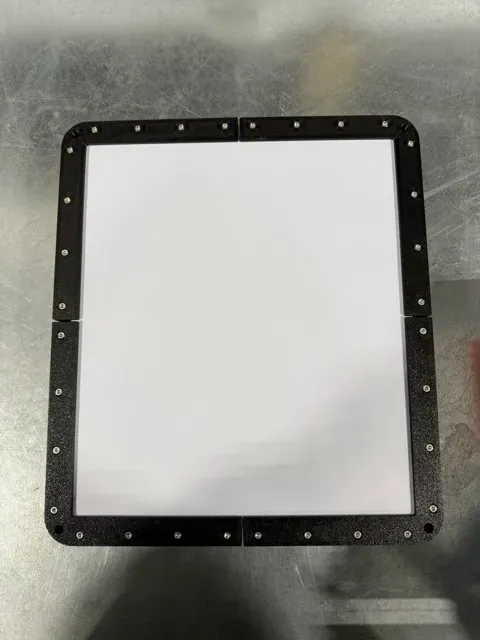
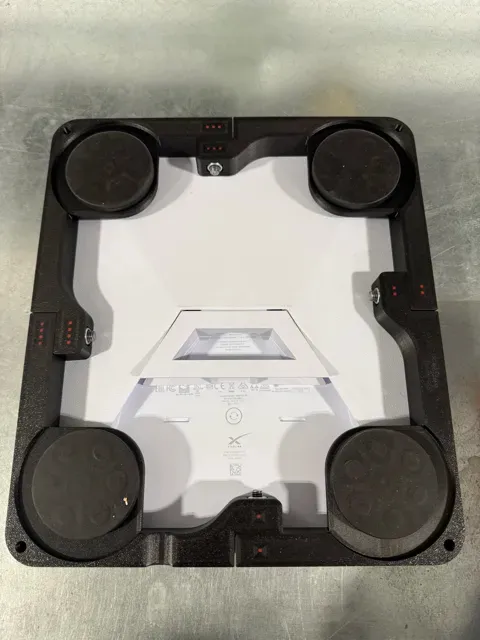
- 8‑piece design - Bottom pieces can be printed with or without magnet recesses Recommended Print Settings
- Layer height: 0.2 mm (or 0.15 mm for finer detail) - Infill: 35% Gyroid - Walls: 6 perimeters (4 may be sufficient depending on material) - Supports: Required from build plate only for magnet recesses - Material: PETG recommended for durability. I prefer PETG-CF or PETG-GF - Print profile does not include the non‑recessed lower pieces Optional
- Each bottom piece has dot markers that can be printed in a contrasting color to simplify assembly Hardware Required
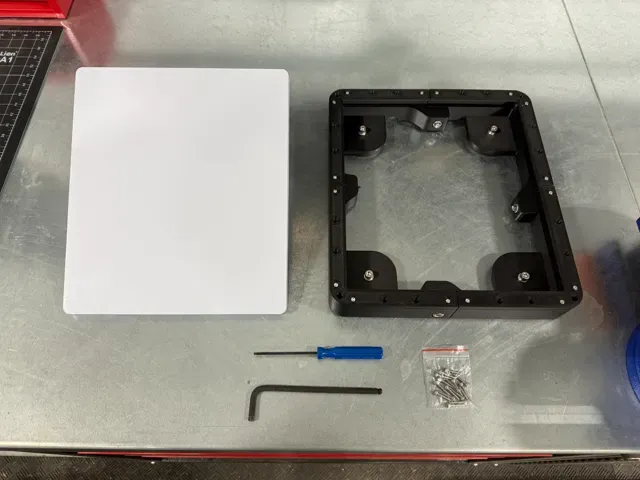
- 4× round puck magnets - Example: BQUKKIMAG 5Pack Rubber Coated Magnets D66x8mm M6 Round Magnets Strong Large Magnete with Thread, Flat Magnet with Hole Countersunk Head Pot Magnet for Screwing on Car Lights : Amazon.ca: Industrial & Scientific - 4× M6×16 mm screws - 32× M3×6 mm brass heat‑set inserts - Holes sized for standard knurled inserts - Example: iplusmile Brass Nuts, Threaded Inserts Brass Knurled Nuts Threaded Heat Set for Printing 3D Printer and More Projects, 100pcs, M3*4.6 * 5.69 : Amazon.ca: Tools & Home Improvement - 32× M3×16 mm screws - 4× M8×35 mm screws - 4× M8 nylon lock nuts - Example: Hmevsafinect Nylon Insert Locknuts,25 Pack M8 304 Stainless Steel A2-70 Lock Nuts,Standard Metric Thread Nylock Nuts for Bolts (M8-25 Pack) : Amazon.ca: Tools & Home Improvement Assembly Instructions
- Heat‑set all 32 M3 brass inserts into the lower halves of the mount pieces. - Attach the 4 puck magnets using the M6 screws. - Loosely assemble the four lower pieces using the M8 screws and lock nuts on a flat surface. - Place the Starlink Mini Dishy into the loosely assembled base. - Position the four upper pieces over the dish and install the M3 screws—snug, but not fully tightened. - Tighten the M8 screws to lock the dish securely in place. - Finish by tightening all 32 M3 screws . - Enjoy your newly mounted Mini Dishy. Other Designs
- Original Mini Flat Mount (REV 1) – MakerWorld - Starlink Mini Flat Mount REV 1 - Free 3D Print Model - MakerWorld - Starlink Gen 3 Flat Mount – MakerWorld - Starlink Gen 3 Flat Mount - Free 3D Print Model - MakerWorld
No Magnet Recesses 0.2mm layer, 6 walls, 35% infill
PLA Supports 0.2mm layer, 6 walls, 35% infill Print profile contains support material settings for magnet recess's, cable cutout, & M3 screw holes. PLA is used for support interface material.






Названия используются только для указания источника результата. Polyzon не аффилирован с перечисленными площадками.