
Бесплатно 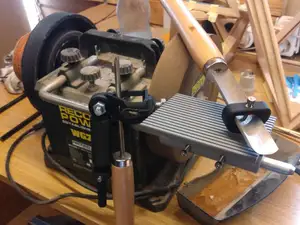
Sharpening Jigs For Woodturning Tools
MakerWorld
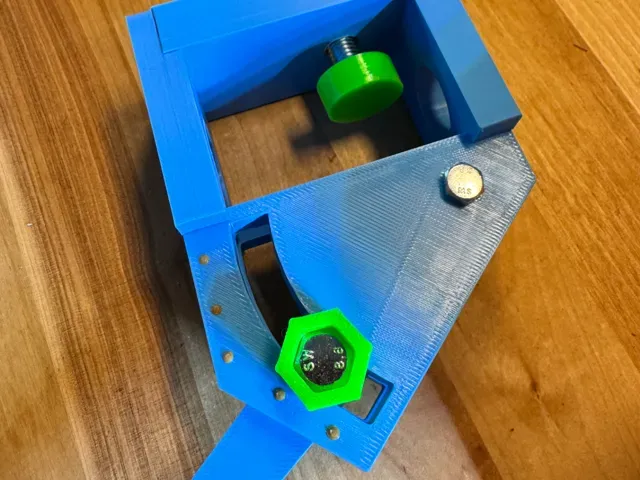
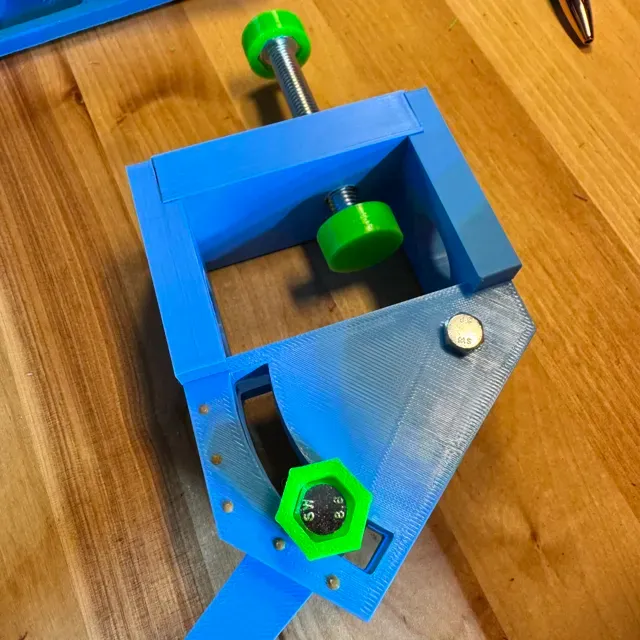
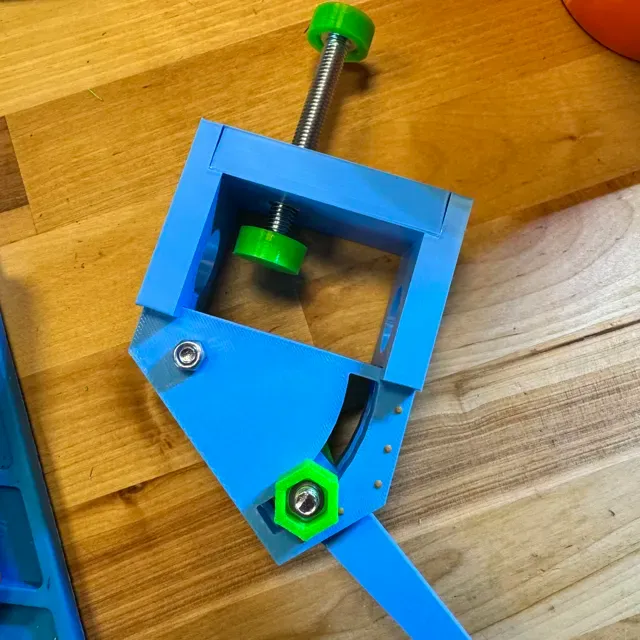
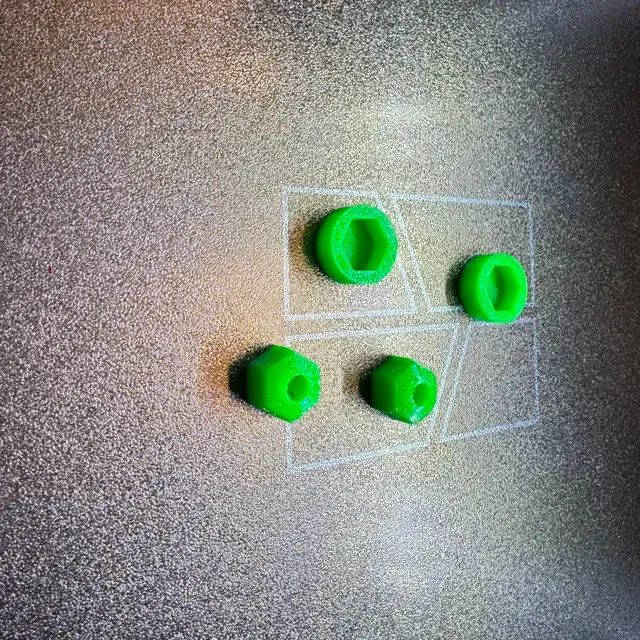
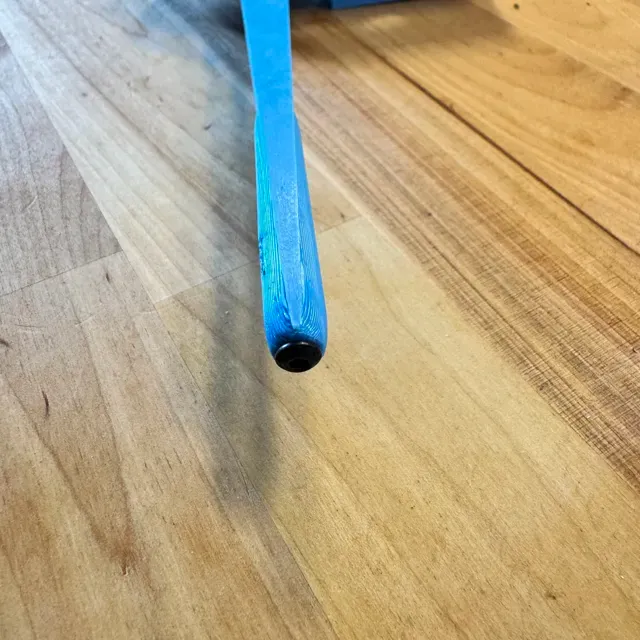
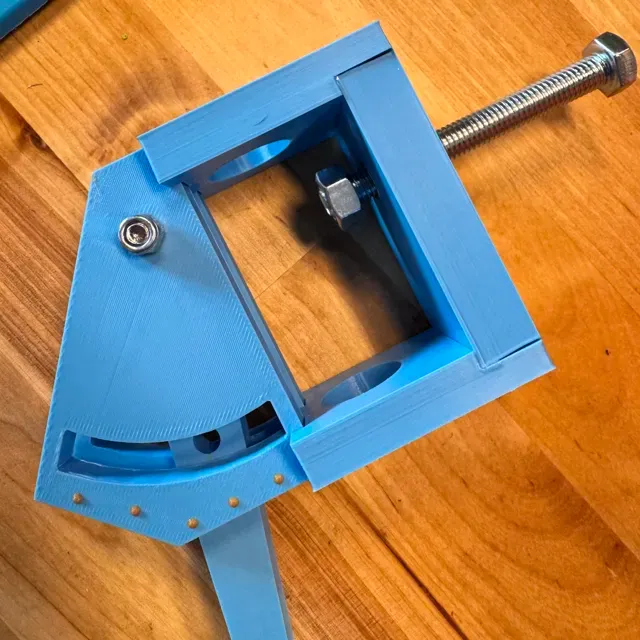
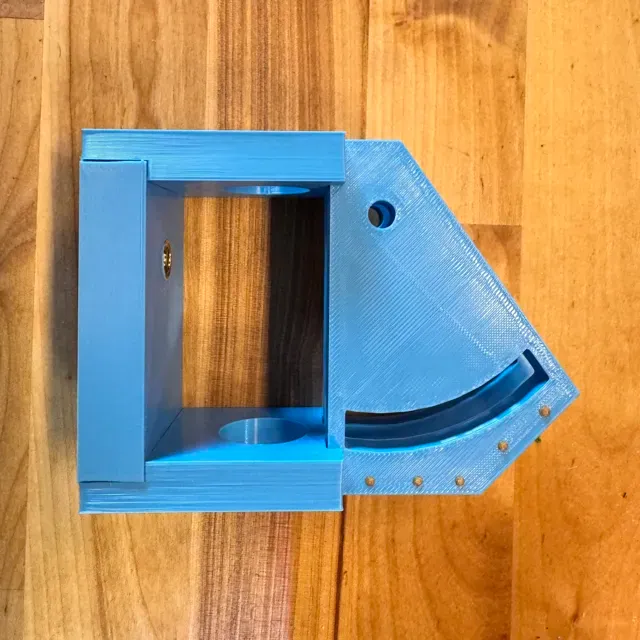
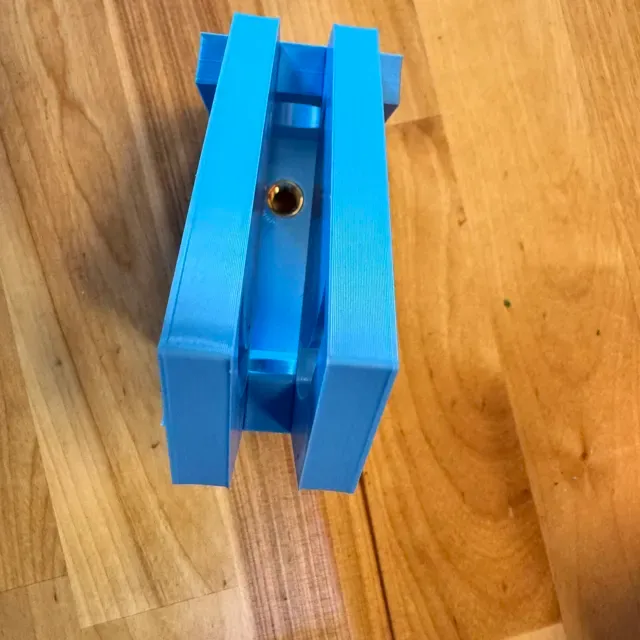
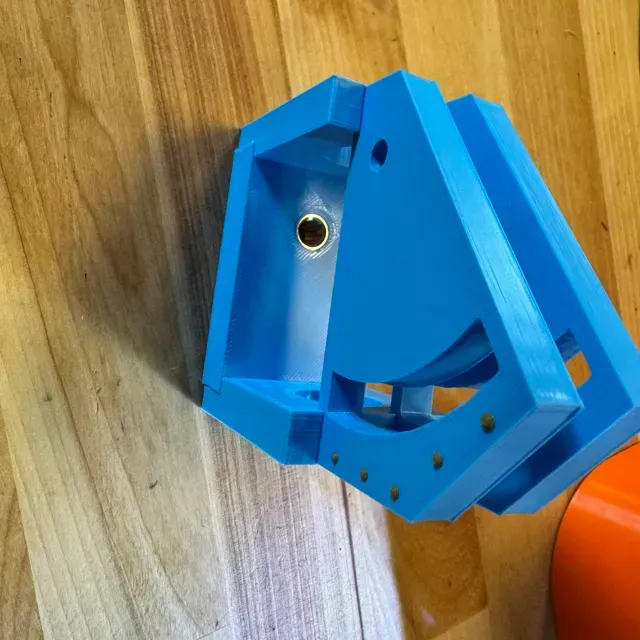
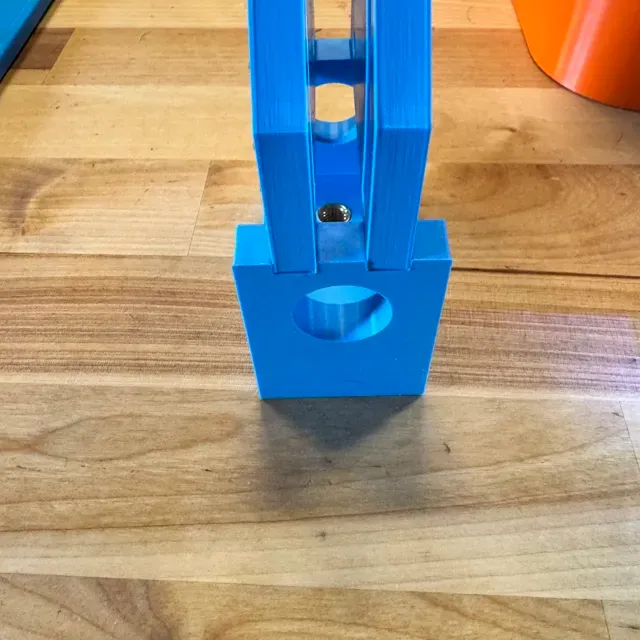
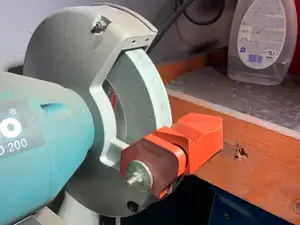
🔧 Sharpening Jig for Woodturning Tools – Precision, Consistency & Clean Edges
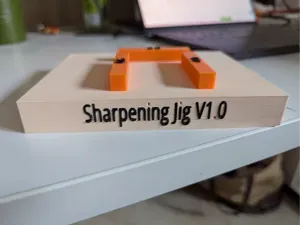
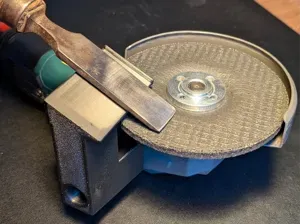
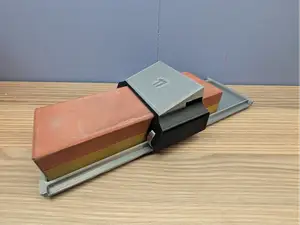
This sharpening jig for woodturning tools is designed to make sharpening chisels, gouges, and turning tools easier, more consistent, and highly repeatable.
Anyone who spends time at the lathe knows how important a sharp cutting edge is for clean cuts, smooth surfaces, and safe working conditions. This jig helps you achieve exactly that.
By providing a stable and guided support, the jig ensures a constant sharpening angle , whether you are a beginner or an experienced woodturner. The result is a perfectly shaped cutting edge every time, with less guesswork and reduced material removal.
✨ Why This Sharpening Jig?
- Consistent and repeatable sharpening angles - Reduces mistakes during resharpening - Improved control over the sharpening process - Less material removal from tools - Suitable for wet and dry grinders - Compact design – easy to store and quick to set up Turn an ordinary sharpening task into a precise and controlled process .
🧱 Material Concept
This design combines two proven materials:
ABS for structural parts
- Strong and durable - Heat resistant - Long service life
TPU for screw caps
- Flexible and non-slip - Protects fingers and tools - Reduces vibrations This material combination provides durability, comfort, and reliability.
🖨️ Recommended Print Settings
ABS (main parts):
- Layer height: 0.2 mm - Infill: 30–40 % - Perimeters: 4–5 - Bed temperature: 100 °C - Nozzle temperature: 240–250 °C - Enclosure recommended
TPU (screw caps):
- Layer height: 0.2 mm - Infill: 30–40 % - Print speed: slow (20–30 mm/s) - Nozzle temperature: 220–230 °C - No supports required
🔩 Required Hardware
In addition to the printed parts, you will need:
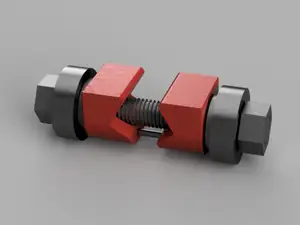
- 1× M5×30 screw with lock nut - 1× M6×40 screw with nut - 1× M8×60–70 screw with nut - 1× M8×12.7 heat-set insert - 1x M3x35 for the “leg” - Cyanoacrylate glue (super glue) 🛠️ Assembly – Step by Step
- Print all parts and remove any supports. - Glue the printed parts together using super glue . - Carefully install the M8 heat-set insert using a soldering iron or heat insert tip. - Install screws and nuts and tighten by hand. - Push the TPU screw caps onto the screw heads. Your sharpening jig is now ready to use.
🧪 Tested
The jig has been tested in workshop use and provides:
- Play-free guidance - Secure tool positioning - Consistent sharpening results Perfect for regular maintenance and regrinding of woodturning tools.
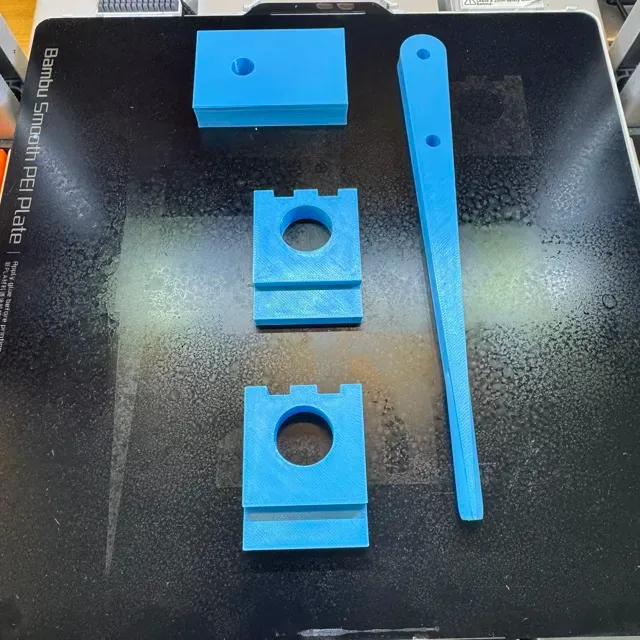
0.2mm layer, 5 walls, 35% infill the first plate is TPU, the other 2 are ABS. on the third plate, there is a pause, for a color change for the marking points (if you like)
on an A1 mini , you have perhaps to rearrange the parts






Названия используются только для указания источника результата. Polyzon не аффилирован с перечисленными площадками.
Комментарии