
Бесплатно 
Gridfinity ikea 365+ lid continer / holder / kitchen organizer
Printables
Summary:
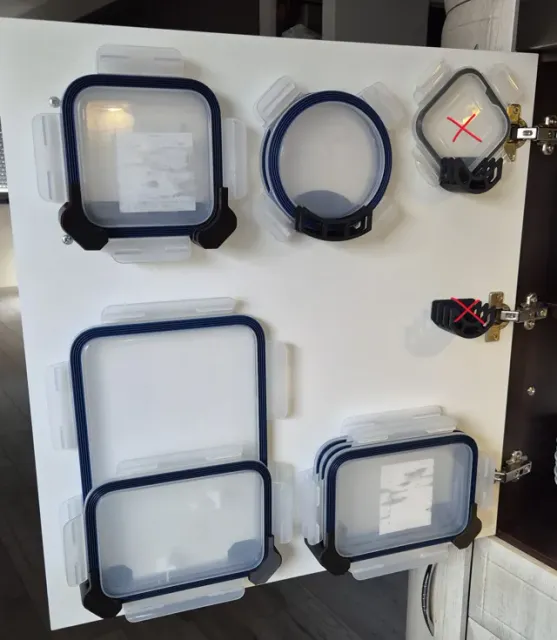
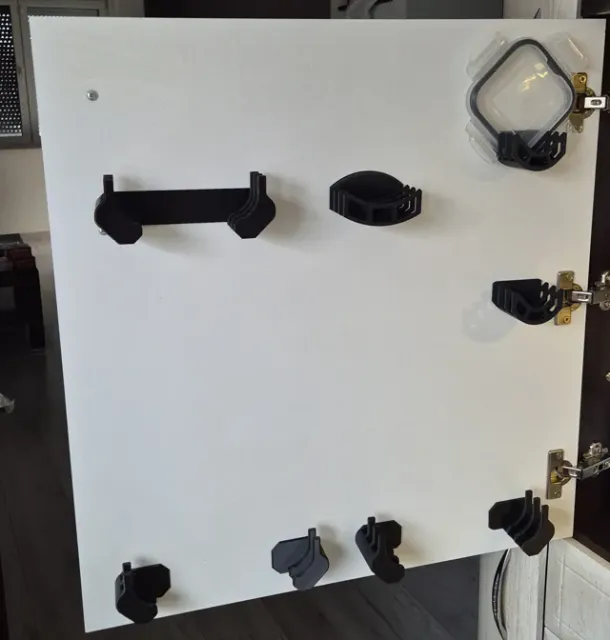
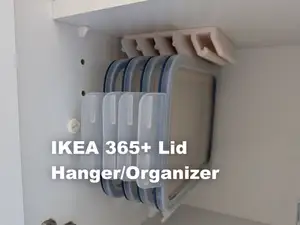
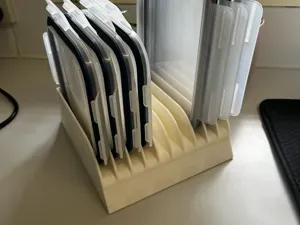
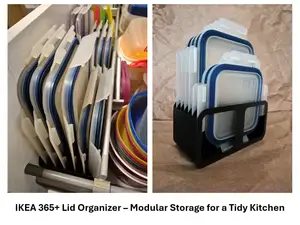
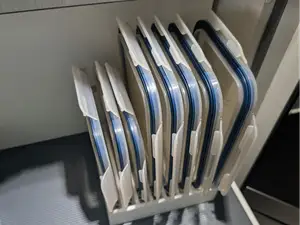
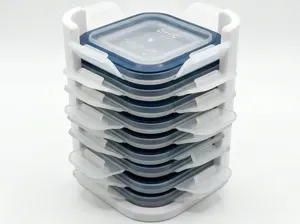
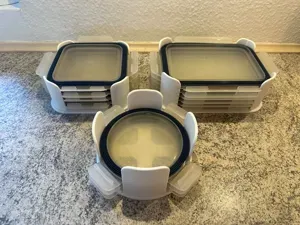
Ikea 365+ Lid Holder mountable on vertical surfaces, like cabinet doors, cabinet walls or walls in general. It includes complete holders for following Ikea 365+ container lids in variants for 4, 3, 2 or 1 lid:
- IKEA 365+ Lid, round/plastic (~14cm)
- IKEA 365+ Lid, square/plastic, small (~15cm)
- IKEA 365+ Lid, square/plastic, medium (~21cm) or IKEA 365+ Lid, square/plastic, large (~21cm) in vertical position
- IKEA 365+ Lid, square/plastic, size independent (left/right holders are split)
Not tested with bamboo lids (leave a comment if you checked it).
Holders are quite tight/gripy - enough for lids to not rattle when doors are closed or even slammed. You can make it tighter by using fuzzy skin (e.g. with settings like 0.4 distance/0.1 thickness), but I found it unnecessary.
Content/files:
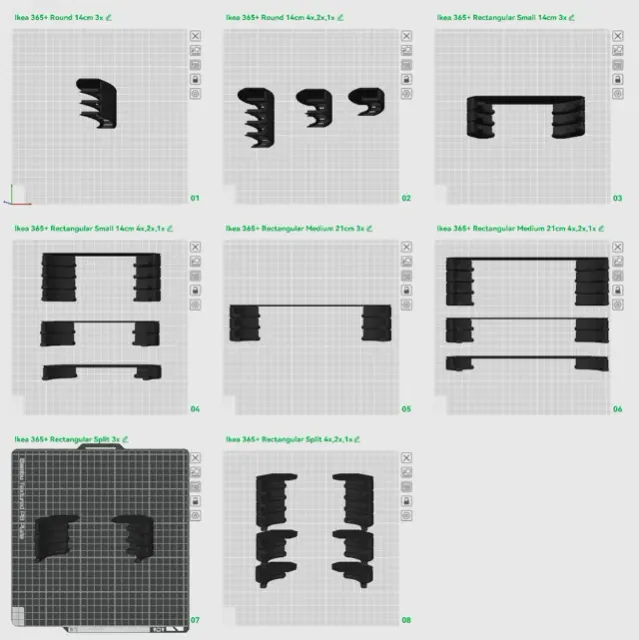
- Ikea 365 Lid Holder BambuStudio.3mf (saved using Bambu Studio 2.5.0.66, tested with OrcaSlicer 2.3.2-Beta2)
- Plates 1-2: round lid, versions for 1-4x lids, depths: 18mm, 34mm, 50mm, 65mm.
- Plates 3-4: square small, 1-4x, depths: 19mm, 35mm, 52mm, 68mm
- Plates 5-6: square medium, 1-4x, depths : 19mm, 35mm, 52mm, 68mm
- Plates 6-7: square, split, 1-4x, depths : 19mm, 35mm, 52mm, 68mm
- Ikea 365 Lid Holder STLs.
- STLs for all sizes for connected/complete holders.
- Note! For split holders only left holders are provided - copy and mirror in your slicer to get right ones.
Recommended material:
Anything should work (maybe except of flexibles/TPU?).
Recommended slicing settings:
2x wall, 15% infill, you know - the defaults. Use auto-orientation.
Ok, maybe for round holders make sure your bridge settings are fine, it is not a long bridge, but it will be visible if it fails. If unsure use 0.95 or your normal flow for Bridge Flow setting.
Assembly instructions:
Use strong adhesive. Typical dual-sided "nano" tape should work fine, lids are rather light.
For split parts consider putting the lid into holders and stick it to wall/doors while holding all three things together, so that they are properly spaced after taping (or measure and mark). I use both connected and split models (that I made earlier), both should have enough surface for proper amount of tape, but if you are unsure of your tape or don't want to play with holding 3 things at once - use connected models.
0.20mm layer, 2 walls, 15% infill




Названия используются только для указания источника результата. Polyzon не аффилирован с перечисленными площадками.
Комментарии