
Бесплатно 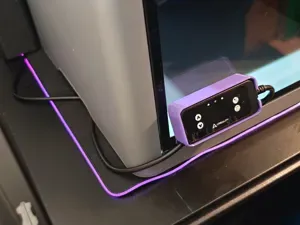
Creality Chamber Heater Display Mount P2s (P & X)
MakerWorld
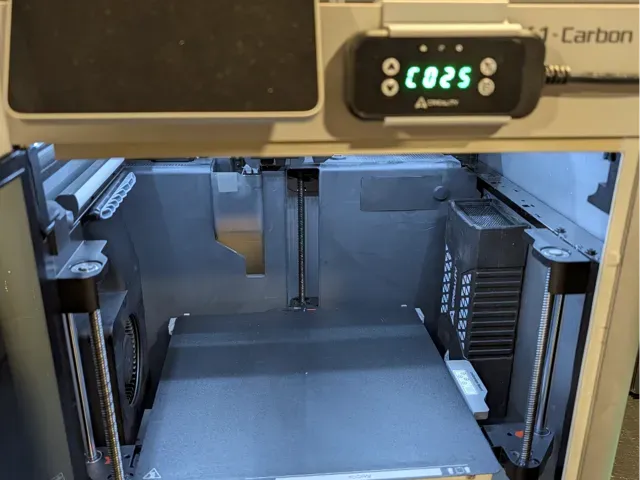
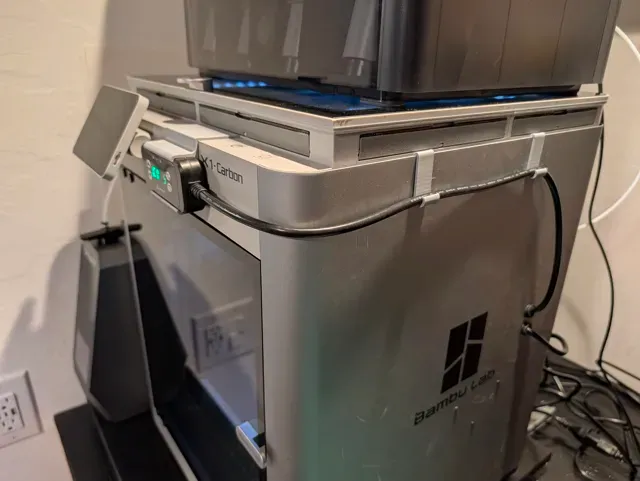
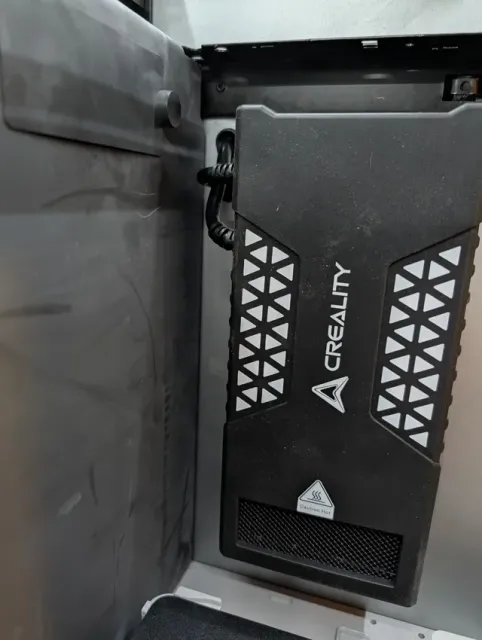
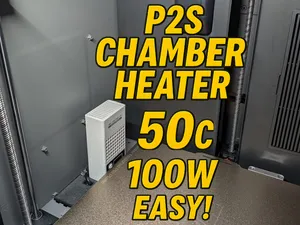
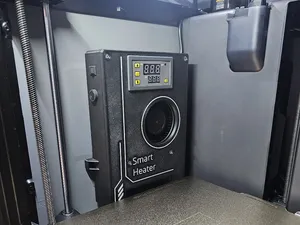
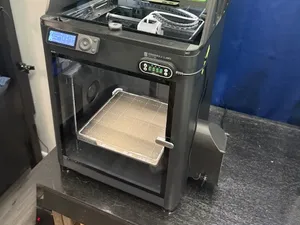
This model contains everything* you need to add the Creality Chamber Heater to your X1C (and probably P1S)!
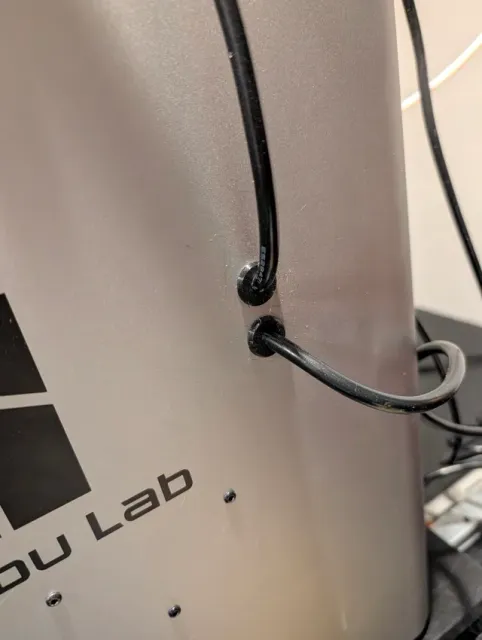
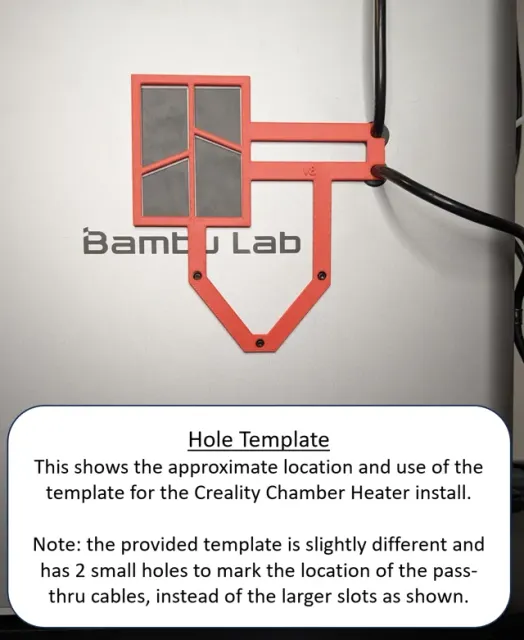
I added the Creality Chamber Heater to my X1C to help with printing large ASA models and alleviate the warping I was seeing. The install went smoothly and I wanted to share the parts that help keep things tidy. My installation required removing the side panel but I developed a template based on my install so you don't have to disassemble your printer. Disclaimer: I haven't tried the template but it does line up with the holes in my machine (see photo).
Here are the included parts:
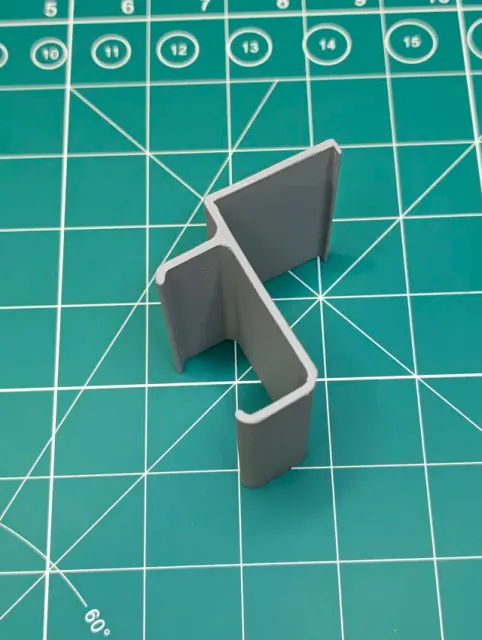
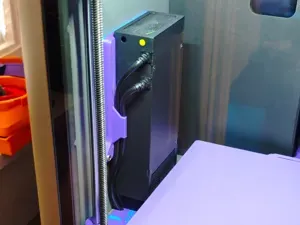
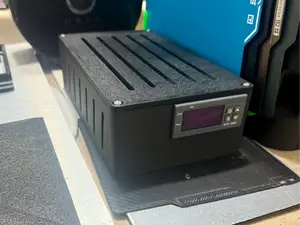
Controller Mount - this holds the controller on the front panel without the need for tapes, adhesives or additional drilling into the machine.
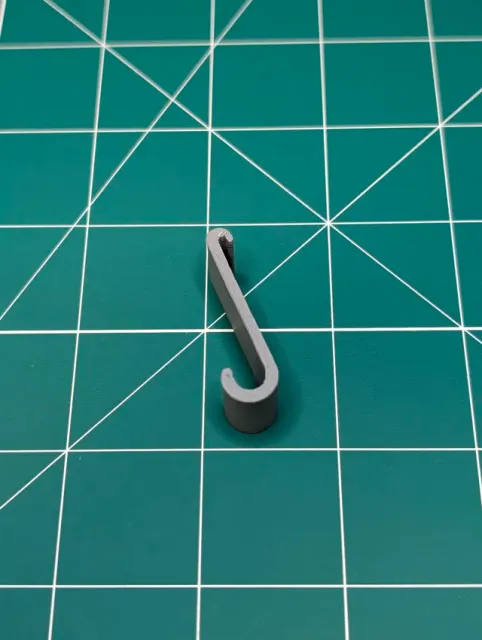
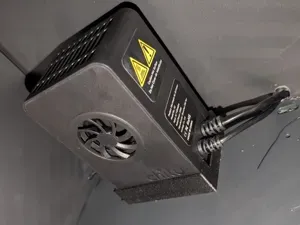
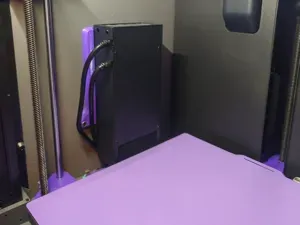
Cord Hangers - these also clip onto the top of the machine and help keep the cables looking tidy.
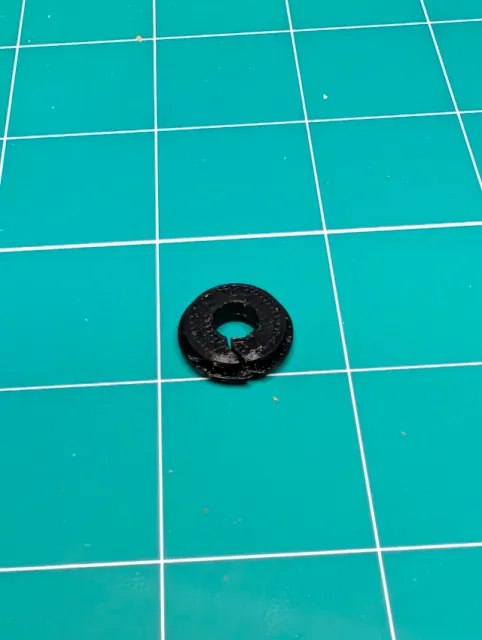
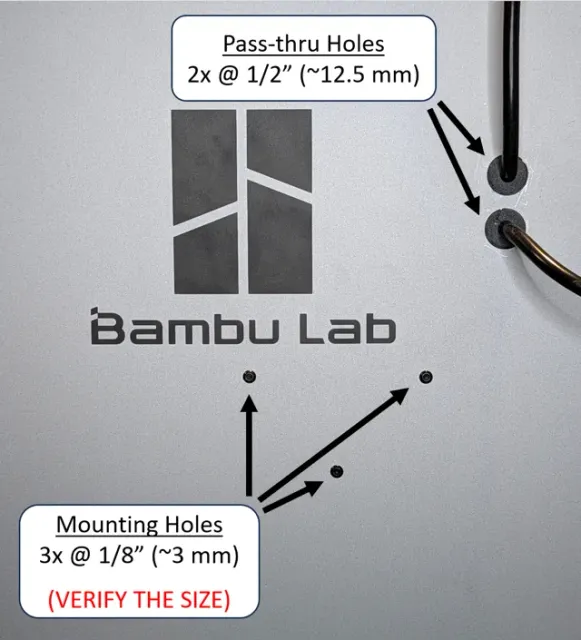
Custom Grommet - printed in TPU - these help seal the ½" holes required to pass the controller and power cables through the side of the machine.
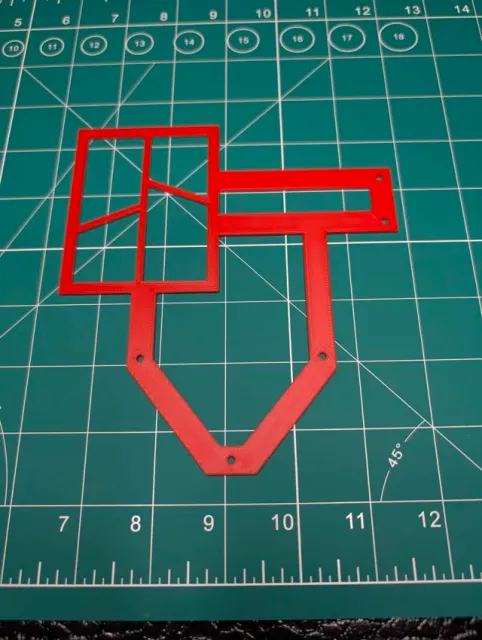
Template - I developed this template after my installation so if anyone else wants to install a heater, they (hopefully) won't have to diassemble their machine. Disclaimer: I haven't used the template, I just lined it up with the holes in my machine. You probably want to verify they line up with the mounting holes on the heater before you drill.
Here's the install process:
(If you're using the provided template, skip steps 1 and 2)
Step 1: Estimate the available area for the heater. Before removing the right panel from the printer, I traced the back wall and top rail onto the panel so I'd have a reference while the panel was off the machine. I also marked on the panel where the calibration board is on the right of the platform, just to ensure the heater wouldn't interfere with it. Step 2: Remove the right panel per the wiki (https://wiki.bambulab.com/en/x1/maintenance/replace-right-panel) Step 3: Remove the rubber case from the heater. Then remove the 4 screws that holds on the cover plate so you can access the inside and remove the cables. (This allows you to minimize the size of the holes drilled in the panel).
Step 4: Estimate the placement of the heater on the right panel.
- If you're using the provided template, line up the template with the Bambu Lab logo on the side panel and trace the hole locations. This would be a good time to make sure the marks line up with the actual mounting holes on the heater. For the 3 mounting holes for the heater, use a 1/8" drill bit and for the two pass-thru holes, use a ½" drill bit. Before drilling the holes I used a center-punch to dimple the panel to keep the drill bit from walking on me as it got started.
- If you're NOT using the provided template, this is where the guidelines you traced from Step 1 come in handy. There are 3 mounting holes for the heater itself and with the cover removed, you can mark them precisely on the printer panel. I'm pretty sure I used a 1/8" drill bit for the mounting holes. You can also estimate where you want the cables to pass through the printer wall. After a lot of trial-and-error on sample pieces, I found 1/2" was the smallest size I could use for the cable pass-through holes. Before drilling the holes I used a center-punch to dimple the panel to keep the drill bit from walking on me as it got started. Step 5: Take a deep breath and drill a bunch of holes in the side panel. There's no going back now! Step 6: Route the cables through the panel holes, and reconnect them to the heater. Reinstall the cover plate and rubber case and then mount the heater to the panel using the 3 screws. If you didn't use the template and removed the panel from the printer, reinstall it now. Step 7: Install the custom TPU grommets on the pass-thru cables. They have a curved split so you can install them at the end of the process. Warning: they are a TIGHT FIT! I used a screwdriver to press the grommet into the holes. Be patient, take your time, and work them in slowly. Don't be too reckless or the screwdriver could slip and scratch the case.
Step 8: Install the Cord Hangers and Controller Mount as shown.
Step 9: Crank up the heat!
*model may not contain everything you need.
Mounting Template Use this to estimate the location of the mounting and pass-thru holes so you don't have to disassemble your printer. VERIFY THAT THE MARKED LOCATIONS LINE UP WITH THE ACTUAL MOUNTING HOLES ON THE HEATER BEFORE YOU START DRILLING!
TPU Split Grommets This one-piece, split, grommet seals up the pass-thru holes so all that precious heat doesn't leak out of the chamber. THIS MUST BE PRINTED IN TPU IN ORDER FOR IT TO WORK SINCE IT NEEDS TO BE OPENED, WRAPPED AROUND THE CORD AND PRESSED INTO THE HOLES TO SEAL THEM UP.
Controller Mount It's external to the printer so any material should be able to work, but I printed in ASA just to be safe. This clips onto the front of the machine and holds the heater controller.
Cord Hanger This hangs on the top of the machine and helps to keep the cord routed and out of the way. It's outside of the chamber so any material should work, but I printed in ASA just to be safe.



Названия используются только для указания источника результата. Polyzon не аффилирован с перечисленными площадками.