
Бесплатно 
Apple inspired Coaster Set - 3rd Party Icon Pack
MakerWorld
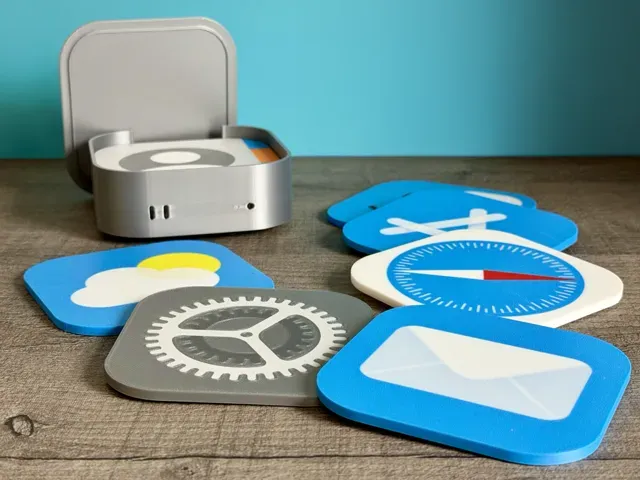
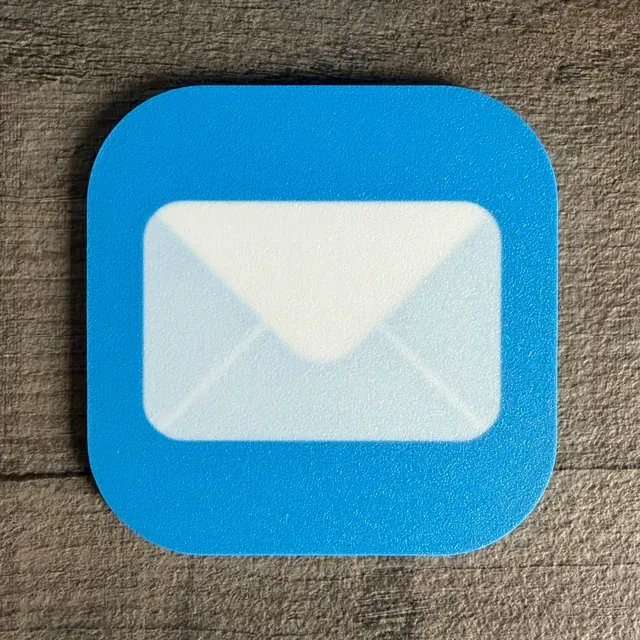
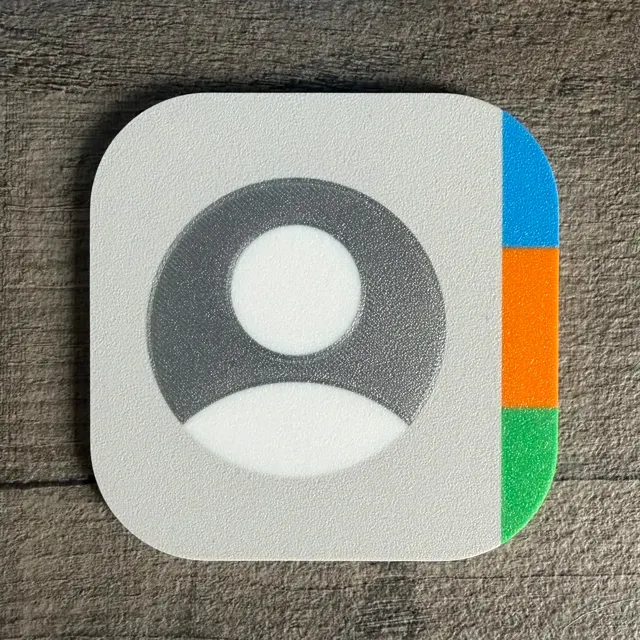
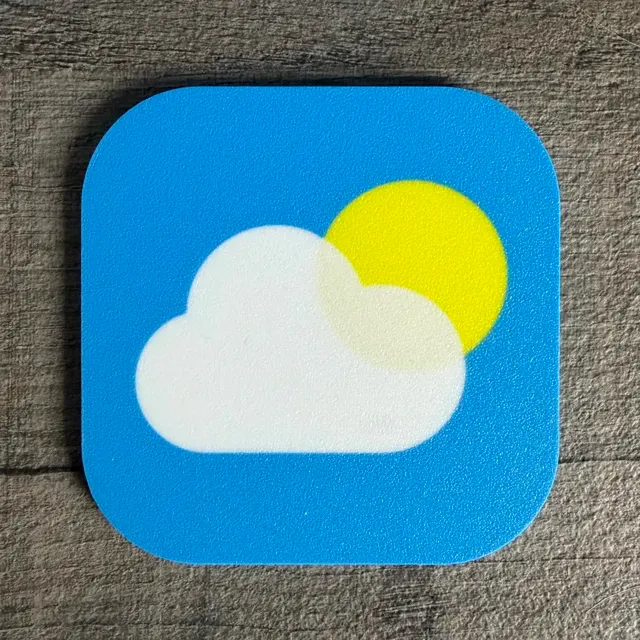
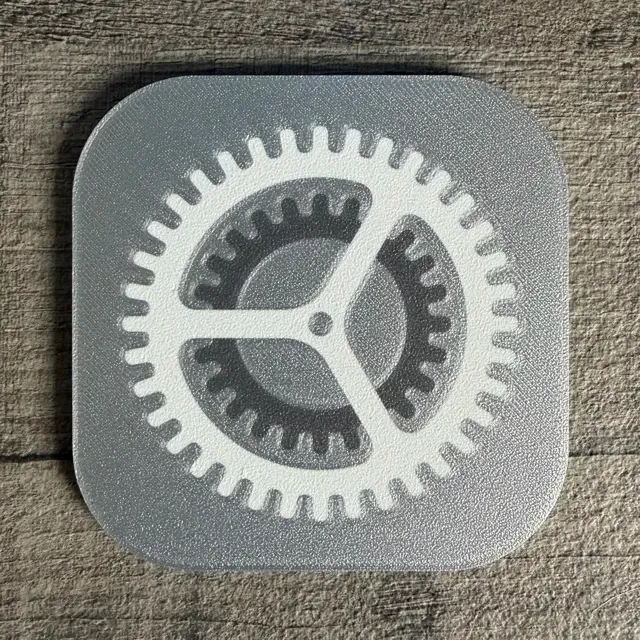
🖥️ iOS & macOS app icon coaster set with Mac Mini M4 holder 📱
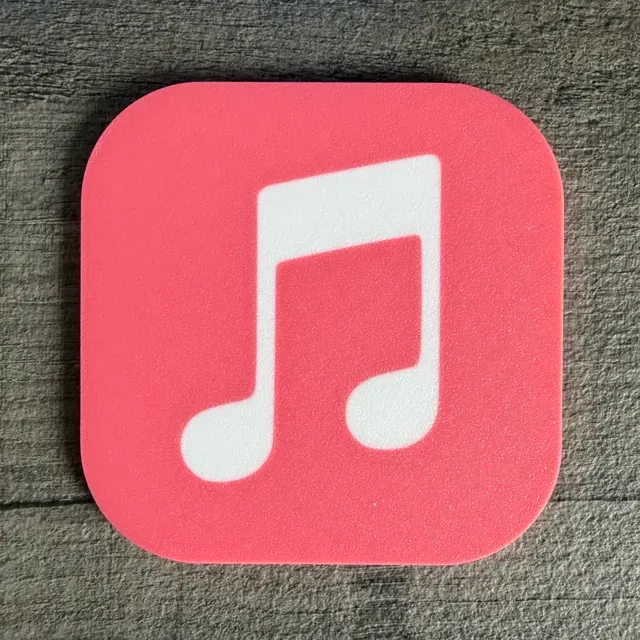
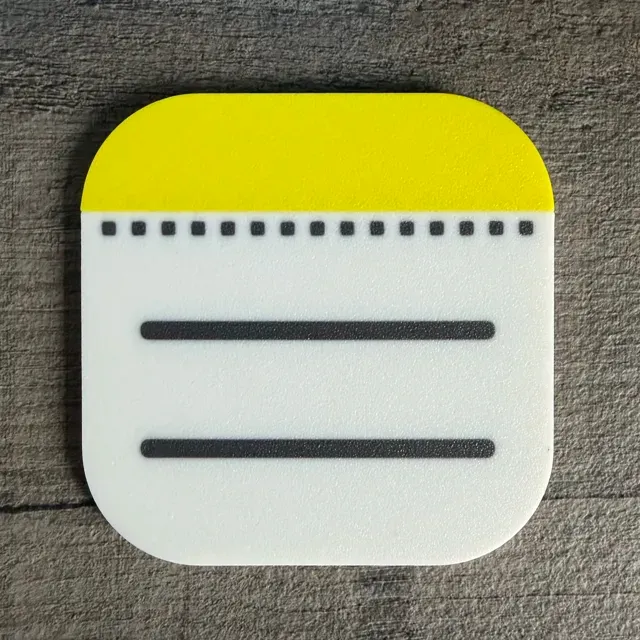
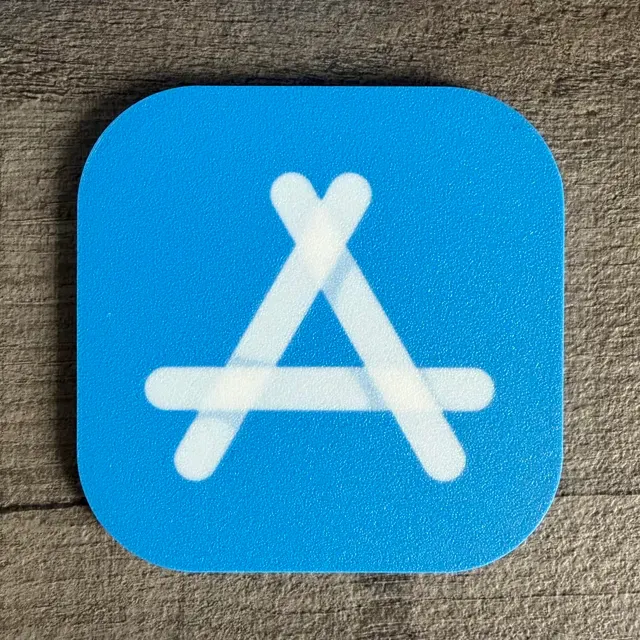
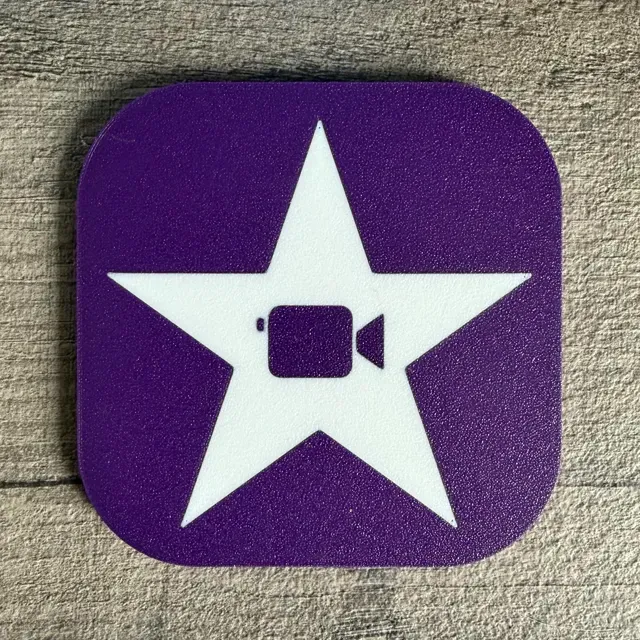
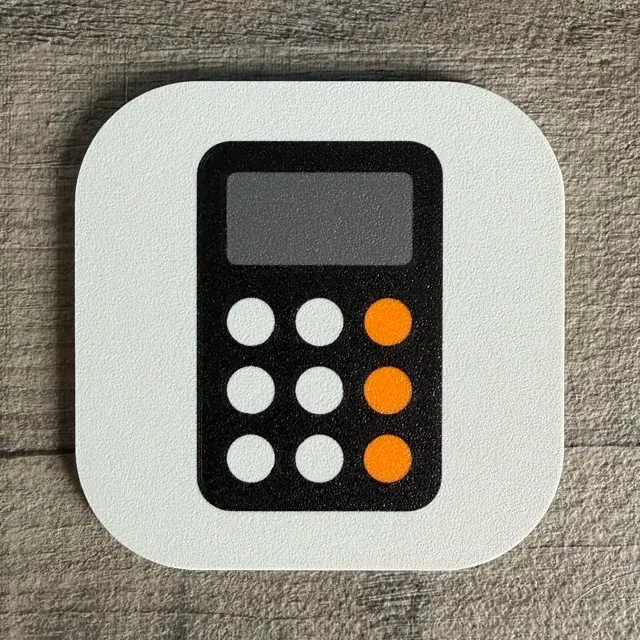
Bring some Apple inspired style to your setup with this set of coasters based on familiar iOS and macOS app icons. At the time of publishing, there are 12 different coaster designs to choose from, ranging from the Weather icon through to the App Store icon, and each one has its own separate print profile so you can print only the designs you want.
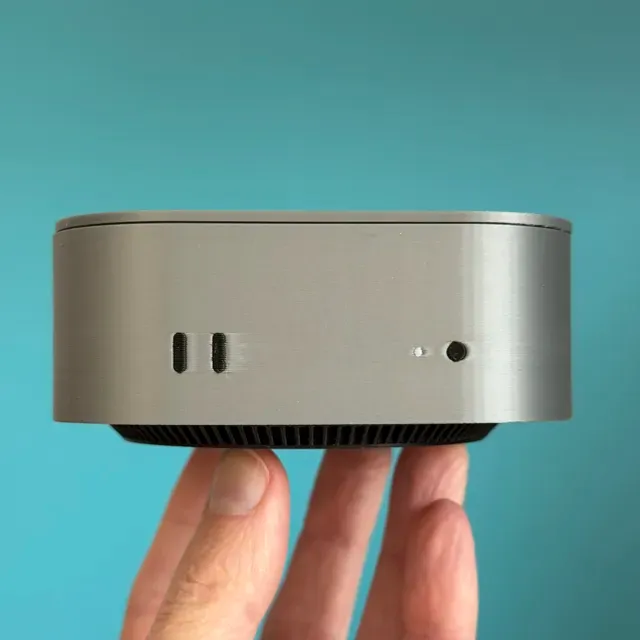
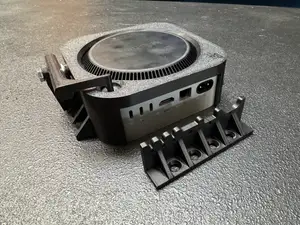
The set also includes a matching coaster holder styled to resemble a Mac Mini M4, with space to hold up to 8 coasters neatly on your desk or shelf. The holder features a playful twist on the classic Apple aesthetic, including a mug style logo with a section removed and the slogan “Drink Different” styled in the same font as the original Think Different campaign.
These coasters are designed as multicolour prints for AMS use. Most of the coaster designs use 4 colours to suit a printer with a single AMS, while the Contacts coaster uses 5 colours. Some of the icons also use colour layering within the supplied 3MF files to help recreate the soft fade effects seen in the real app icons, so it's important to use the provided 3MF profiles rather than the STL files.
The coaster holder requires minimal assembly with some glue, with the black vent section attaching to the underside once printed.
Boost Me If you like this Apple inspired print, a boost is a great way to support me on here ✏️ Customising your Mac Mini tray lid
If you'd like to add your own logo or design to the lid, you can easily do this using an SVG file (do a google search, or convert a PNG on one of the many free conversion sites online). The lid is designed to print face down, which gives a really clean top surface finish, especially on a textured plate.
🧾 Adding your own logo
- Go to the lid plate in Bambu Studio, flip the view of the lid round, so you can see the bottom of it. - Right click on the lid and choose Add part > SVG
- Import your SVG into Bambu Studio. - Change the Depth of the part to be 1mm (lid is 2mm deep) and change the type to be Modifier . Then resize (you can click and drag within the Size box, or type in the details) appropriately.
- Once done, you can now place it where needed, ideally the centre. You can do this easily by using the Move (top left icon in the below screenshot) tool. You can use Align Object , then click on Align left-right center (middle icon in the left 3 options) and then Align front-back centre (middle option in the middle 3 options)
- Once done, change the filament colour of the SVG in the Objects list to black, or whatever colour you'd prefer. - Slice and you are good to print your custom logo
💾 Final check
- Double check placement and scaling - Ensure colours are assigned correctly - Save your project before slicing ·····
🔥 Tips before you start
Having a clean print bed and hot end(s) free from filament is essential in getting that crisp, clean look. Here's some tips on what to do to get the best print possible;
🧼 Cleaning
Clean your plate first, following your usual routine. Dish soap works best, clean and then rinse thoroughly, ensure the plate is dry and free of debris before putting back in the printer.
Leftover filament residue on your hot end can cause unwanted colour streaks, which will show very clearly against the lighter parts of the print. Please inspect your hot end before starting the print, if you spot any clumps or leftover filament, follow Bambu's recommended cleaning guide to remove.
👀 Watch the first layers
Even with the best pre-printing cleaning routine, filament can sometimes surprise you and some small strands can sometimes get dragged into areas they shouldn’t be. Watch the first couple of layers go down, if you spot any potential colour bleed, you can pause and remove any stray filament from where it shouldn't be.
·····
🖨️ Printing setup
Each coaster and the holder has its own print profile, so you can pick and choose exactly which parts you want to make.
Please use the supplied 3MF files so the colour assignments, positioning, and layered colour effects are preserved correctly. Some of the icon designs rely on colour layering to recreate the subtle fade effect used in the original app icons, and that setup is only included in the 3MF profiles.
The coaster designs are intended for AMS printing. Most use a maximum of 4 colours, which suits a single AMS setup, while the Contacts coaster uses 5 colours.
The coaster holder is a separate print and can be completed alongside whichever coaster designs you choose. It is a straightforward print with only a small amount of assembly needed afterwards. This print profile is made up of three plates, the main unit, the lid (you might be able to fit the lid on the same plate as the main unit, depending on your print bed size) and the vented base unit.
Build plate
- Recommended: Textured PEI plate - Coasters should be printed face down on the textured PEI surface to give a more natural, less “printed” finish to the visible face - Coasters: print from the supplied coaster specific 3MF profile, feel free to tweak the assignments if you have some filament better suited to the app icon you are printing. Filament suggestions
For the cleanest results, use strong solid colours with a good contrast between light and dark areas. A bright white, deep black, a bold blue, and saturated accent colours will help the icons stand out clearly. Silk filaments can look nice for display pieces, but standard PLA usually gives the sharpest icon definition.
·····
🏗️ Assembly
The coaster set itself prints as separate finished pieces, but the holder needs a small amount of assembly once printed.
What you will need
- Printed holder body - Printed black vent piece - A small amount of glue Build plate and setup
Print the holder parts using their supplied profiles. Make sure both parts are fully cooled before removing them from the plate to avoid any slight warping on the contact surfaces.
Assembly steps
- Take the bottom vent piece and test fit into the underside of the main body. The body has two cutouts and the vented part has two plugs that match up to help you align the two parts together.
- Apply a small amount of glue either on the top of the vent, or the bottom of the body, then put both parts together, lining it up do the plugs go into the holes. - Press firmly into place and hold for a few seconds.
- Allow to fully cure before use. Once assembled, the holder is ready to store up to 8 coasters and looks great alongside the full icon set. Enjoy putting your own favourite combination together, a lid is included to rest in place to keep things looking tidy (and Mac like) when not in use.
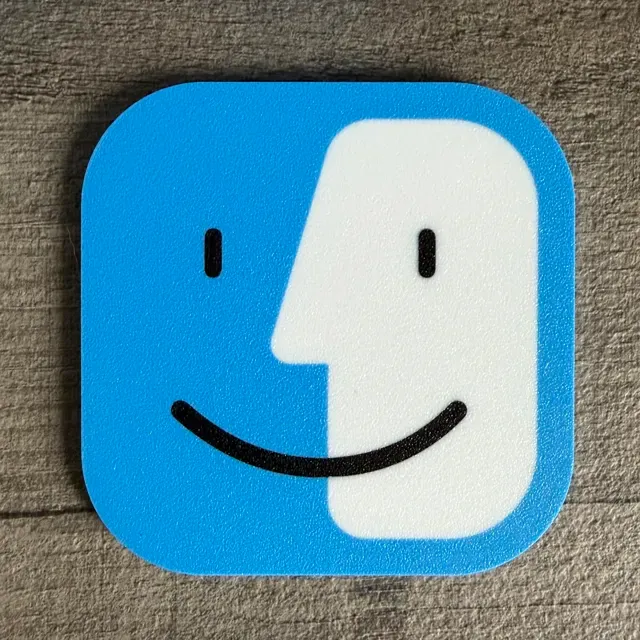
Mac Finder coaster
Mail icon
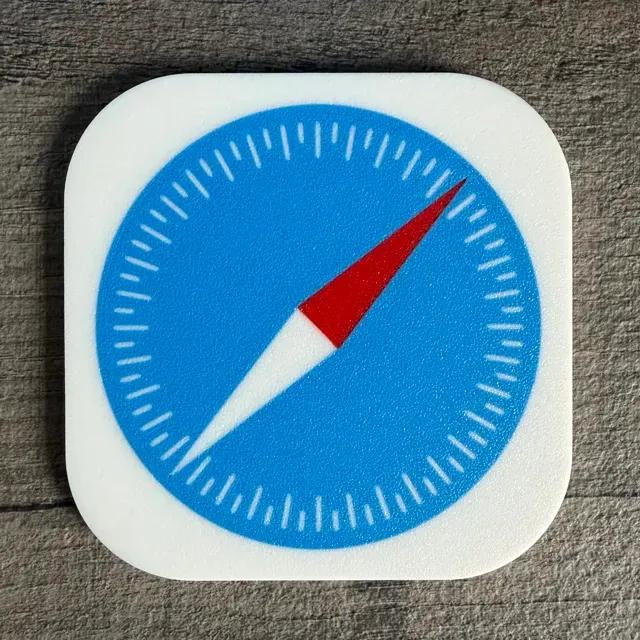
Mac Safari icon
App Store icon
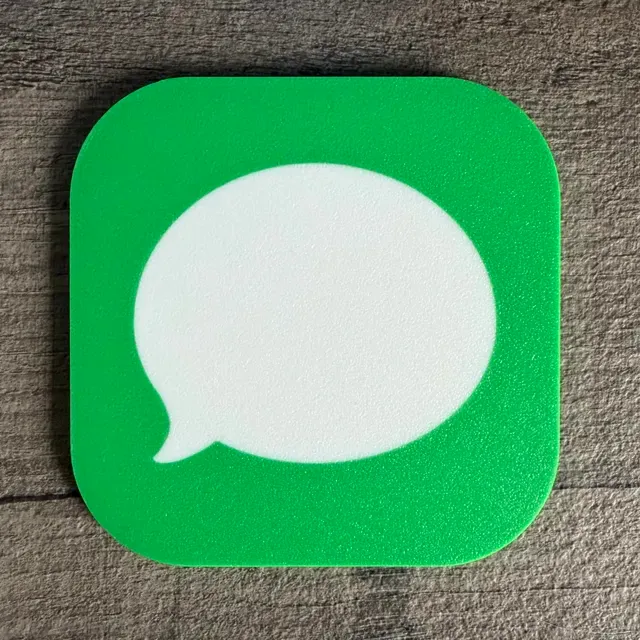
Messages Icon Profile updated to include a slight fade effect
Apple Music icon
Mac Mini M4 coaster holder
Weather icon
Settings icon
Apple Home Just white and orange needed :)
Apple Maps icon
Calculator icon
FaceTime
Games
Phone
Notes icon
Passwords
Podcasts
Activity Monitor
Wallet (5 colour)
Contacts icon (5 colours)
Time Machine
iMovie icon
MacOS calendar icon
Reminders icon coaster (5 colours)
Названия используются только для указания источника результата. Polyzon не аффилирован с перечисленными площадками.