
Бесплатно 
Multiboard Filament Spool Rack Mini
MakerWorld
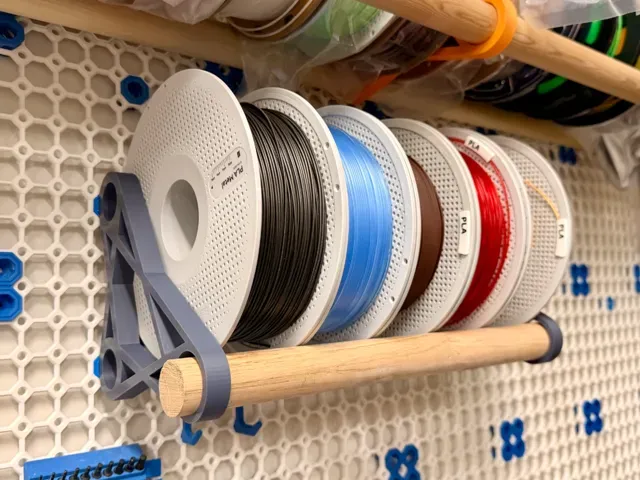
This is an updated version of my Multiboard Filament Spool Rack Mini .
This latest version uses the Large-threaded locking bolts.
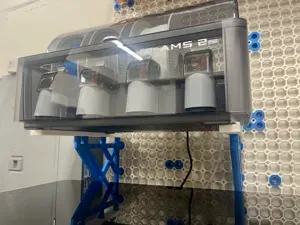
A modular, efficient solution for storing multiple filament spools using your existing Multiboard tile system and a standard closet rod or dowel.
This is a redesigned version of my original Multiboard Filament Spool Rack/Shelf , rebuilt from the ground up for wider printer compatibility—including the Bambu A1 Mini . It prints about 30% faster , uses 25% less filament , and requires only one support rod (instead of two).
The main bracket is designed for a 1⅜″ (35mm) closet rod, but included spacer adapters make it compatible with 1¼″ (32mm) and various metric dowel sizes .
Bracket Requirements
The system requires at least 2 brackets , spaced apart to support the rod and spools. For each bracket, the following Multiboard parts are required:
- (1) Heavy Weight-Bearing Hook Snaps - (1) Locking Bolt (Supported) - (Both are highly recommended to be printed in PETG for strength) Optional per bracket (depending on setup):
- (1) 13 mm Big Thread, Flat Head, Push-Fit Hole, Bolt - Useful for supporting the bottom peg when using 8mm offset tiles 🧠 If you're hanging multiple spools, consider using more than two brackets to prevent sag and spread out weight evenly.
📐 Rod & Fitment Notes
Closet rods can vary. I’ve included clearance in the design, but you may need to fine-tune the fit using slicer settings.
➡️ Tip: Adjust the X/Y Hole Compensation setting in Bambu Studio to tweak the spacer’s internal diameter for a perfect press-fit.
🔧 Assembly & Mounting Instructions
- Place the Heavy Weight-Bearing Hook Snaps onto the top peg of each bracket. - Secure using the Locking Bolt (Supported) . I have found the tolerances on these bolts to be very tight, so it often helps to use a small amount of PTFE lubricant on the bolt threads .
- (Optional) Install the 13 mm Big Thread, Flat Head, Push-Fit Hole, Bolt into the Multiboard tile to support the lower peg. Use a spare push peg to help screw it in if necessary. You can also use any wall-mounted snap you may already have available on your Multiboard tile, if it's conveniently placed. - Mount brackets to your Multiboard tiles at your desired spacing.
- Insert your rod into the bracket openings. Use spacers for smaller rods if needed. - Load filament spools onto the rod. 🛡️ Reinforcement Tip : For heavier loads, reinforce the Multiboard tiles around each bracket with additional wall-mount snaps to reduce flex and prevent failure.
🖨️ Print Settings
- Nozzle: 0.4mm - Layer Height: 0.2mm - Walls: 3 - Infill: 15% - Seam: Random
Spool Rack mini - bolt locked version and spacers Standard Multiboard print settings.






Названия используются только для указания источника результата. Polyzon не аффилирован с перечисленными площадками.