
Бесплатно 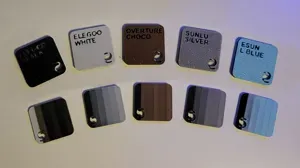
Bambu Lab Filament Swatch and Hueforge TD Step
MakerWorld
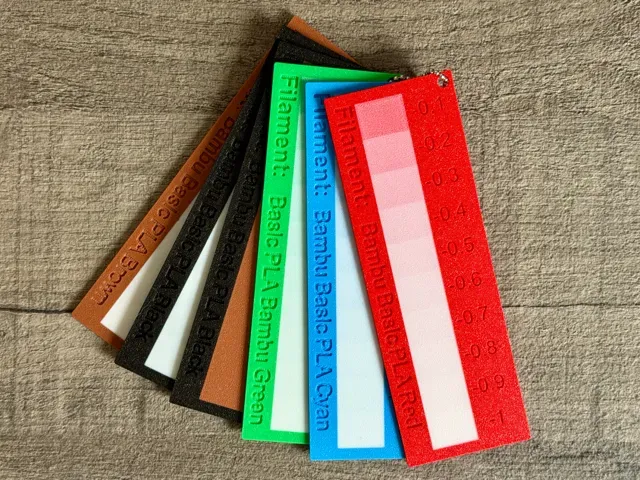
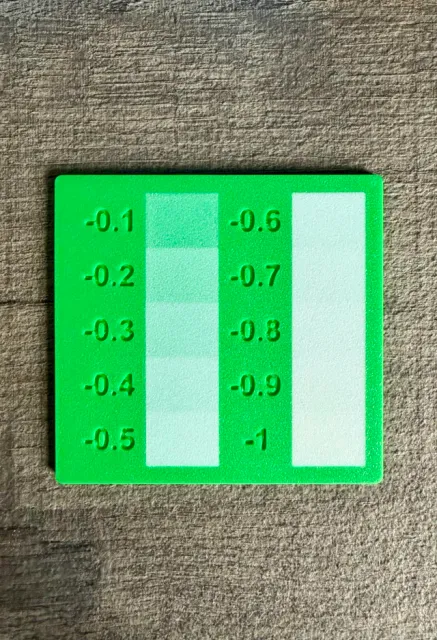
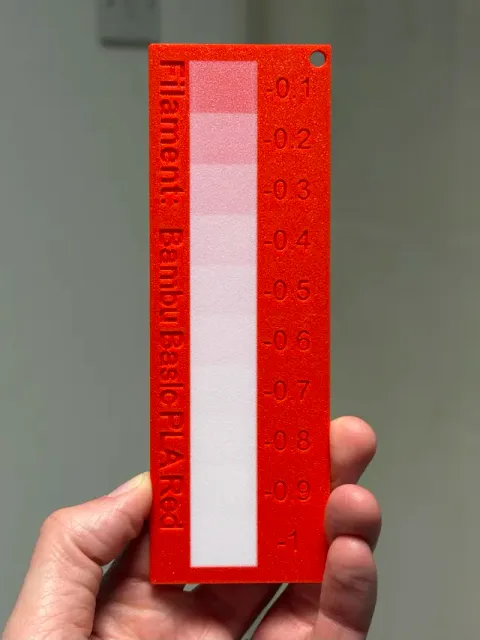
🎨 Colour layering test swatch 🎨
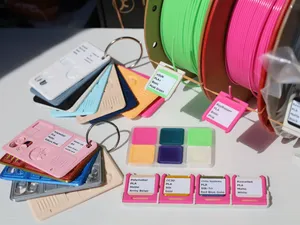
This swatch is designed to help you explore what happens when you layer one filament colour over another at different thicknesses. As the top layer increases, the underlying colour subtly shifts, creating a range of tones and shades using just two filaments.
It’s a simple but powerful way to unlock more visual depth in your prints without needing a full palette of materials, it's also something simple to do in your CAD software, rather than needing extra software.
You now have two print profile options included:
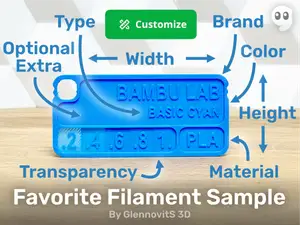
- Two rows, small profile – shows incremental thickness changes across separate sections for clear comparison - One row, customisable (new) – displays a smooth progression from faint to full colour in a single row, making it easier to visualise transitions at a glance The new version also includes:
- A keyring cut-out to help store your colour layer swatches - Customisable text, allowing you to label the base filament colour used for the test The swatch patches start at a 0.10 mm top layer and gradually increases up to 1.0 mm. Beyond 0.9 mm, the difference becomes extremely difficult to distinguish (especially when using white over a darker base), so this range gives you the most useful and visible results.
By testing and understanding these layered tones, you can bring that HueForge-style approach into your own CAD workflow. Instead of relying purely on colour swaps, you can design depth into your models, extruding features at specific heights to achieve different shades from the same two filaments.
The included 3MF is set up with:
- A base part labelled Background Colour - Top layer parts (defaulted to white) increasing in thickness across the swatch, each labelled with the depth used. You can:
- Change colours at the object level in Bambu Studio
Or
- Simply swap filament assignments at the print screen, which is usually the quickest option
The end result is a clean, easy-to-read reference swatch showing exactly what tones you can achieve, ready to apply directly into your own designs.
Boost Me 🎨 If this print if helpful to you, please consider a boost as a way to support me on here 👨🎨
·····
✏️ Customising your swatch
You can easily adapt this swatch to test different filament combinations or expand your own reference library.
Changing colours
- Open the 3MF in Bambu Studio - Select the parts in the object list - Either (pictures above for both options): - Change colours at the object level, or - Swap filament assignments at the print screen 💡 Swapping at the print screen is usually quicker when testing multiple combinations.
Editing the custom text (one row)
- Select the Filament Name object in the object list
- Right-click and choose Edit Text - Enter your desired label (e.g. “PLA Black”, “Matte Grey”, etc.) within the Input text field - Font size is set at 9 and font is Arial (bold). If you are going to adjust these, please slice and ensure they still fit as exptected.
- Confirm the changes 💡 Keep the text short for best results and readability.
Checking positioning
- Ensure the text sits flush with the model surface - Use the move tool as appropriate to centre / position the text
Final step
- Save your project before slicing to keep your customised version
····· 🎨 Using this technique in your own designs
At the design stage
- In your CAD software, design your model as normal - Extrude areas of your design downwards (negative direction) to create layered depth (as New Body 's, rather than Cuts) - Use the swatch as your reference for what thickness produces which shade Matching slicer settings to your design
Once your design is ready, your slicer settings must match your extrusion depths:
- Your layer height (and initial layer height) should match your smallest extrusion depth - Example: if your shallowest feature is -0.1 mm , set: - Layer height: 0.1 mm - Initial layer height: 0.1 mm
If these don’t match, your layers won’t align with the intended colour transitions, and the effect will be lost.
Shell thickness setup
Depending on how you orient your model:
- Face down (design against the build plate): Set Bottom Shell Thickness to 2 mm This ensures full coverage for up to -1 mm extrusions and gives a solid background colour - Face up (design on top): Set Top Shell Thickness to 2 mm This ensures the layered effect is properly formed from above 💡 Keeping this consistent ensures clean, predictable colour results across your designs.
·····
🔥 Tips before you start
Having a clean print bed and hot end(s) free from filament is essential in getting that crisp, clean look. Here's some tips on what to do to get the best print possible;
🧼 Cleaning
Small profile, two rows
One row - customisable name
Minimal Swatch, only till 0.5 Minimal swatch profile for stronger colours
Названия используются только для указания источника результата. Polyzon не аффилирован с перечисленными площадками.